Acoustic Design Project
Church DIY Done Right
With over 17 years in DIY acoustic solutions, we're excited to present a standout project that exemplifies our expertise in managing reverberation, especially in small spaces. This project highlights our advanced foam technology, specifically designed to tackle the challenging 125 - 500 Hz range, and demonstrates innovative, practical applications like adjustable DIY Foam Panels for optimal sound clarity and room functionality.
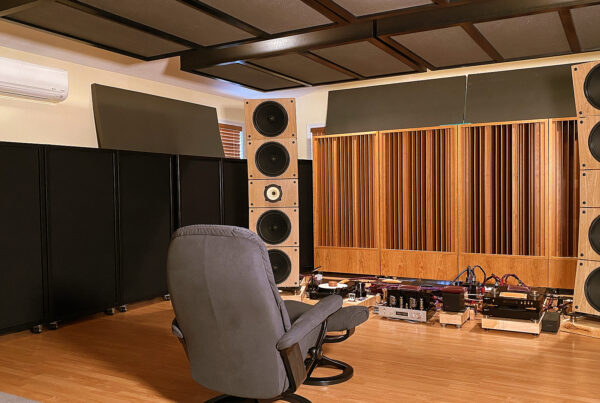
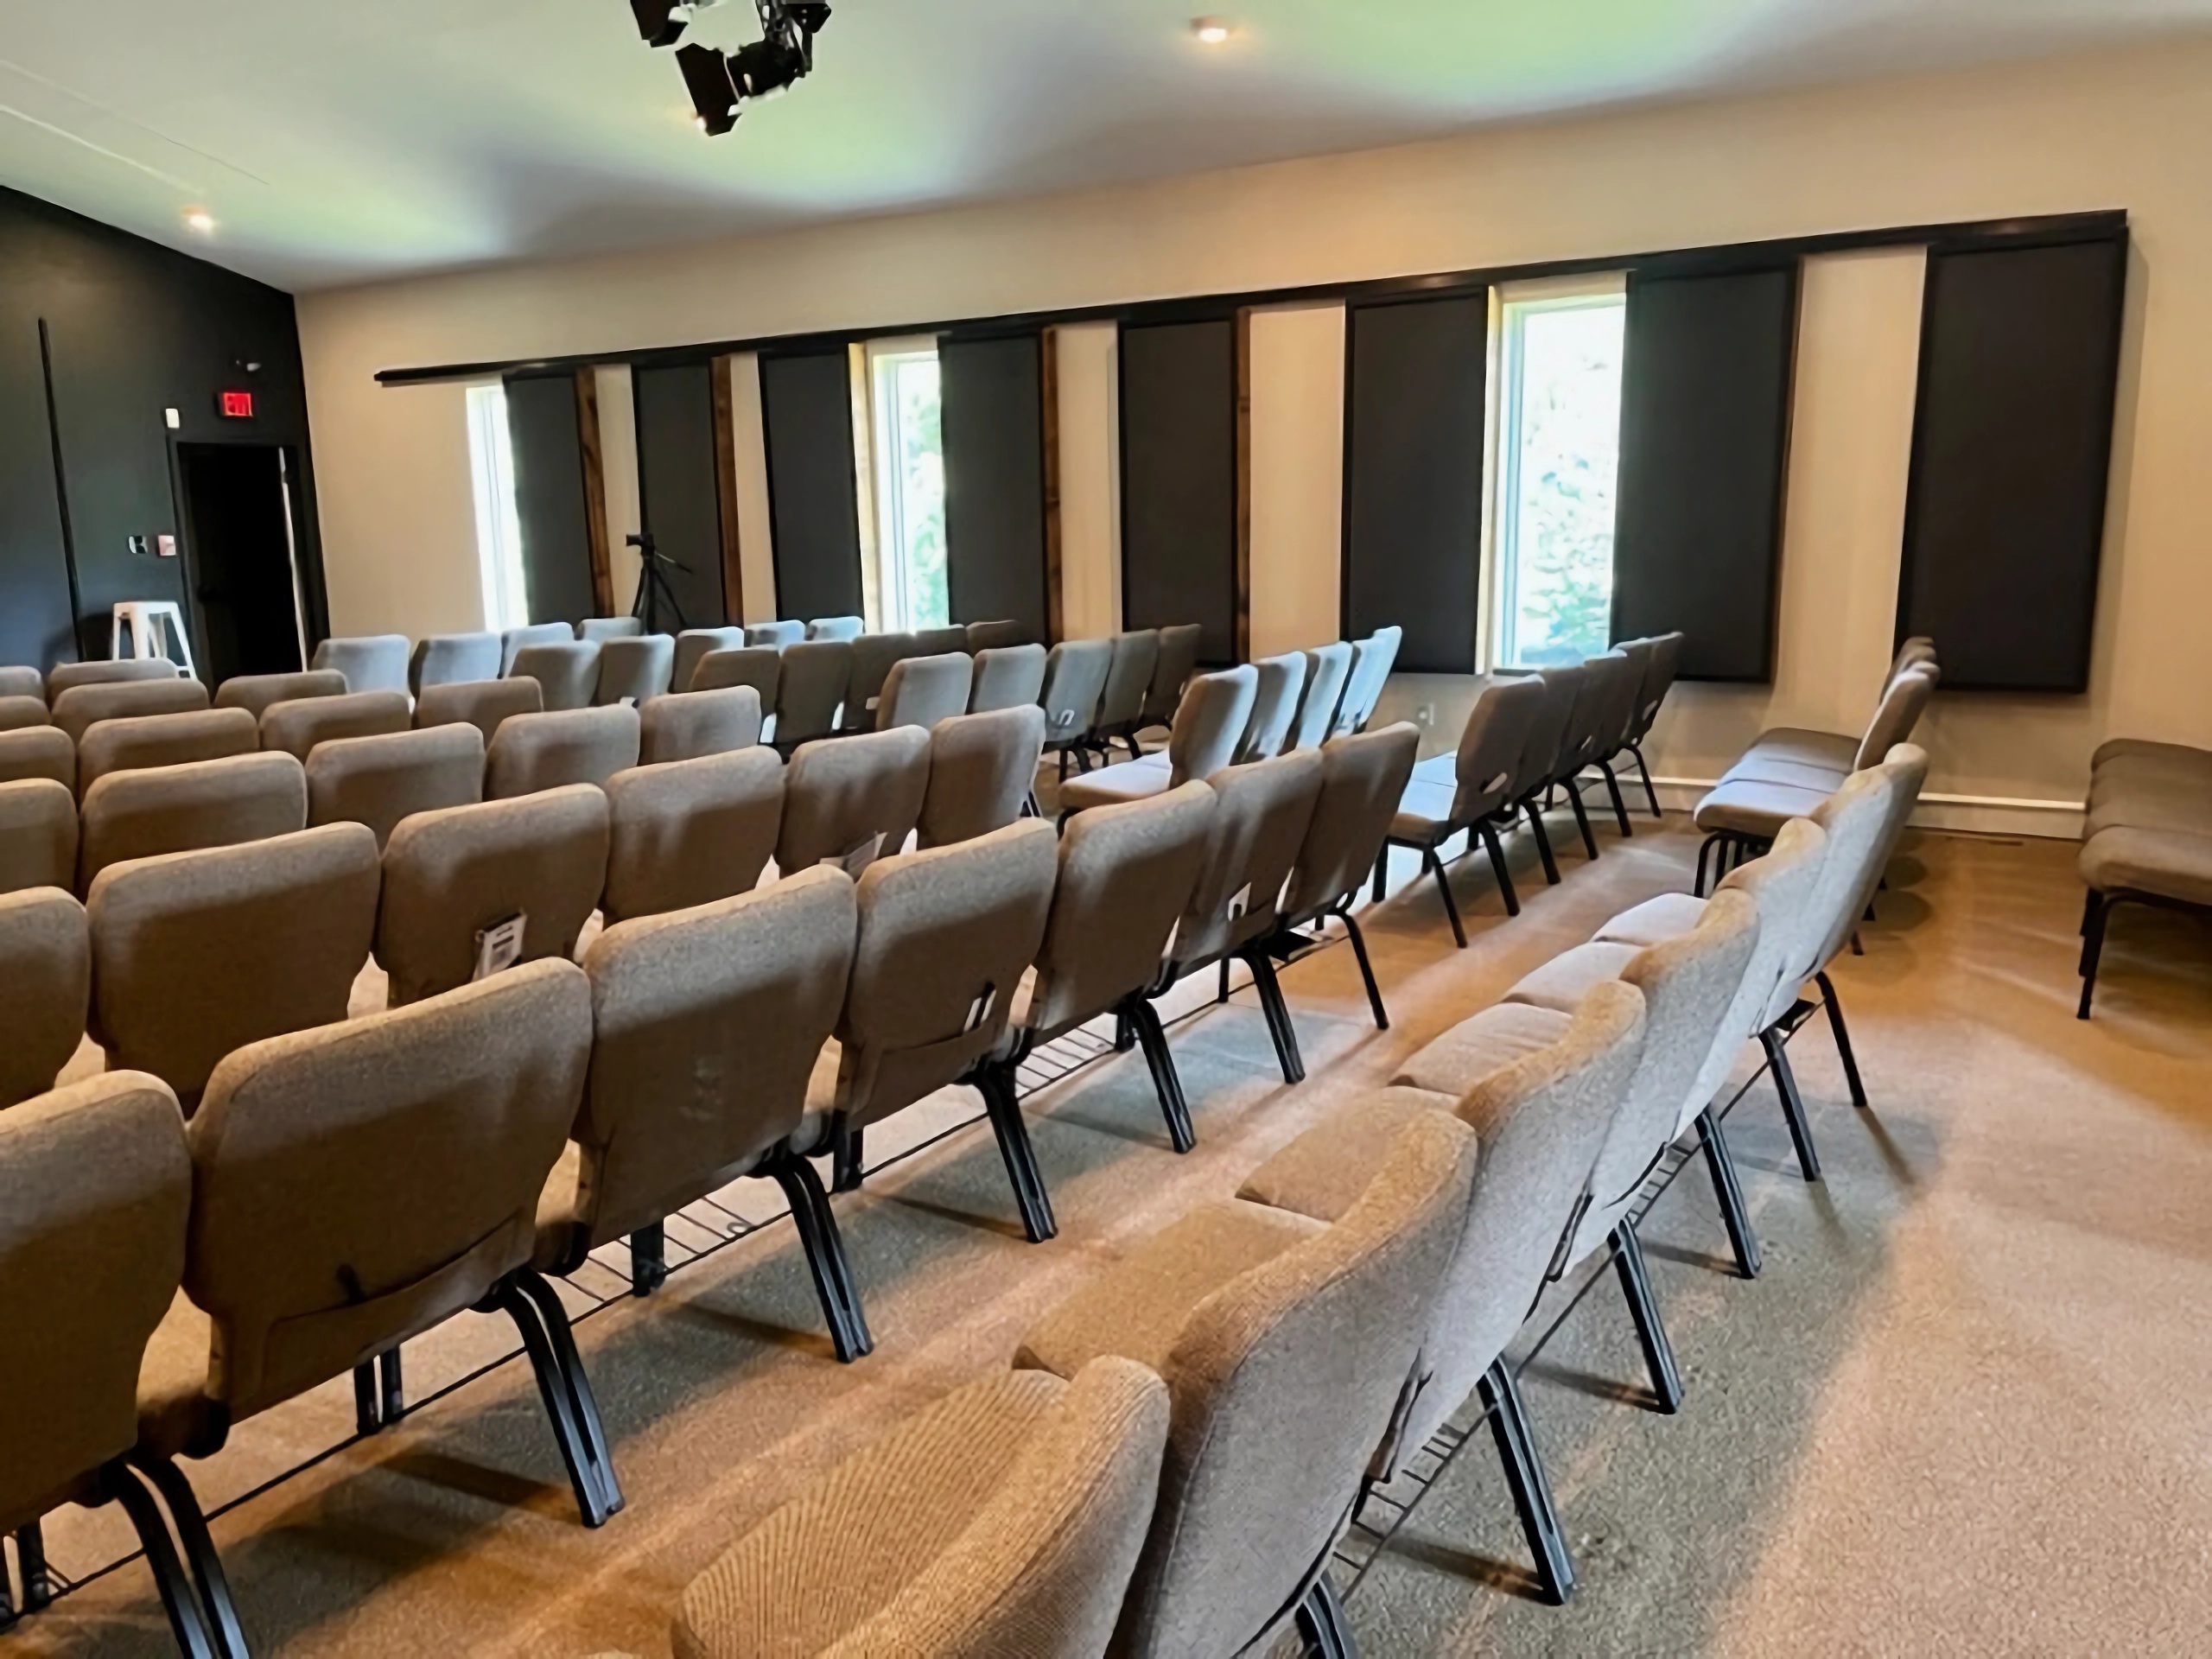
We have been involved with DIY projects for 17 years. We have done hundreds and maybe over a thousand with the additional project email questions. As hard as we try to keep DIY projects on the correct trajectory, we are not always successful. I believe the saying too many cooks in the kitchen comes to mind. It is a great joy considering all the time we spend with design and follow up questions, to see a project that went as planned. There are many treatment tactics used within this small sanctuary treatment strategy that contributed to the success of the project. Let’s look at a few of those critical variables. The sidewalls are the most critical when it comes to managing reflections.
The front of the church is the energy source. It can be a PA system or the voice of the church leader. Either source produces direct energy which is the straight line energy from source to your ears. Attach a laser to the top of the speaker and see where it points. That pathway is direct sound. Direct sound is sound that does not have the reflections from the room walls in it. It is a pure sound that we want to hear. Unfortunately, the sidewalls produce a series of reflections that cross the direct wanted energy and produce distortions. Add all of these reflections together and you have reverberation. Treating the sidewalls is a first step tactic in managing reverberation.
")
 (1)")
")
")
Acoustic Foam StudioPro Performance
Every surface area within your room produces a different frequency and amplitude issue. Depending on the ratio of room dimensional numbers, you can have one set of walls producing a 30 hz. issue say sidewalls and the front and rear walls producing a 40 hz. issue. Both the frequency issues are at different amplitudes or strengths. This is where most designs fail. They do not increase the rate and level of absorption to compensate for increased amplitude or strength. With reverb, you must go strong from 125 hz – 500 hz. This is the reason the panels are 4″ deep with two layers of our 2″ foam. Most larger room designs takke 6″ of panel depth. Our foam was designed to start at 125 hz. and go smoothly yet strongly through 500 Hz. See our performance graphic.
Find out more

Effective Reverberation Management: DIY Foam Panel Success
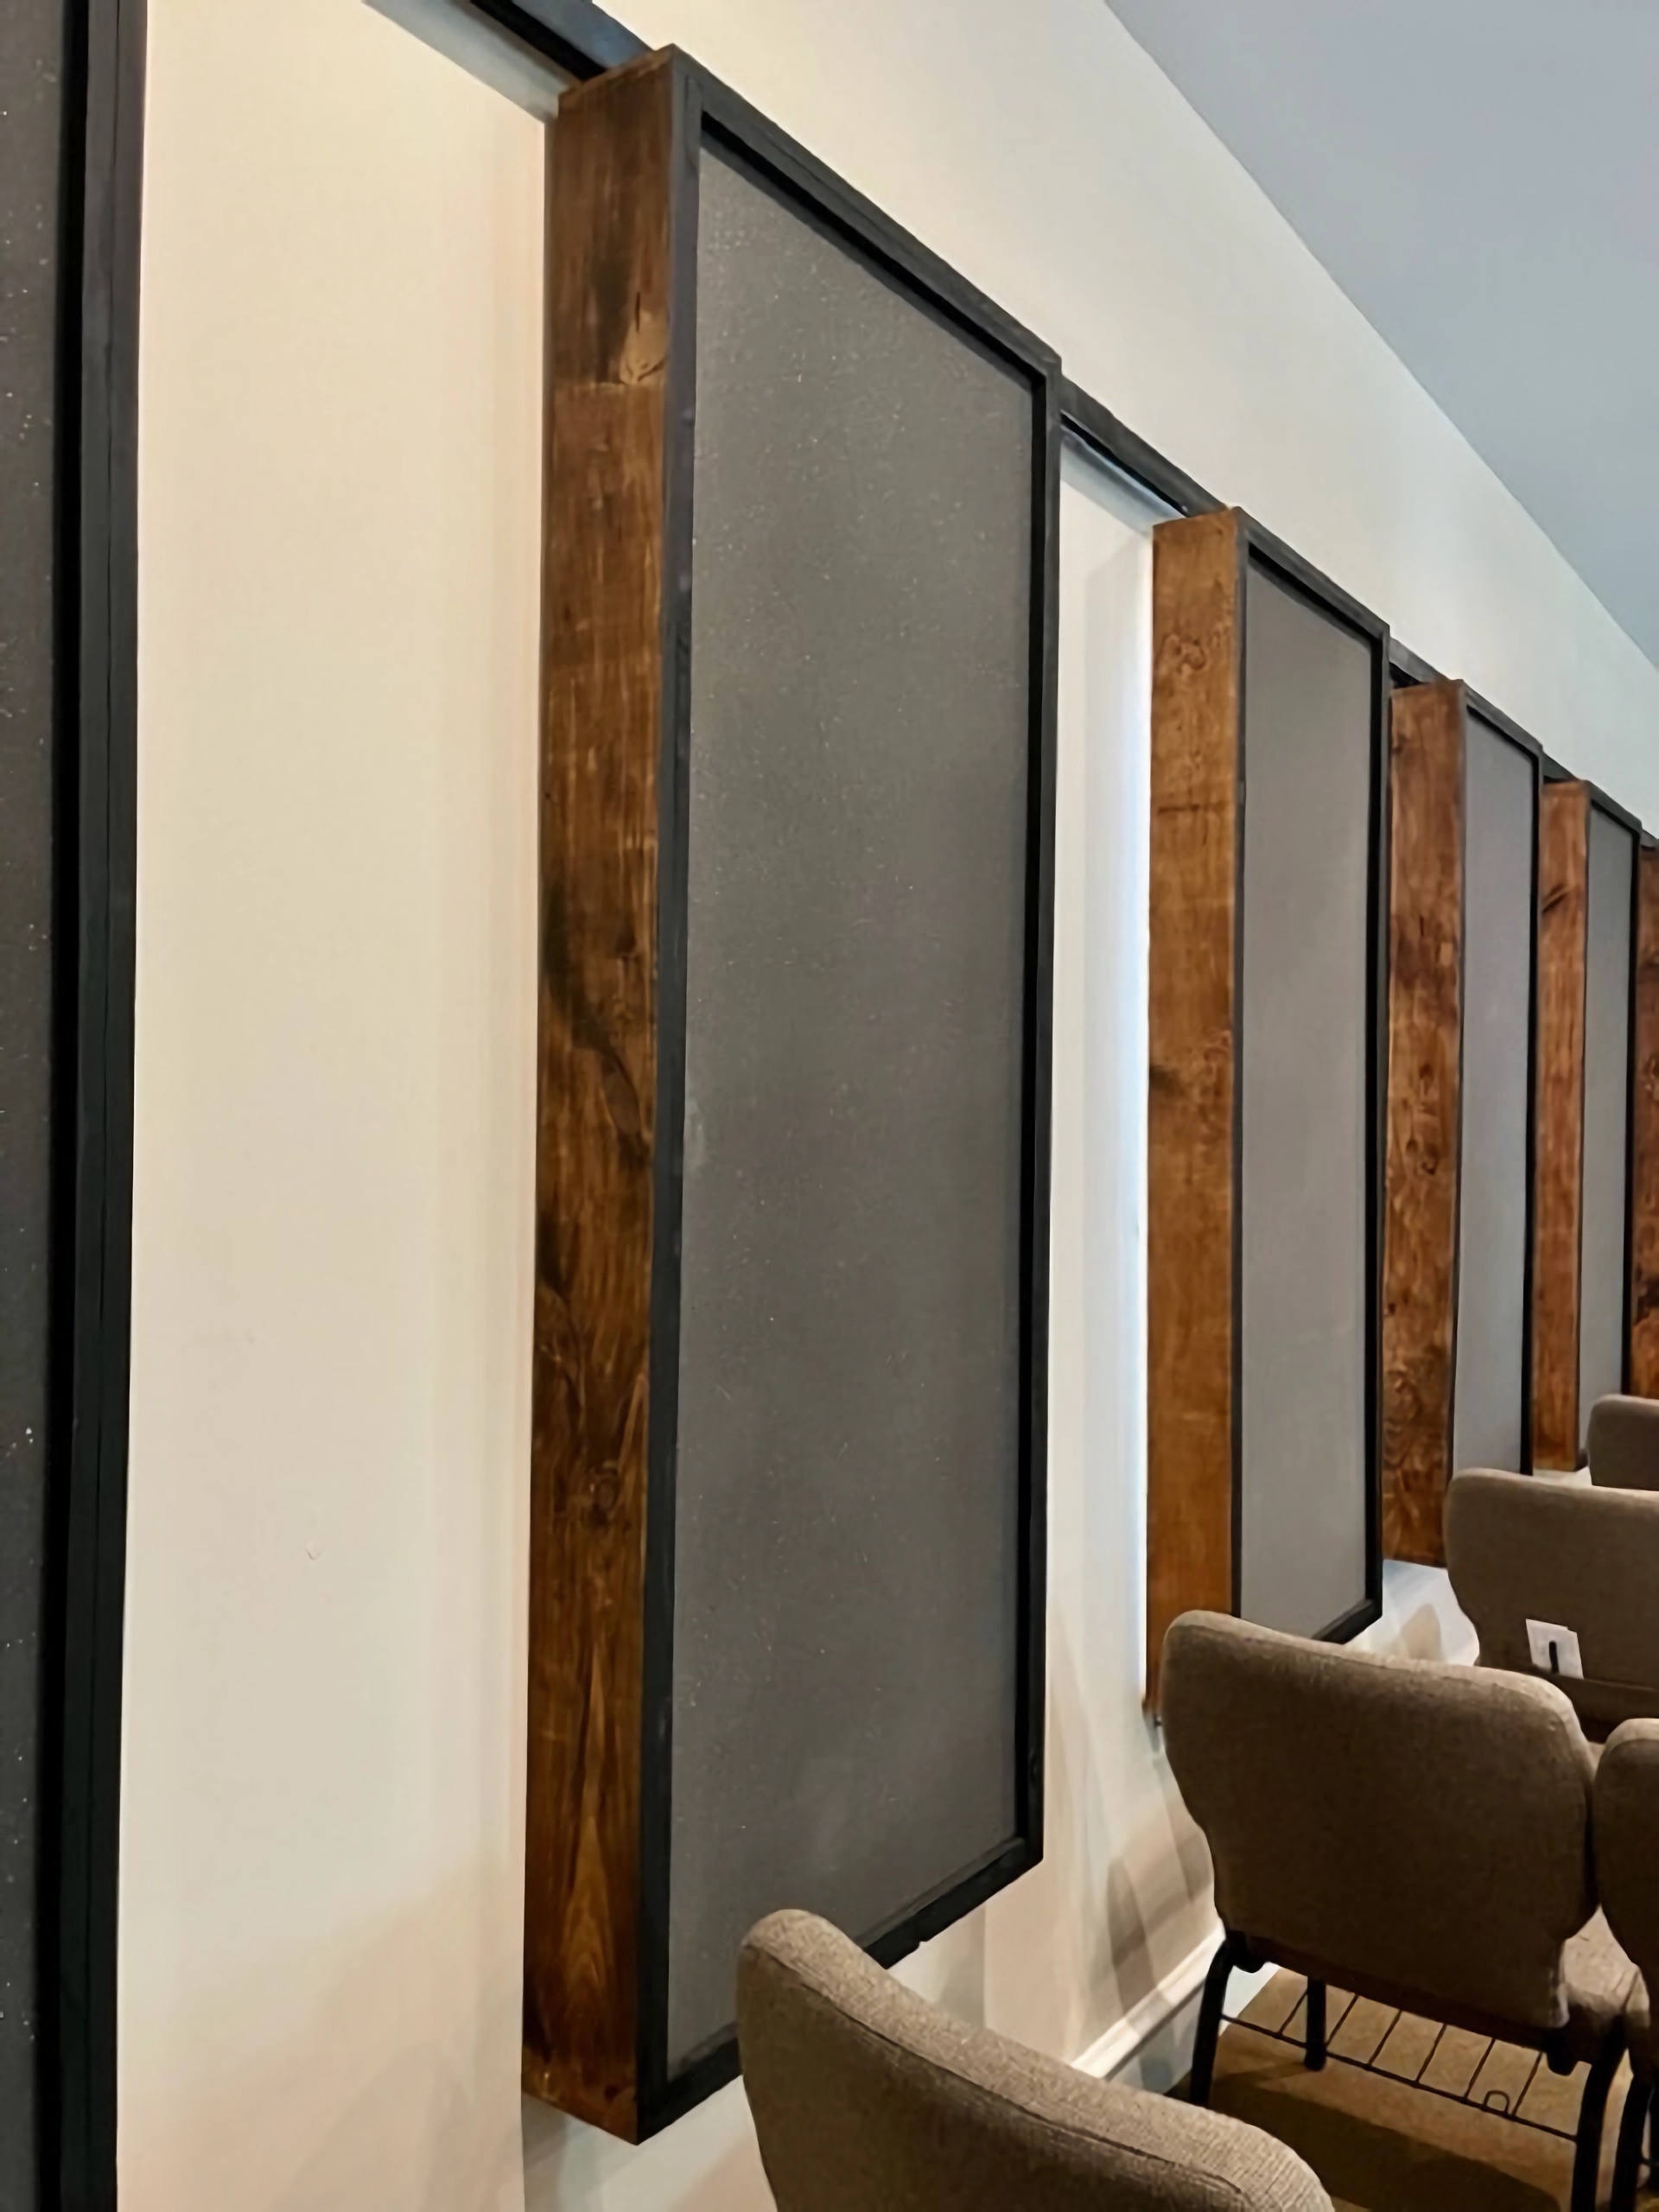
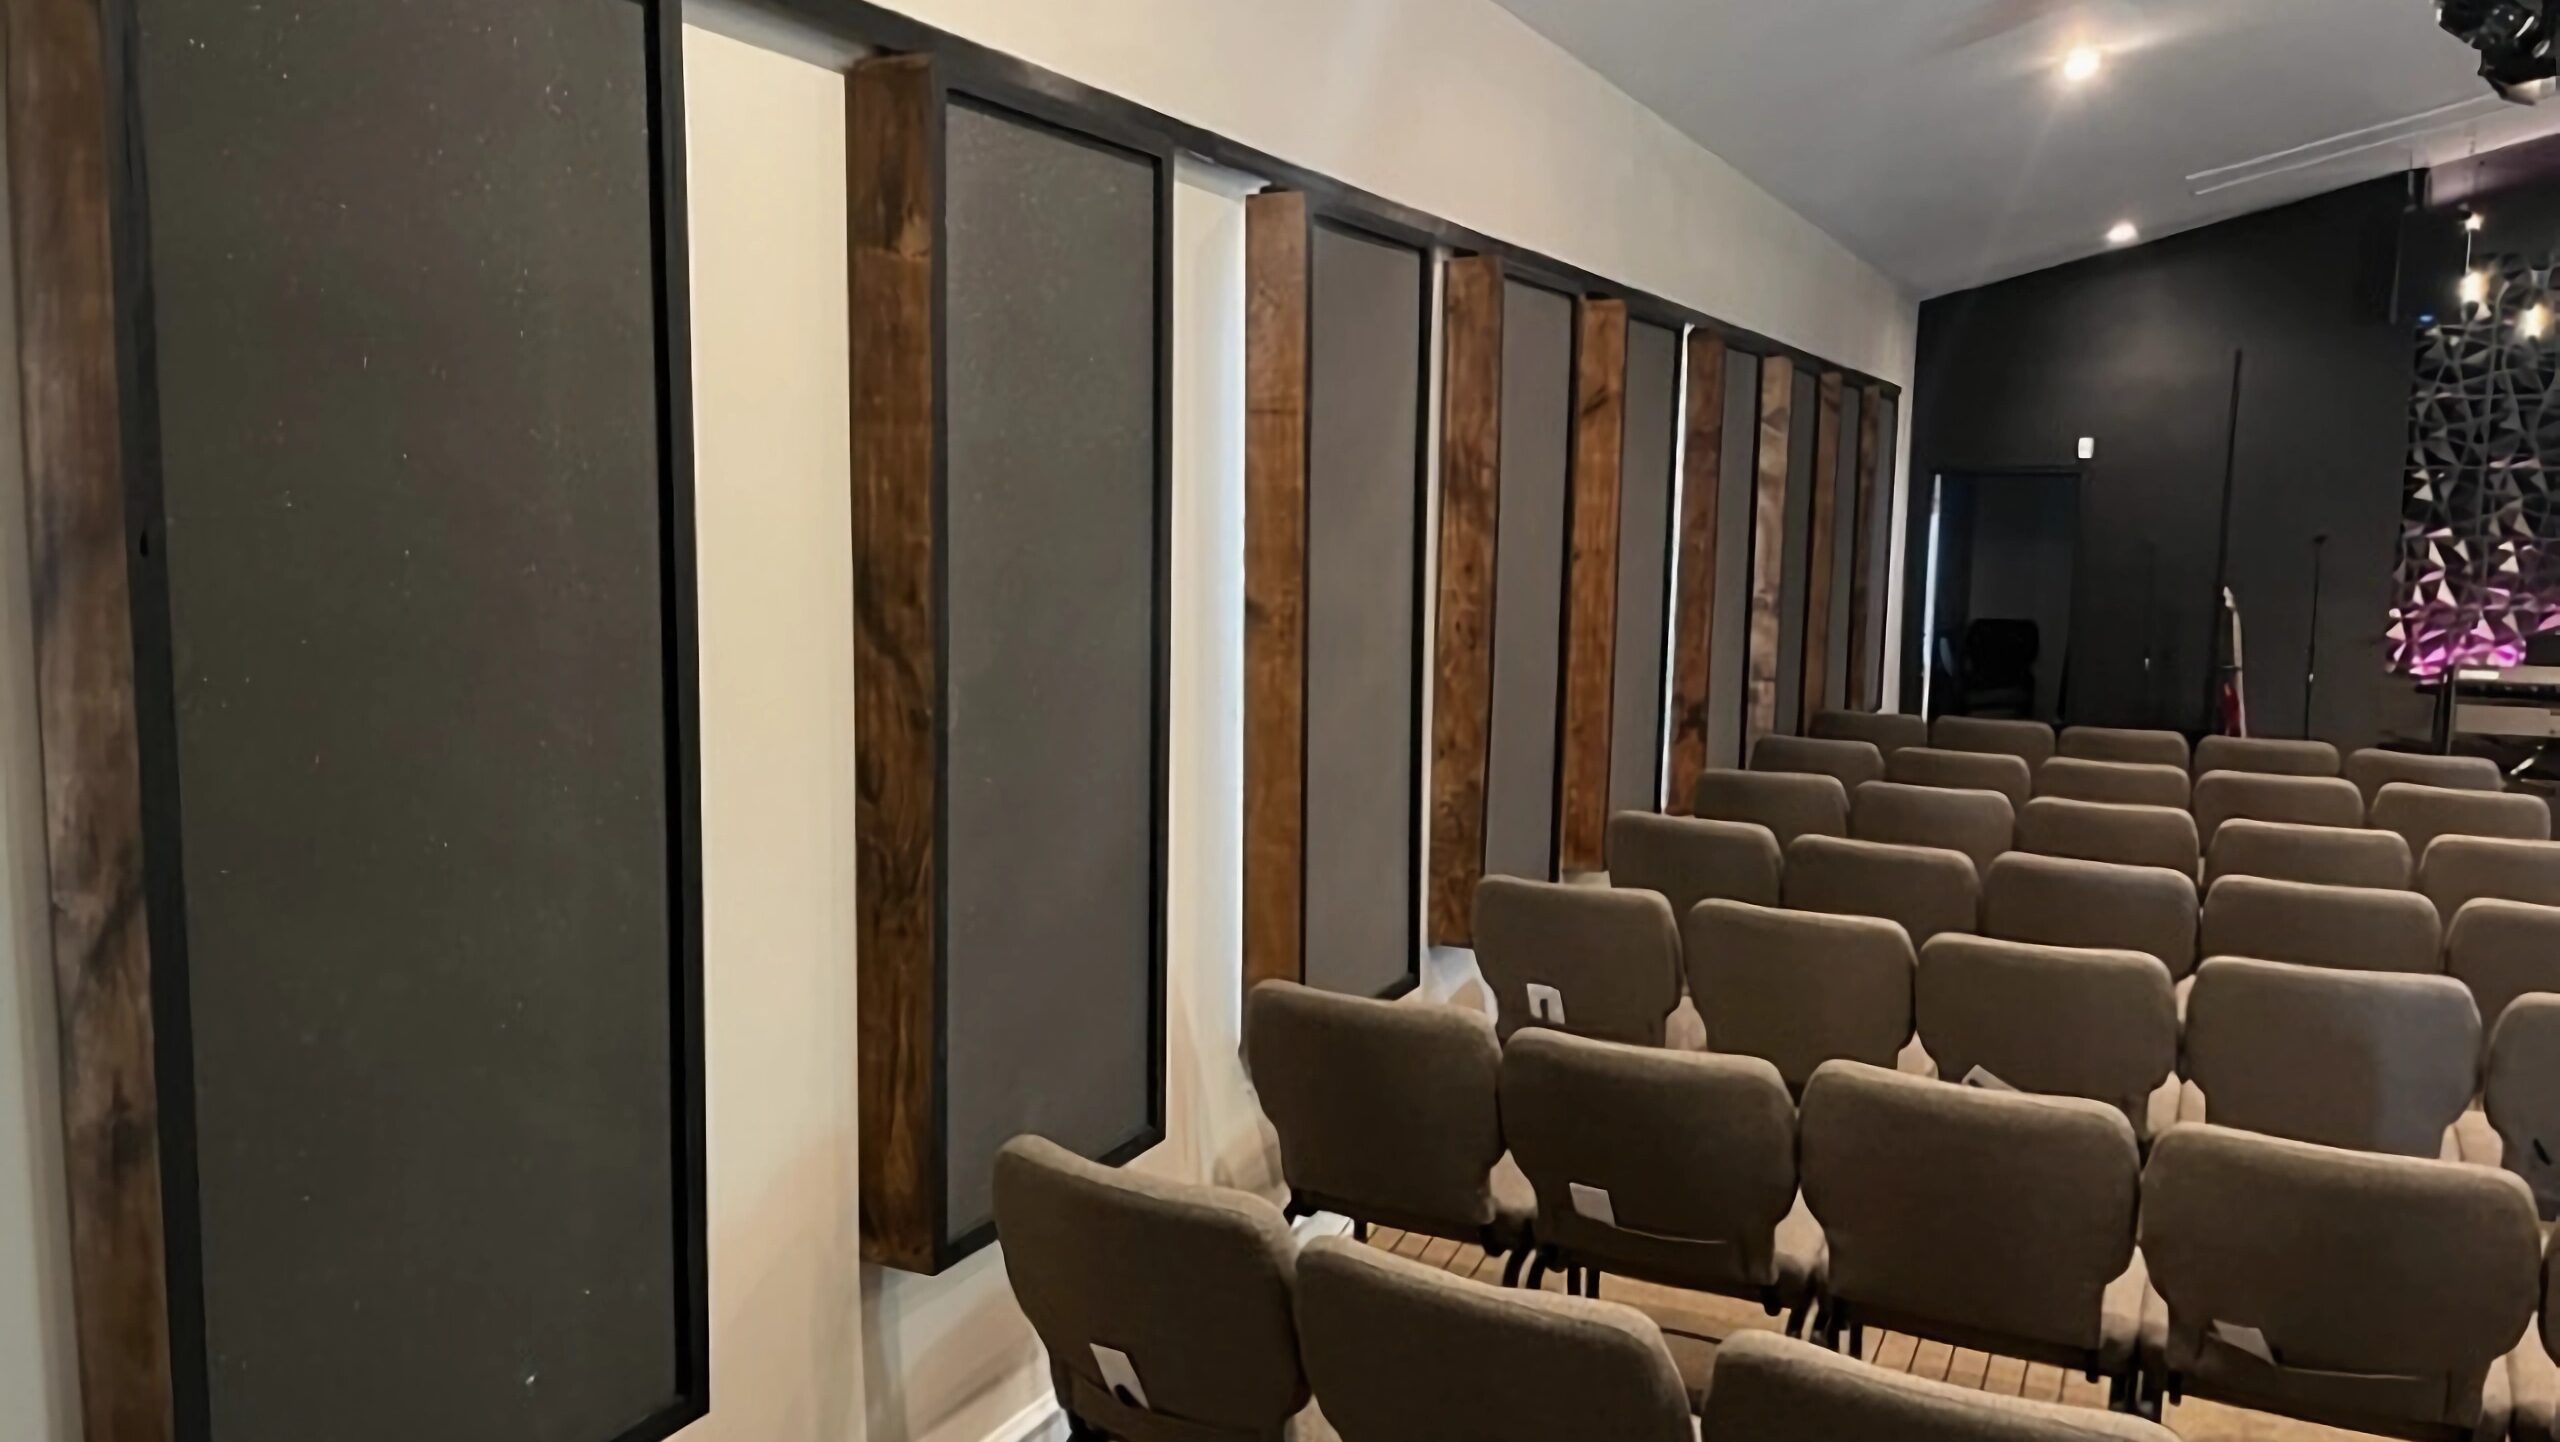
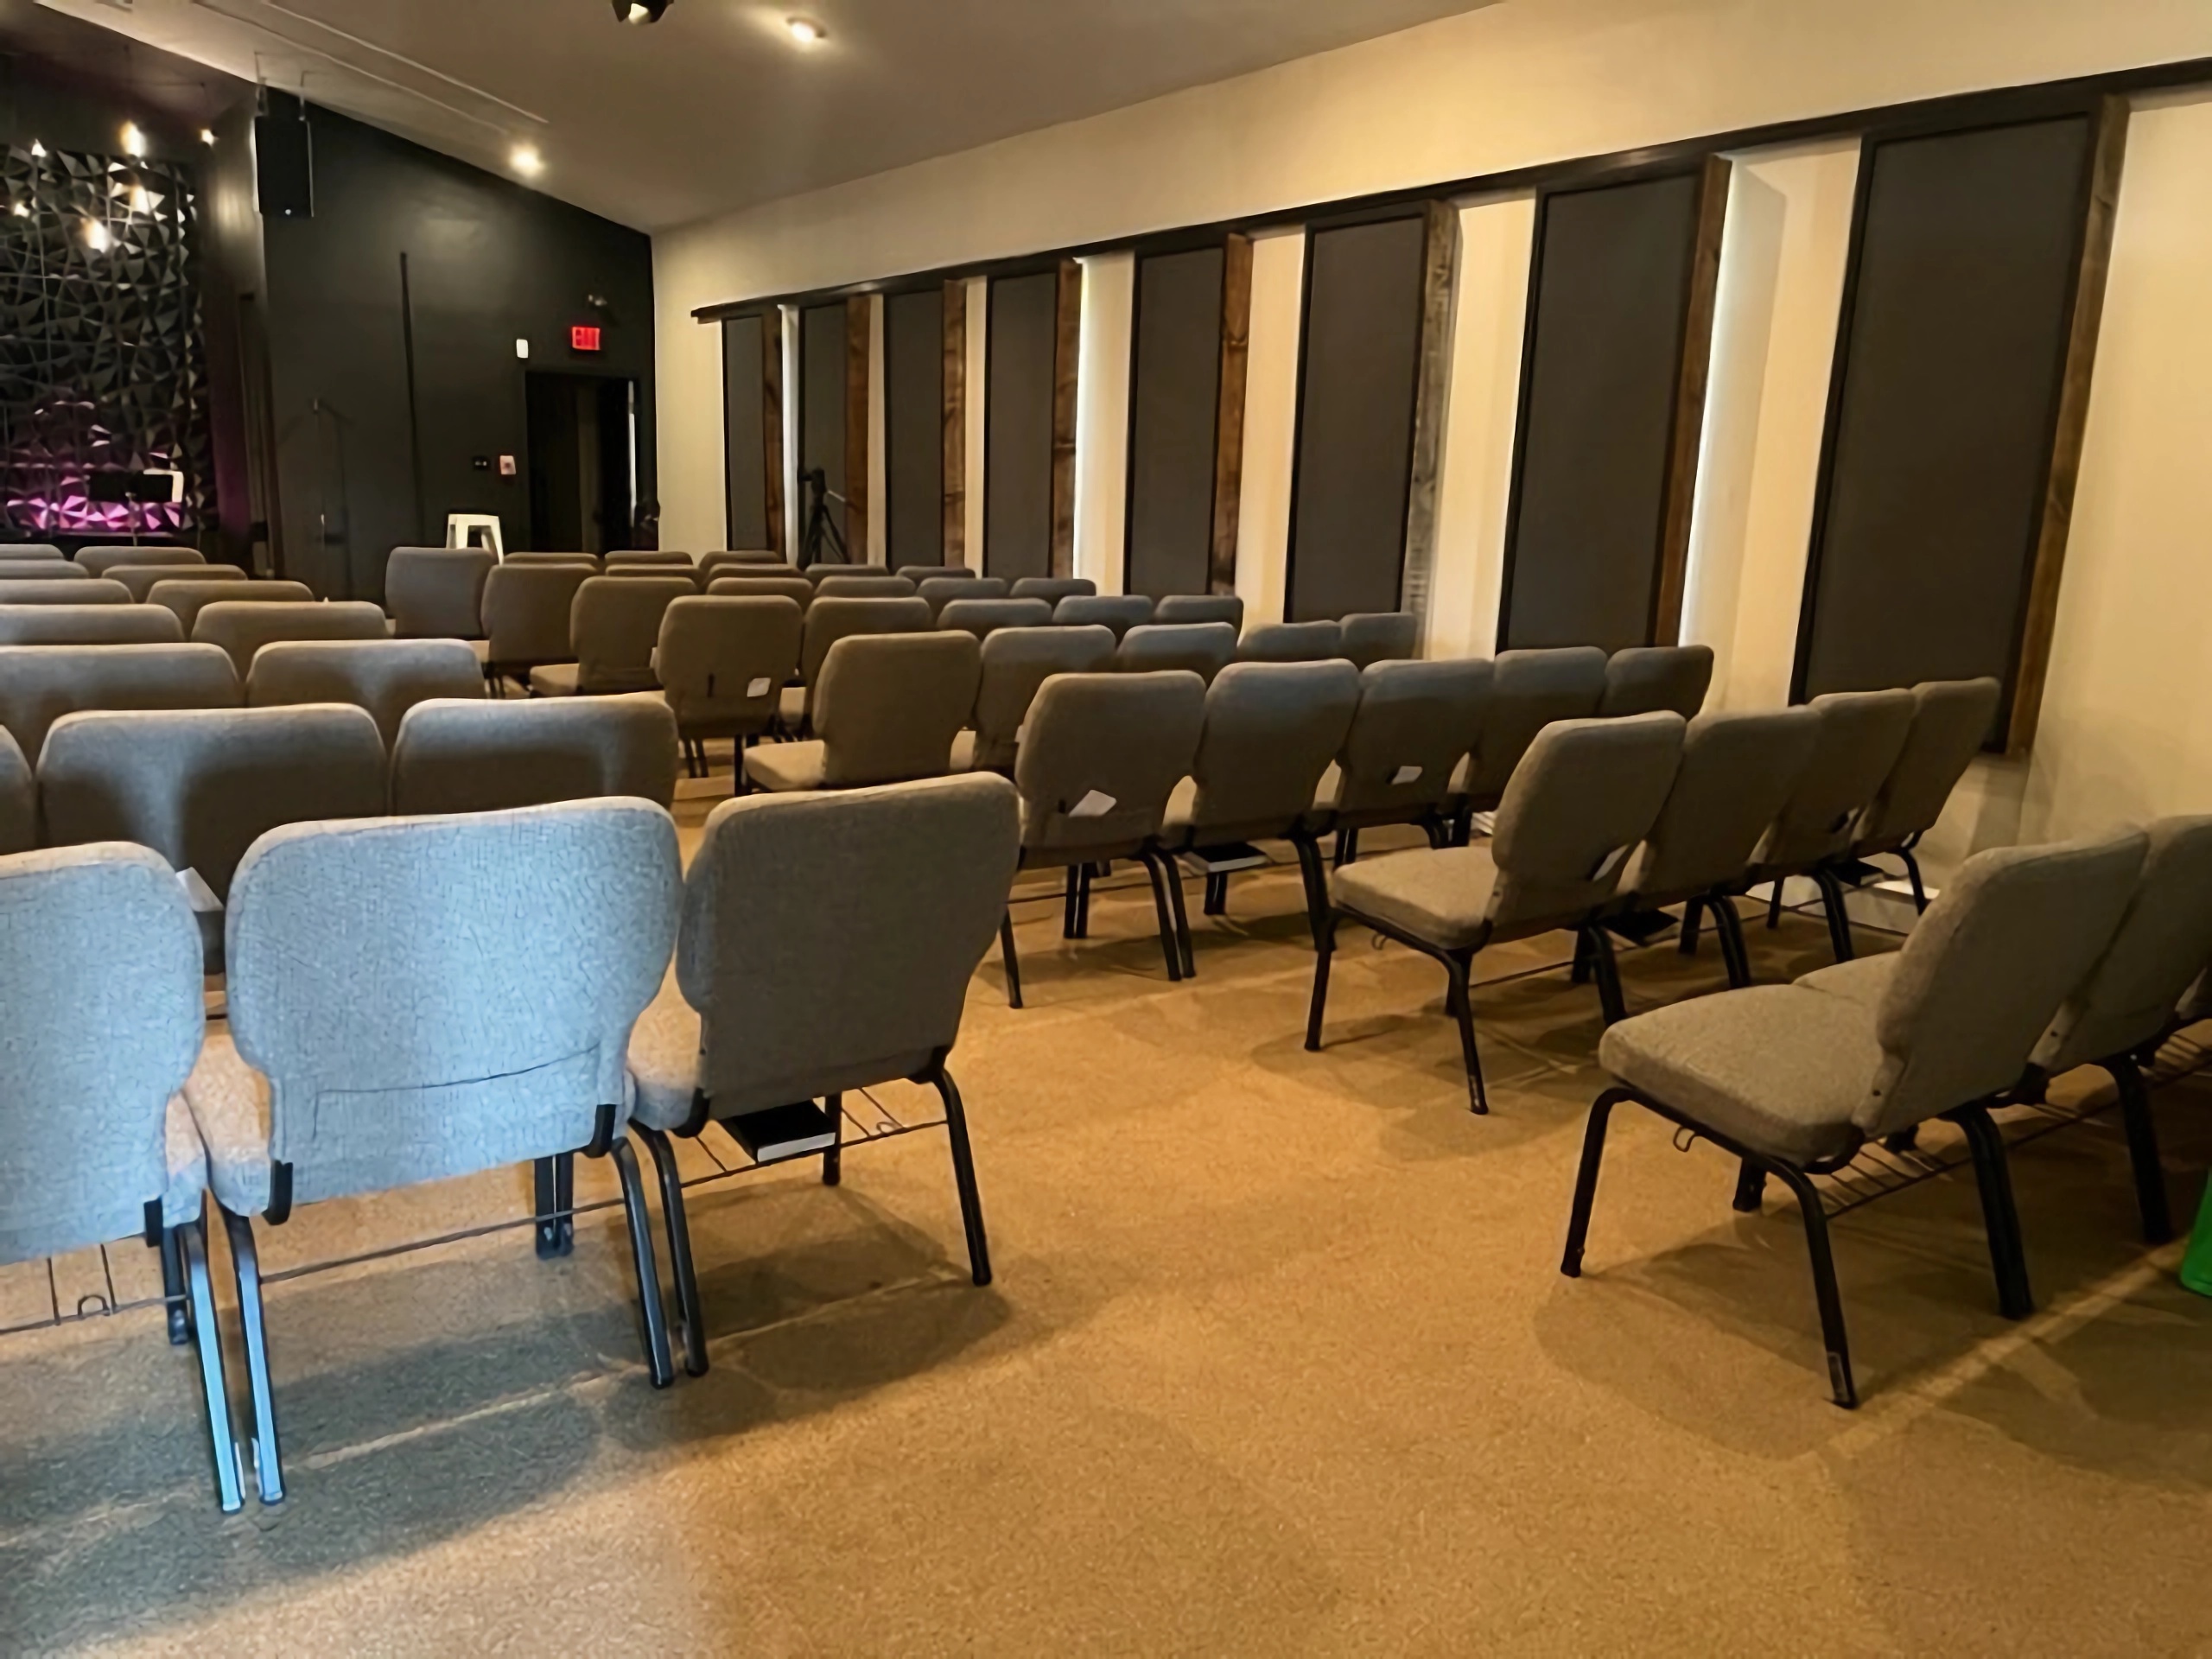
When managing surface sidewall or any wall issues for reverberation management, You must cover a certain percentage of surface area on that wall surface. This number must be calculated and is based upon a host of variables. On average, we see around 50% surface area coverage in our projects. Some require more, some less. Projects range from 35% – 65% surface area coverages. It is all about the rate and level of absorption used along with the appropriate surface area coverages to lower reverb times and improve speech intelligibility. SI is defined as how many words you can clearly hear in a ten word sentence. You can see that the surface area coverage with this project was in the 50% – 65% range. Notice with this project that they built our DIY Foam Panels on a sliding system so they could position them when the room usage required and then move them to allow for the sunlight to enter the room. This can be done in smaller sanctuaries and should be considered more that it has.
Windows are the worst surface area when it comes sto reflections. Sound takes on the characteristics of the surface area that it strikes. Glass “sound” requires us when we do reverb calculations to double the amount of distortion that the glass within the room produces. Covering windows is very powerful as demonstrated with this project. The proper rate and level of absorption was applied in the correct amount to the most critical surface area in this room size and usage. Care was taken to match the treatment strength to the strength of the reflections from that wall surface area. With reverb, you must fight fire with fire. Our foam technology was designed specifically for music and voice. It is not building insulation performance for music and voice because that is no performance at all. It is a technology that took 8 years and 2 M USD to create with over 8 prototypes. It takes into strong consideration the largest threat to reverberation that is 125 hz – 500 hz. range. It works as designed and advertised.
Featured Products

CPA – Ceiling Perforated Absorber
The CPA, is designed to address sound issues in small rooms with ceiling heights of 8′ to 10′. It combats modal pressure imbalances, effectively absorbing frequencies down to 65 Hz. The unit, measuring 48″ x 6 1/2″ x 76″ and weighing 75 lbs, comprises 6″ thick proprietary foam within a perforated structure. The design features a front plate with 1/4″ diameter holes, 1″ apart. It’s suitable for suspending over a DAW, with most small rooms requiring two units.
Find out more

Foam Frame Panel
The most economical way to install our StudioPro foam technology on your walls or ceiling is to use our foam and the mounts. This allows for airflow on both sides as the mount pushes the foam 2″ away from the surface to allow for air floor. Foam and mounts are designed to work together. If foam pieces on your walls or ceiling are not acceptable, you can use our foam panel. It is our foam technology with a 3/4″ wood frame around its edge.
Find out more

Foam Ladder
The Foam Ladder, is an acoustic treatment product designed for managing reflections in larger rooms. It features a wood frame surrounding 2″ thick proprietary StudioPro foam sheets, with dimensions of 57″ x 3″ x 77″. This product ensures air movement across both sides, reducing the number of units needed in a room to control reflection energy. It can be mounted vertically or horizontally, offering flexibility in room design, and comes with the necessary hardware for mounting.
Find out more
Do you want to solve your room acoustic problems?
There’s no one size fits all when it comes to room acoustics.
Get your FREE personal room acoustics analysis by chief acoustics engineer Dennis Foley.