Soundproofing our floors requires that we employ barrier technology. We need to put a barrier between the noise coming from other sources outside our room. We also need to put a barrier between the noise we are generating from inside our rooms and the other rooms that adjoin our room.
How To Soundproof Your Floor – 4 Step Process
Step 1 – Put Up A Barrier
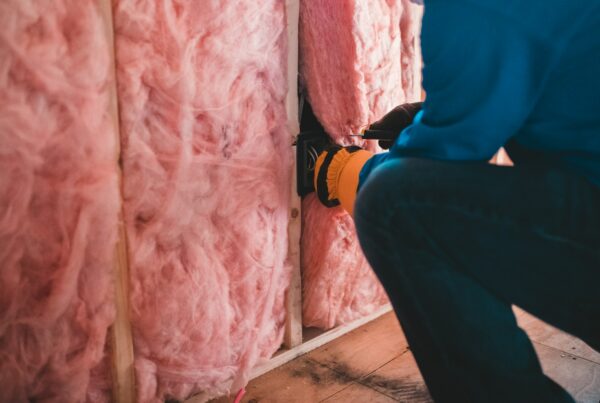
Barrier technology is all about using different materials with different densities arranged in a constrained layer, mass damped, arrangement. This methodology involves using the density of the material coupled with other materials arranged and assembled in a way that reduces vibration. Barrier technology is all about minimizing vibrations. Sound energy creates vibrations in our room boundary surfaces and that vibration of our wall, ceiling, and floor surfaces creates noise indirectly and in some cases directly. Wall, ceiling, or floor surfaces can go diaphragmatic or move in response to sound energy, especially low frequency energy. When the wall or floor goes diaphragmatic, it moves like a speaker cone and can produce “sound” of its own. Our goal is to make the barrier or floor as rigid as possible, but flexible enough to move without making any “noise” of its own.
Step 2 – Noise Level Number
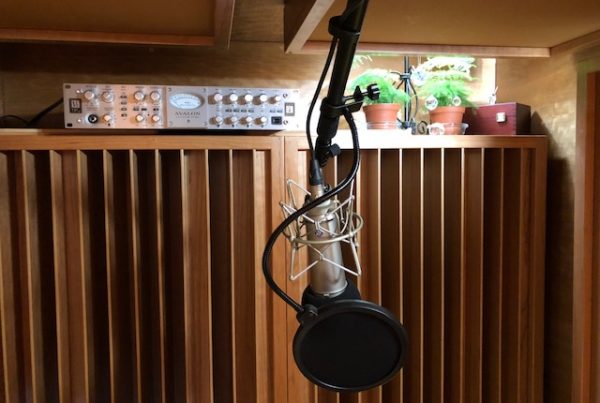
Our first goal is to determine what our actual noise problem is. It is important that we put a number to the noise. The number tells us how big our problem is and how big of a solution we need to use to make the numbers work. One can measure the noise levels in their room with a simple device called a sound pressure level meter. Radio Shack has one for around $60 that will work. Make sure you ask for a dB meter and not a sound pressure meter. They use the unit of measure as the name for the device.
Measure all sound pressure levels throughout the day. Turn off all noise generating devices inside your room and record the number. Do this throughout the day or night, probably for every day during the week. This number will be our number that shows what the sound pressure level is when our room is not the cause of the noise. If possible, go into the next room and perform the same series of measurements with all noise generating sources turned on in our room. This number will tell us what noise we are generating that will enter other rooms.
Step 3 – Standard Building Materials
Once we have our “noise” number, we can then decide what type and how much of barrier technology we need to use. If our noise issues are not severe, we can begin with a standard sheet of plywood. Next, we put a piece of drywall on top of the plywood. Lets use a 3/4″ piece of plywood and a 1/2″ piece of drywall. By varying the thickness of the drywall and plywood, we use mass damping technology to slow down the vibrations that are being transmitted through the materials. We can next add another piece of plywood to the second drywall piece. When we attach the plywood and drywall together, we should cross seam each plywood piece. Cross seaming means that we do not run the plywood pieces the same way or direction. If the grain on the top piece is positioned vertically, then we run the grain on the second piece the opposite direction. This process will aid in the reduction of vibrations. Each layer of plywood and drywall should be glued and screwed with screws 12″ on center.
Step 4 – Floor Floating
Once we have our floor assembled, we do not want to set it upon the existing floor. If we set it upon existing floor, we will have some noise reduction, simply because we have added more mass. However, this will not provide us with the maximum sound isolation. We need to physically separate our new floor from our existing floor. We have to mechanically decouple our new floor from our existing floor with at least a 5″ air space. A 6″ air space is even better. We “float” our floor by placing it on “hockey pucks”. Well, they are really not hockey pucks but vibrational isolating feet that look like hockey pucks. We will place them on 24″ centers throughout the total floor space and then place our new drywall/plywood floor on top the isolators. We must be careful not to contact the sidewalls of our room with our new floor. We should leave about a 1/4″ air space around the edge of our new floor. That 1/4″ space can be filled with a rubber isolation strip or acoustical sealant. This rubber strip or acoustic sealant provides another material type for vibrations to have to go through. The more materials for vibrations to go through, the better.
To soundproof your floor, we must first measure the noise level we have to control. From there, we use different materials with different densities arranged in certain ways to maximize vibrational control. Gluing and screwing the materials together adds the necessary rigidity for vibration control. We then separate our new barrier from the existing floor through the use of vibrational isolating feet with an appropriate air space created by the isolators.
In Summary
I hope this explanation on how to soundproof your floor was helpful. If you would like to learn more about room acoustics please sign up for our free videos and ebook by joining the mailing list here. I send room tuning tips and things for you to test in your room every Wednesday. They are easy to follow and will really help you enjoy more of your music.
Alternatively feel free to contact me directly at: 520 – 392 – 9486 MST or info@acousticfields.com. You can see more of my research and development story and why I started Acoustic Fields at: https://www.acousticfields.com/who-we-are/.
Thanks and speak soon
Mike