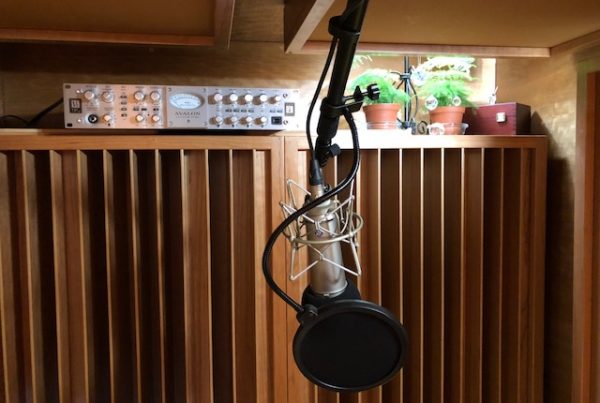
What is the window? It is a wall that you must see through for various reasons to perform certain tasks necessary in your control rooms, project studios, or listening rooms. How to soundproof a window is a complicated process. You must treat it as any other structure within our room in terms of acoustical issues. You must address isolation issues especially with low frequencies and reflection issues with middle and high frequencies if you are going to learn how to soundproof a window correctly. This blog updated on 12/5/19 to reflect the current experience and knowledge in regards to how to soundproof a window.
Step 1: Sound Measurement
The sound isolation of a window is necessary to keep unwanted sound energy from outside sources out. If a band is playing outside your control room, you definitely want to keep that energy out. You need to first decide how much energy we need to isolate, let’s say, a control room environment. Measure the energy within the band room with a simple SPL meter. Take measurements from the band using a ballad and then a full-blown rocking out song. Measure the frequency response of all that pressure and you will see most of the problem causing energy is low frequency.
Step 2: Window Size
Once you have assigned a number to all noise and sound issues, you can begin to design your window. Line of site is critical and you must decide how large of a window you really require to achieve all of your visual objectives. Determine this by blocking the existing area for the window and reducing its size down to the minimum window size required to accomplish all of your objectives. The smaller the better.
Step 3: Window Wall-Weakest Link
A wall that is used for sound isolation is only as good as the weakest acoustical link in the wall system. The isolation of the window can not be greater than the sound isolation provided by the wall in which the window is installed. If you have designed a window with 60 dB of isolation and your wall you will install it in is only 40 dB, you are wasting your money and time. Noise or sound energy will flow like water through the weakest link in the acoustical chain. Make sure your wall is equal in isolation to your window.
Cost No Object
Isolation is difficult for most individuals to grasp. Sound isolation numbers are hard numbers and it does not matter to the wall or window, what device or devices you use to create that energy. I have heard people say that they only want to practice their drum kit, not play on a full set, so therefore they do not need to spend very much on noise isolation. There is no relationship to the cost of isolation and the devices that will be used to create energy. Sound energy is sound energy and is measured by a number. It does not matter what produces it or how much that device costs that do.
Step 4: Window Plates
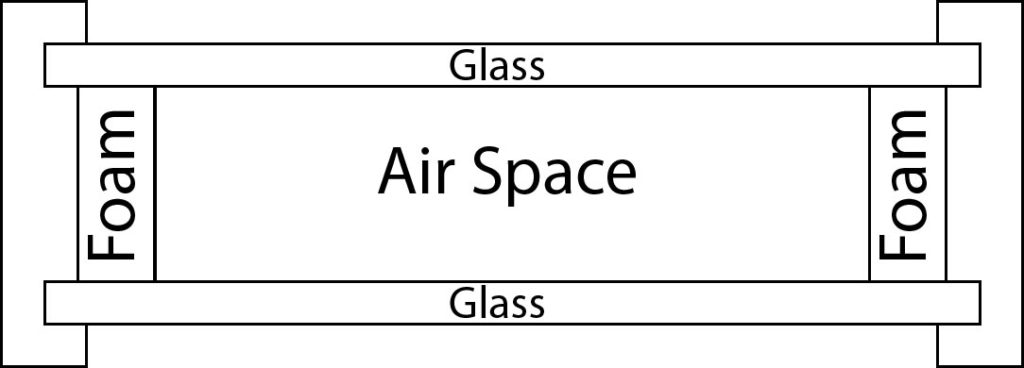
Once you have determined your minimum window size, you next need to determine what thickness and type of glass you need. If your low-frequency issues are large, the thicker the window the better. Obviously a 1″ thick piece of glass will be more powerful in reflecting low-frequency energy from its surface without moving and creating vibrations that will create sound. We do not need a single pane of glass that is very thick. We can use two thinner pieces. Laminated glass is preferable over the regular plate because it has a thin sheet of plastic between glass sheets that will minimize our vibrations. Laminated glass is also called safety glass because if it breaks it will not splinter because of the layer of plastic between the glass sections.
Step 5: Window Plate Separation
We know that air space can be another layer of material that we can use to isolate sound energy. Finding the correct distance is the more difficult decision. As a general rule, the more the better but we must work within existing construction materials and techniques. If we use a plate glass that is 4mm thick and use two plates close together, we are worse off than using a single 4mm plate, especially between 200 Hz. – 700 Hz. With thin glass plates and larger spacing, we are much better off. A good start point is to increase glass plate thickness to 12 mm which is about 1/2″ and to make your air space a minimum of 4″. If you have space, a 6″ air gap is best.
Sliding Window Panel: https://www.acousticfields.com/product/sound-absorbing-panels-for-windows/
Sliding Window Panel
Step 6 : Reflection Control
Reflections off of our control room window are always unwanted. I can not think of a single situation in which they are desired. In order to minimize the number of reflections at the monitor position, we need to angle or splay the window surface so that the reflected energy moves away into another room surface. We accomplish this by angling or splaying the window at a minimum of 15 degrees from the center. Find the area most impacted by the window surface reflections and splay or angle the window away from that area.
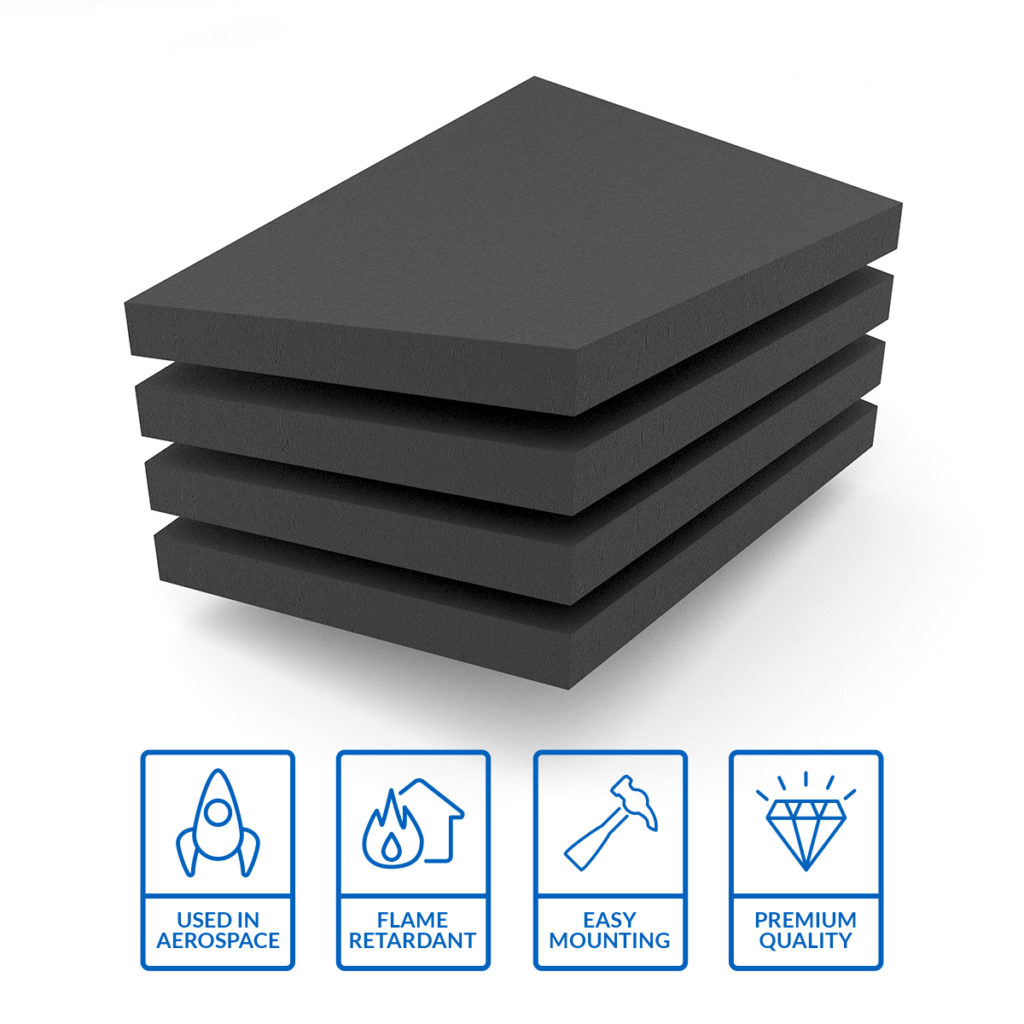
Step 7: Sealing And Foam Lining
When we install our glass wall, we are creating a miniature room between our two glass plates. In that room, with its walls, floor, and ceiling, we have a small box that can resonate with energy at the dimensions of the “room”. We need to line the window inside edges with acoustic foam that is designed to handle the resonances that can be created inside our “window room”. Placing the acoustic foam around the window edges with a minimum thickness of 2″ will handle most resonances within our 4″-6″ window depth. Larger window depths will require larger thicknesses of foam. Plan for this early in the window design.
Studio Pro Foam: https://www.acousticfields.com/product/acoustic-foam/
Follow The Steps
Fitting a window into an existing wall requires several calculations before one starts. You must first determine what noise levels you are trying to isolate from. Next, you need to determine glass plate thickness and the distance between the two plates that will be needed to isolate from all invading frequencies. Angle the window away from the listening or monitoring position. Seal each plate to the existing structure against dirt and insect penetration and don’t forget the foam window lining. You need to be cognizant of this steps when thinking about how to soundproof a window.

About Us At Acoustic Fields: https://www.acousticfields.com/about/
In Summary
If you have any questions on how to soundproof a window please feel free to email me and I will be happy to help. Please message me at info@acousticfields.com. If you want to learn more about room acoustics please sign up for our free acoustic video training series and ebook. Upon sign up you will have instant access to the room acoustic training videos and ebook to help improve the sound in your studio, listening room or home theatre.
Thanks
Dennis