How to set up a listening room. You don’t know how many times a day I get asked that question. There are so many answers to how to set up a listening room that one could write ten blogs on that very topic. You have to start fine tuning the question from how to set up a listening room to what are the first steps I need to take to create a listening room. Set up in a listening room is the last thing you should be doing in the listening room set up process. For this discussion, we will use a two channel rig as our source. Our next step is to determine the proper room dimensions so we can minimize the unwanted low-frequency modal issues. If we choose ratios of width, height, and length that are favorable for a two channel rig set up, we are well on our journey towards how to set up a listening room. How do we determine what room ratios to use and what if I have an existing room that I want to use for the two channel rig. How do we go about that process?
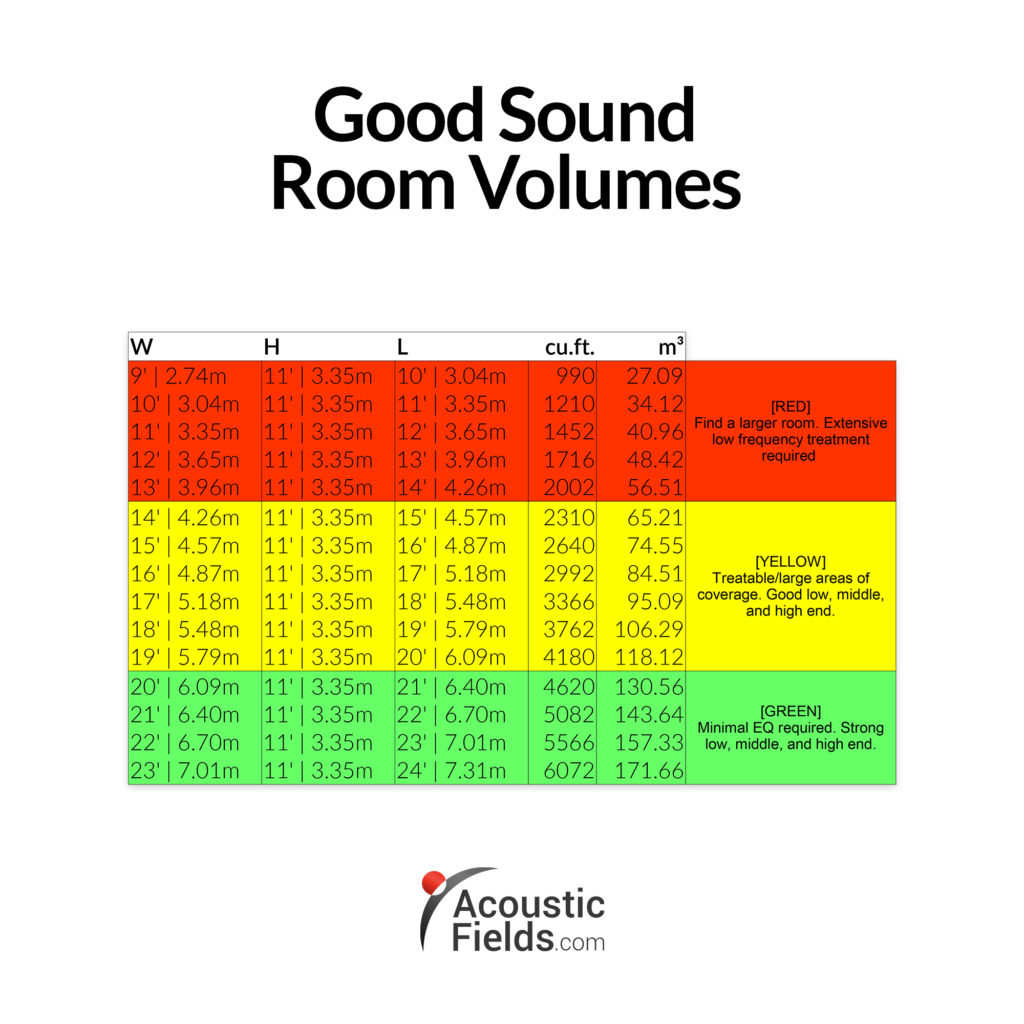
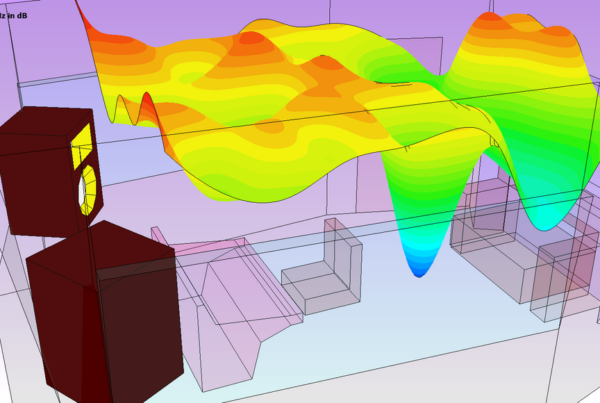
If you are building a new room, the selection of width, height, and length must be done before any piece of wood or concrete is poured. We will look at different width, height, and length combinations and we will choose those combinations from our database of over 260 built and measured rooms. When we look at a new construction, we look for the largest footprint we can get. It is always easier to go down in size than it is to go up. We look for ratios that will work well with the low-frequency treatment. In the end, we use the dimensions of the room along with the horsepower of our carbon technology to come up with a room response guarantee from 1.5 – 2 dB from 30 Hz. – 20,000 Hz. This can only be accomplished with a technology that has the horsepower, consistency in performance and predictability of every square foot of the room which allows us to tune the room every 14 1/2″ which is the distance between the studs. Most room modes average around 30 – 40″ in width depending on the room dimension and the pressure placed into the room. With the ability to go after room modes every 14 1/2″ we have a very powerful tool to control room modes https://en.wikipedia.org/wiki/Room_modes
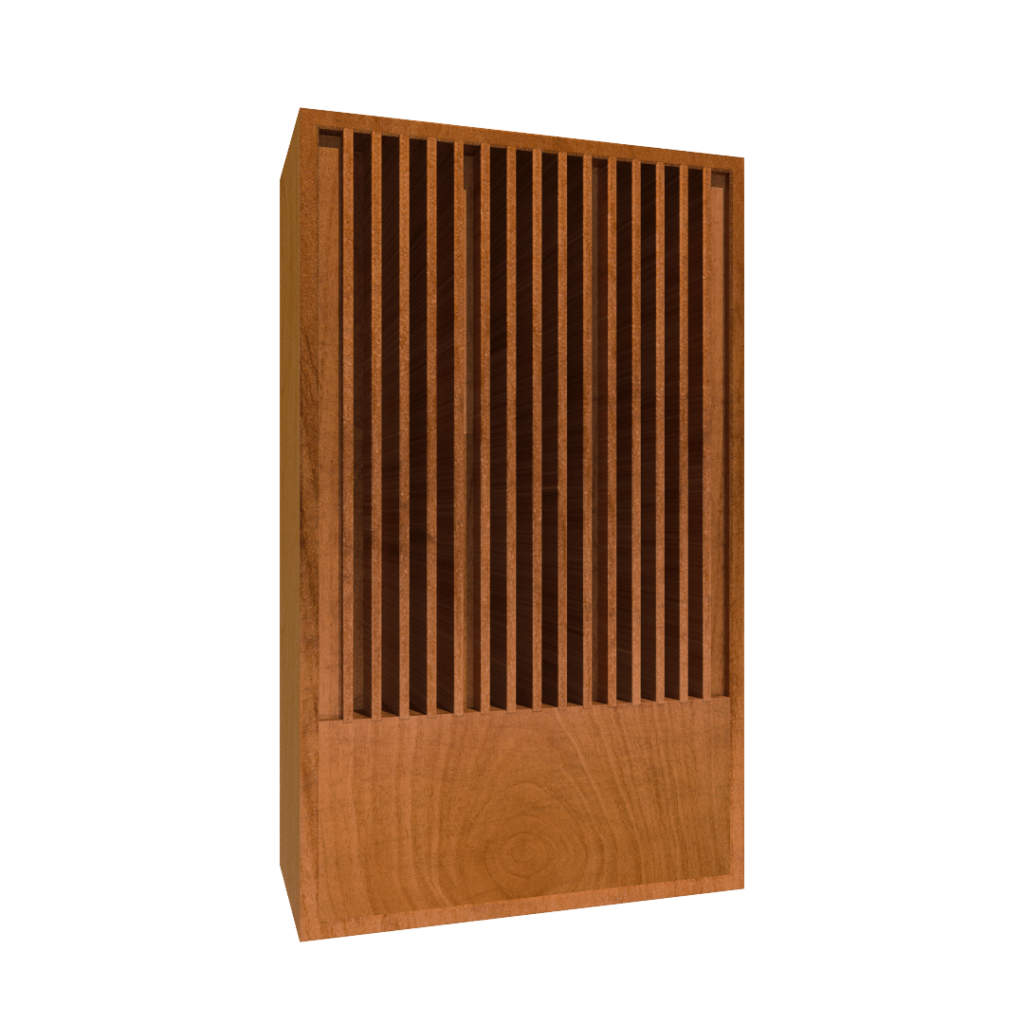
Once we have all the dimensions calculated for our usage and the low-frequency management installed within the walls or as freestanding units. If you have an existing room then we will use freestanding units such as our ACDA series or our Carbon Panel. With low-frequency management it is all about square footage of coverage to deal with each frequency and amplitude issue within the room. You can build it into the walls with a new construction using our CAW system https://www.acousticfields.com/carbon-absorber-wall/ or use freestanding units https://www.acousticfields.com/product/carbon-panel/ to achieve the square footage requirements to treat the location of your modal issues throughout the room. In most small rooms you must treat all 4 walls in order to have a solution that is audible and addresses all the room issues. When we do our room analysis we look for two walls to treat that are producing most of the modal issues. Unfortunately, in small rooms it is all 4 walls and even the floor to ceiling dimension that produces the issues.
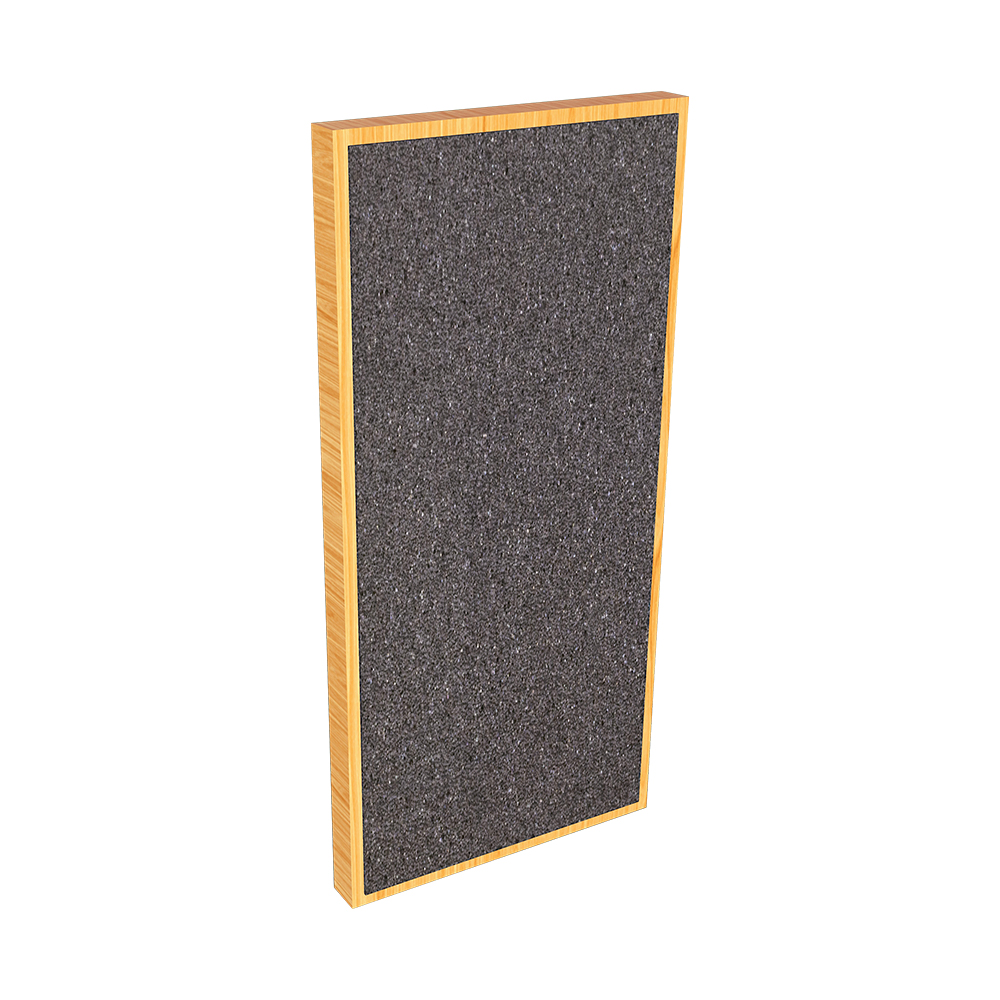
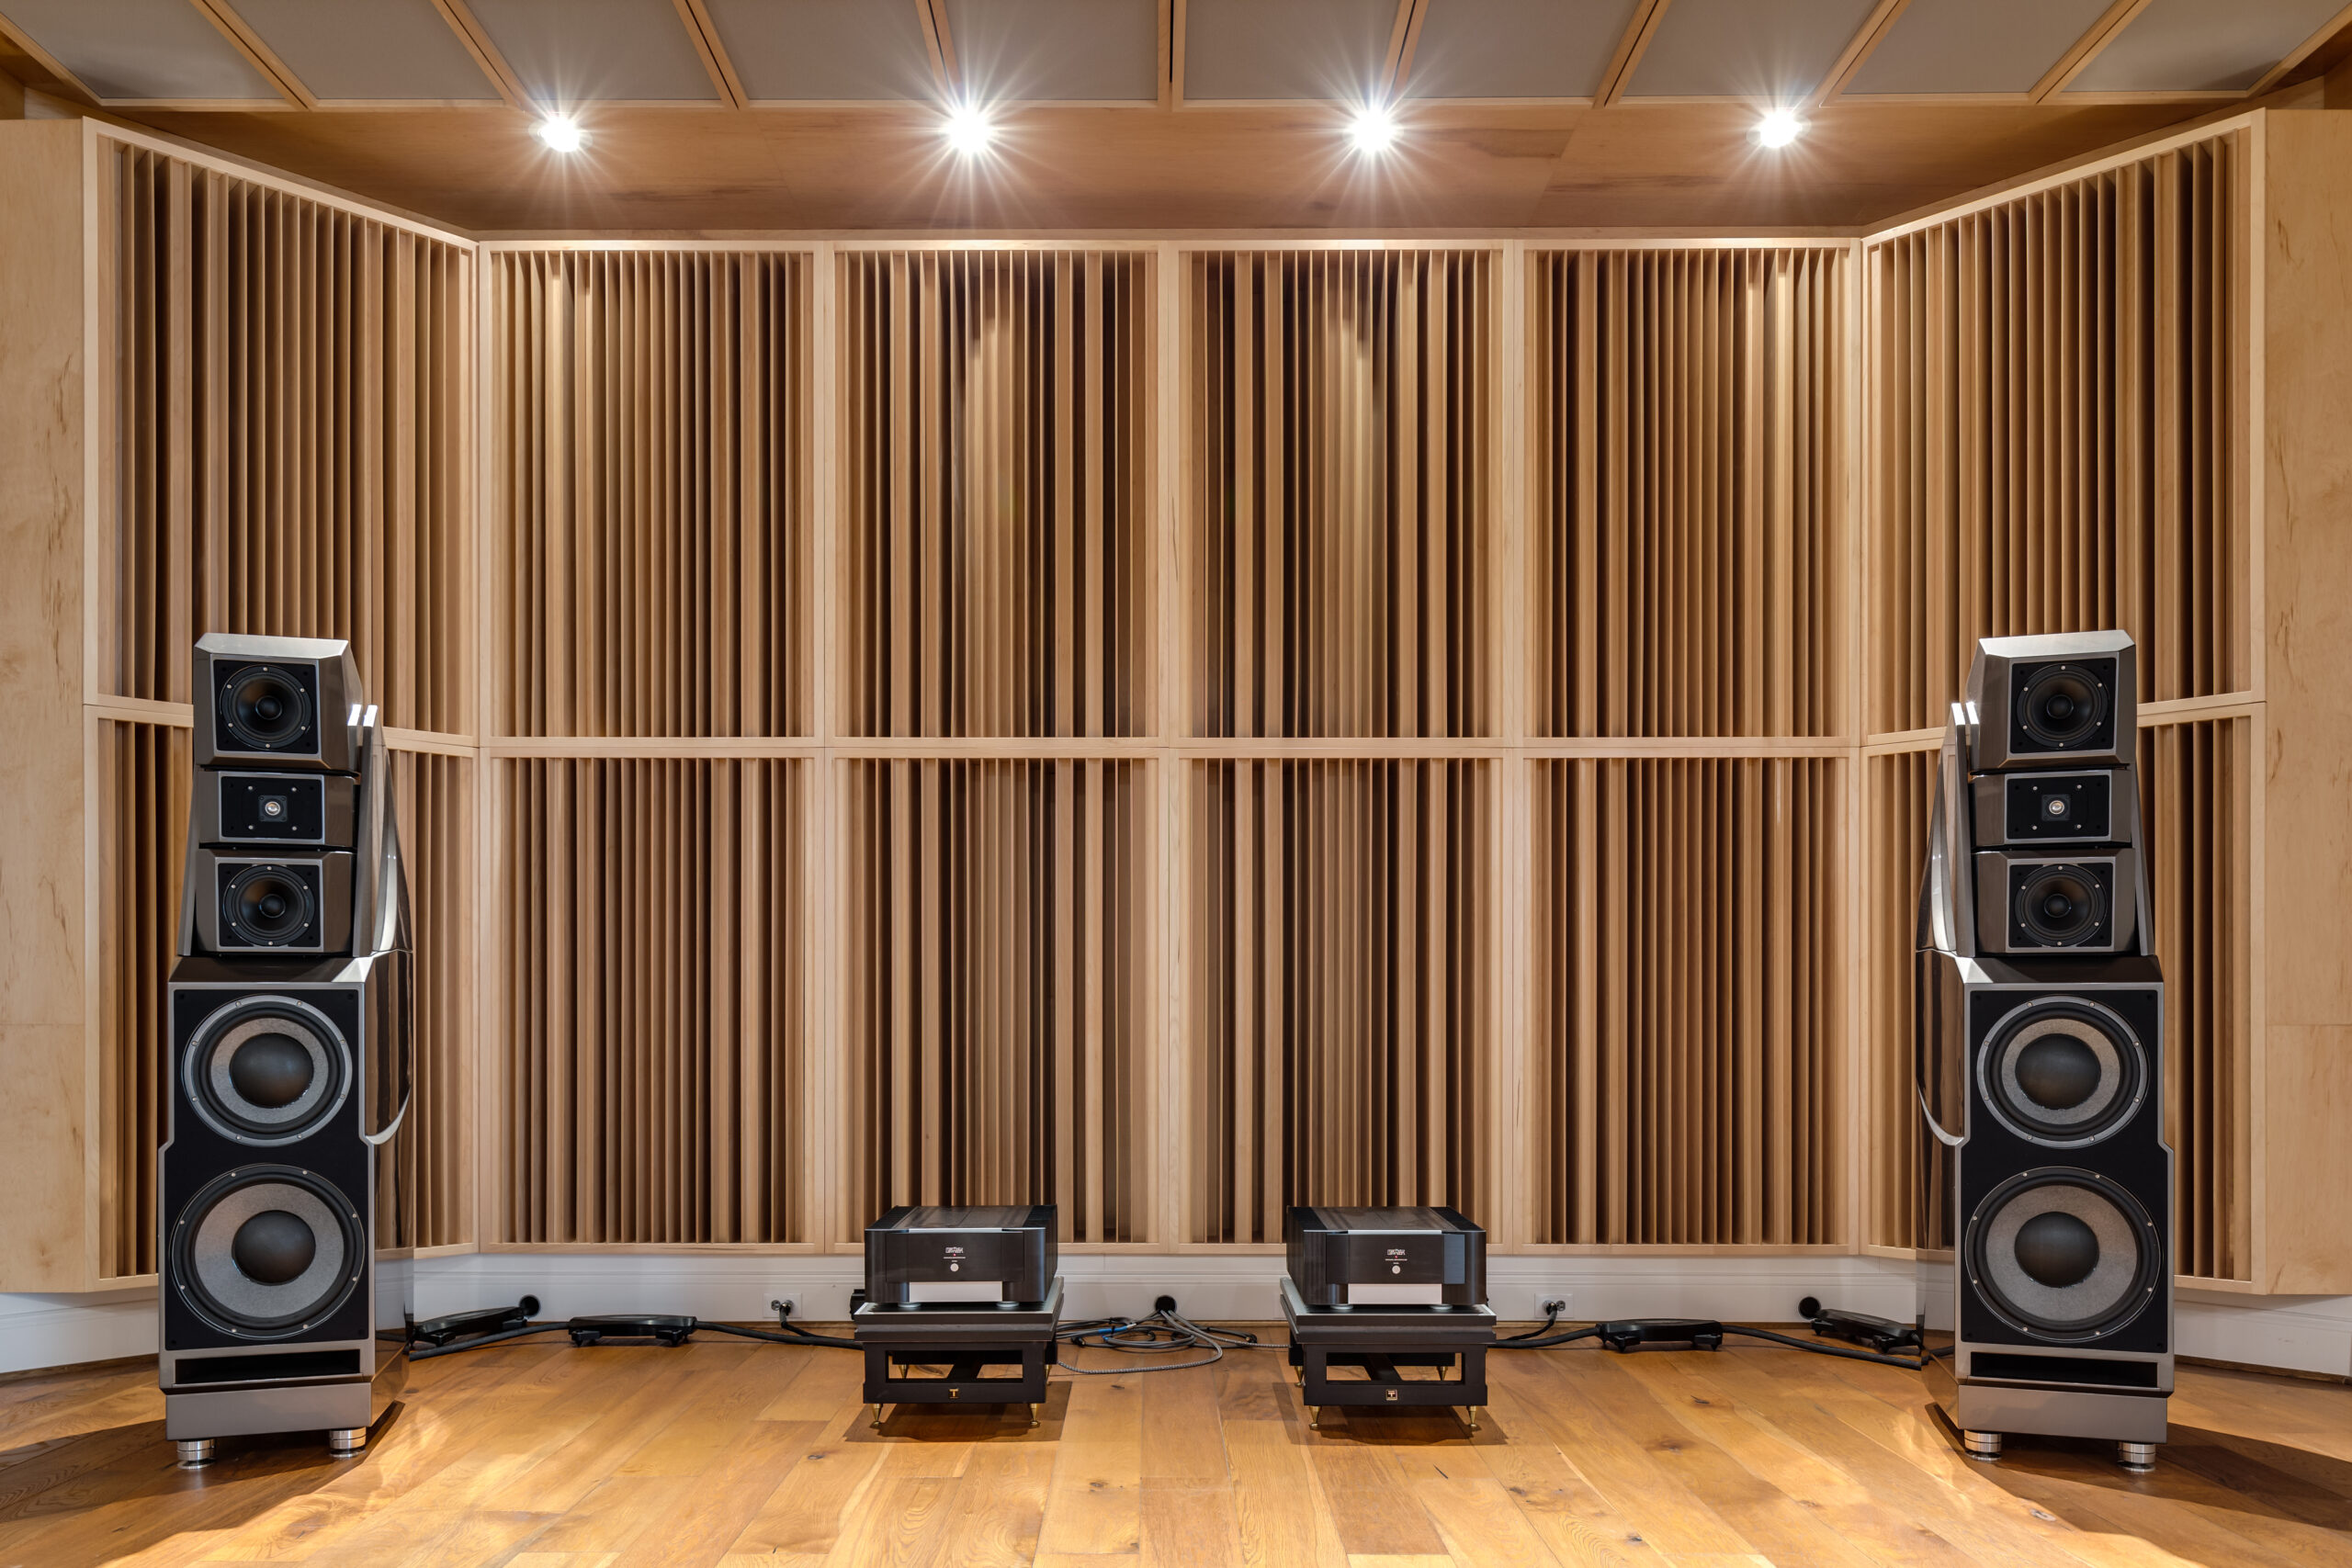
Our first acoustical goal in how to set up a listening room will be to manage the low-frequency energy within the room. If the dimensions of the room do not work well for room modal issues, we must treat the offending wall surfaces with either freestanding or our inwall system. Once we have the low frequency issues managed, we can then proceed to managing the middle and high frequencies. Reverberation is our enemy when it comes to reflections from our wall surfaces. https://www.merriam-webster.com/dictionary/reverberation. We must use the same rate and level of absorption for the entire rooms so that all room surface treatment areas are working together. Middle and high frequency management is less costly than low-frequency management and can be achieved using an open celled foam technology. When treating the walls of a listening room, we want to focus on the front wall and both sidewalls. The rig should be set up at least 4′ away from the front wall and at least that distance from each sidewall. We will treat the front wall with sound absorption and both sidewalls. You can use our raw foam technology to save money or you can purchase panels that have our foam technology inside of them. https://www.acousticfields.com/product/acoustic-panels/
Diffusion is always welcome in a two channel listening room for the front and rear walls. Diffusion is a technology that will make a small room sound larger. With a two channel set up, you will need to first manage all the low, middle, and high frequency issues we have discussed first. Without proper management of reverberation times and low-frequency issues, diffusion will make your room sound worse. One you have all of the absorption issues addressed, we must then select the distances we have to work with from the front wall to the listener and the rear wall to the listener. diffusion is distant dependent so we must know what distance we have to work with. Once we determine the distance, we can then select the prime number of diffusers that we will need to match the distances we have to work with. Every prime number diffuser represents a frequency range and our goal is to get the widest frequency range we can given the distances we have to work with. https://www.acousticfields.com/product/qda-13-quadratic-diffusor-absorber/