Experience Can Help Us
Hear are some tips I have received from studio engineers who have come up against these issues in their rooms. I hope they help you in your home theater, personal listening room, and professional full or project studio.
Gear Location
The quality of our gear is measured in its ability to produce the sound we desire but also in its ability to work well consistently. If you have a piece of gear that needs constant attention or adjusting, its best to locate that particular piece of gear into your rack’s location that is easily accessible. You want to be able to adjust that piece easily and have it within easy reach. Machines that do our work for us must be easily positioned so we can keep them working well for us.
Excessive Heat
Heat in our rack systems is an issue that must be dealt with excessive heat that even gets close to the gear’s operating range can affect performance and unit life expectancy. The last thing one wants or needs is to have a power amplifier next to a mic preamp. Most mic preamps are delicate things that operate best within a limited temperature band. Excessive heat may lead to excessive this or that in its sonic producing capacities. Rack fans are a good method for keeping the air moving across the heat sinks if the units. For excessive heat requirements, water or liquid cooling can be beneficial.
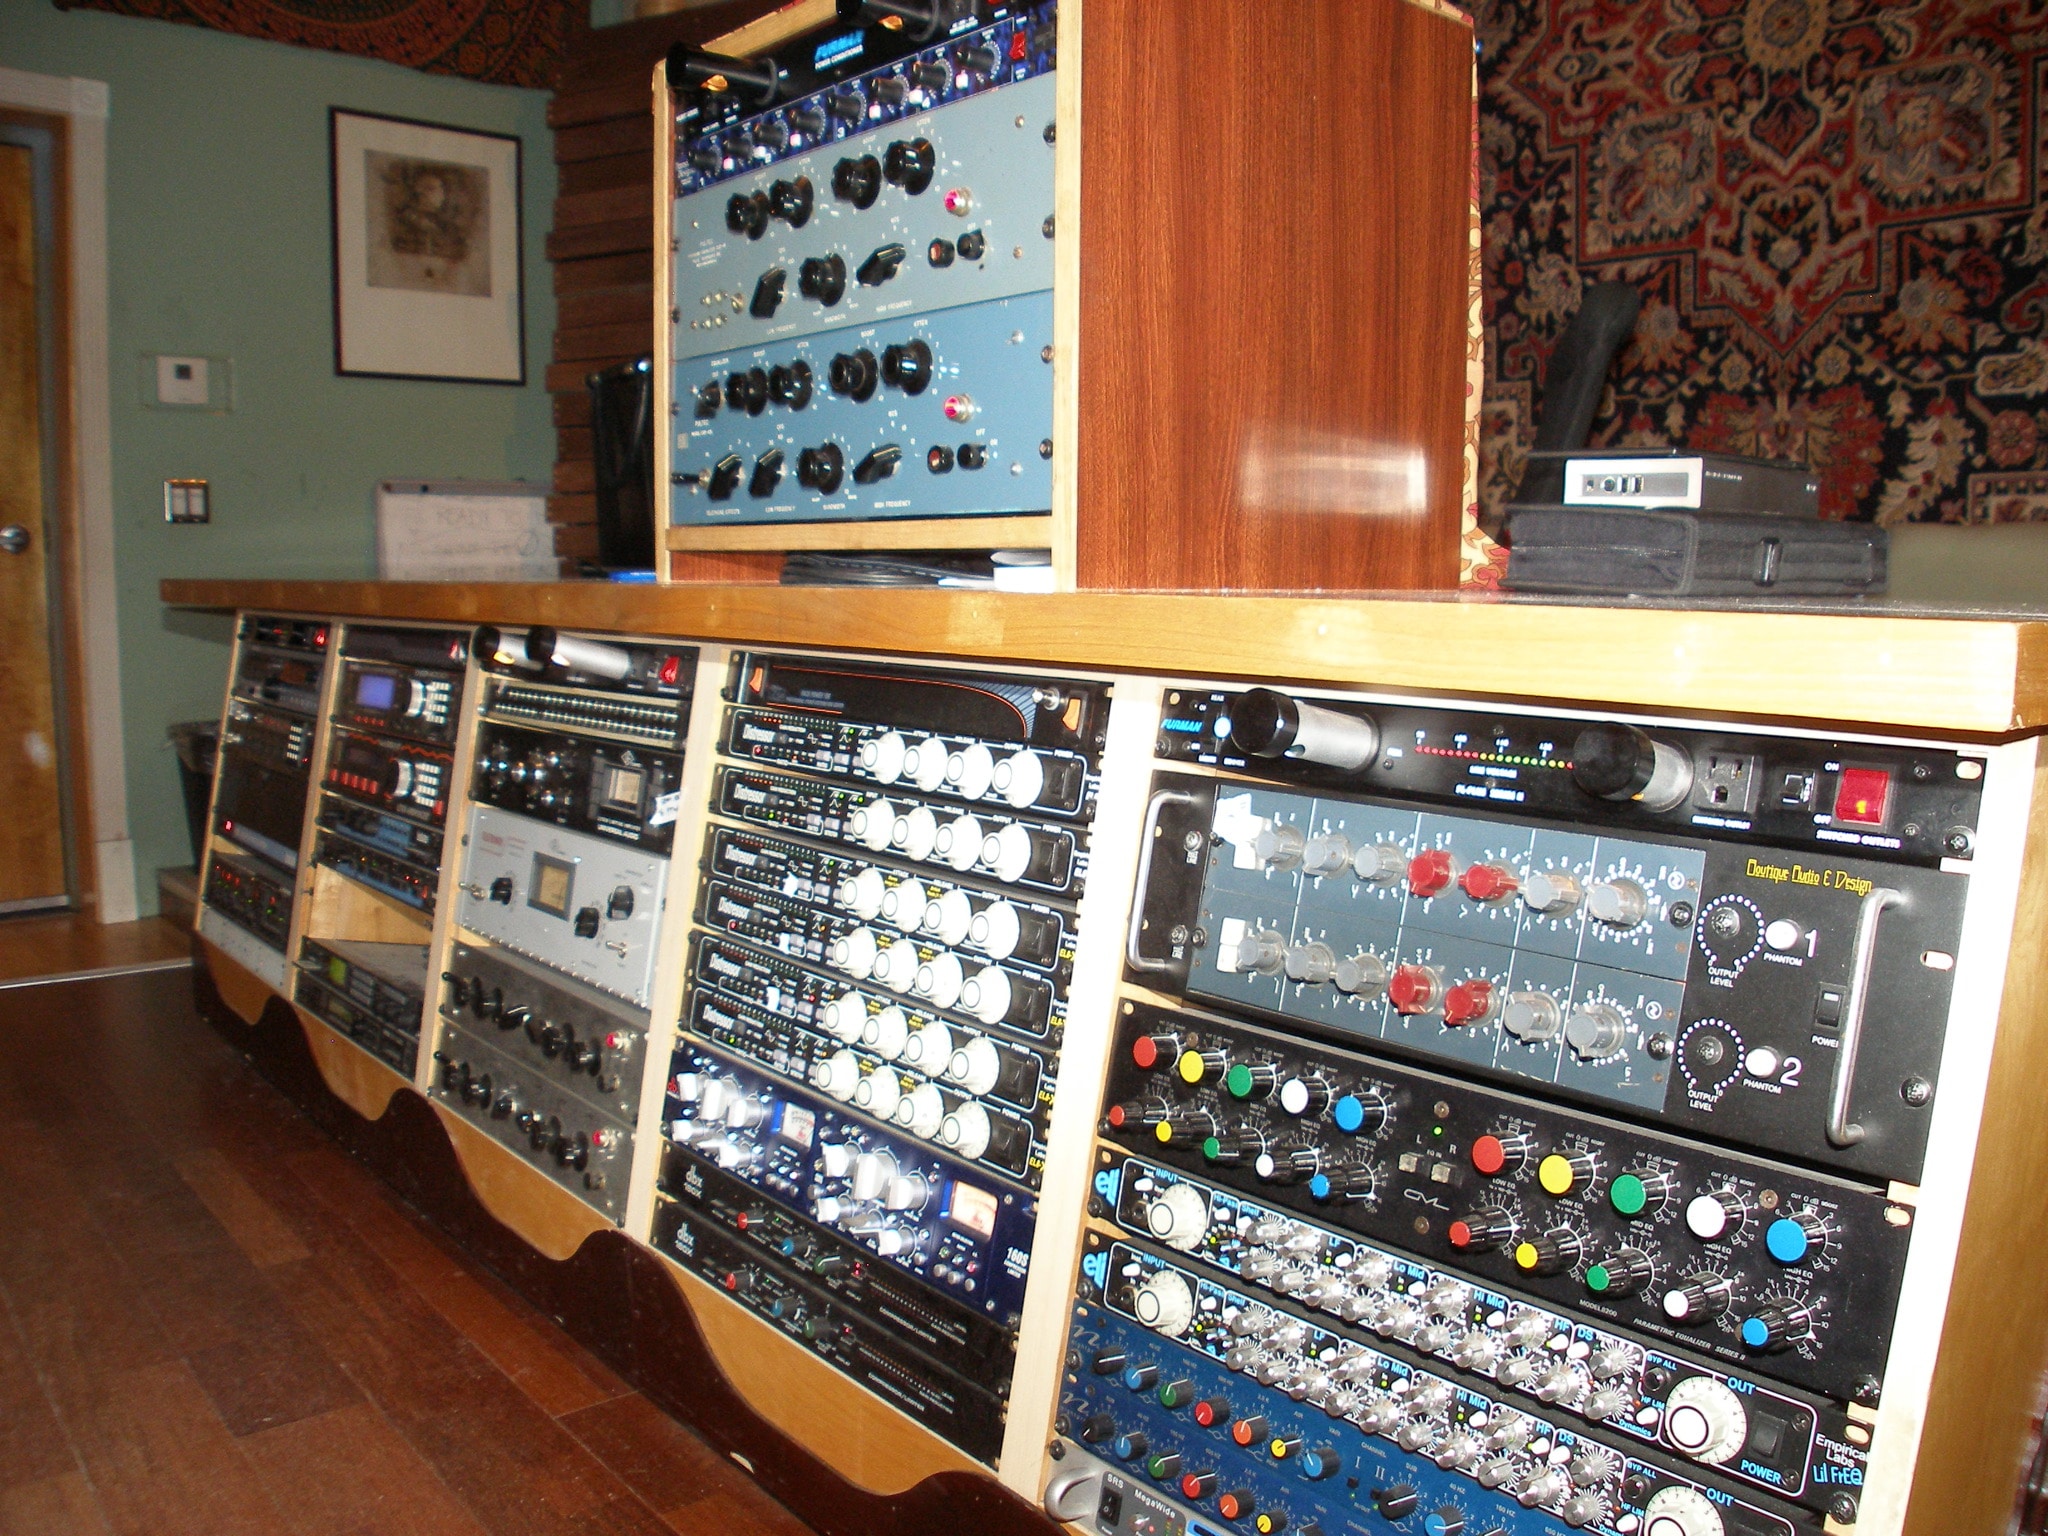
Gear Stacks
Gear Grounding
Having all your gear grounded correctly is critical. The smallest difference in the chassis ground voltage can be magnified in the audio chain of equipment. This magnification will result in a system hum that can drive you crazy. The best method of grounding that I have seen the professionals use is termed the “star” grounding system. With this method, a large steel spike is driven far down into the earth and each and every piece of gear is grounded through this spike. Make sure all your grounding wires are of equal length. I have also seen a copper rod used in some audiophile systems.
Same Circuit
If your current situation does not allow for this method and you only have a small amount of gear, you can place all your gear on the same circuit. You should look for a circuit that has at least a 20 amp rating for your gear to be attached to. A 15 amp circuit may not trip during usage but with multiple units attached to it, it can have voltage fluctuation drops that will make your tube gear sound like a transistor radio. One can also distribute gear over different circuits especially those pieces that have larger power draws. Use nylon washers to separate the gears chassis from the metal rack they are contained in.
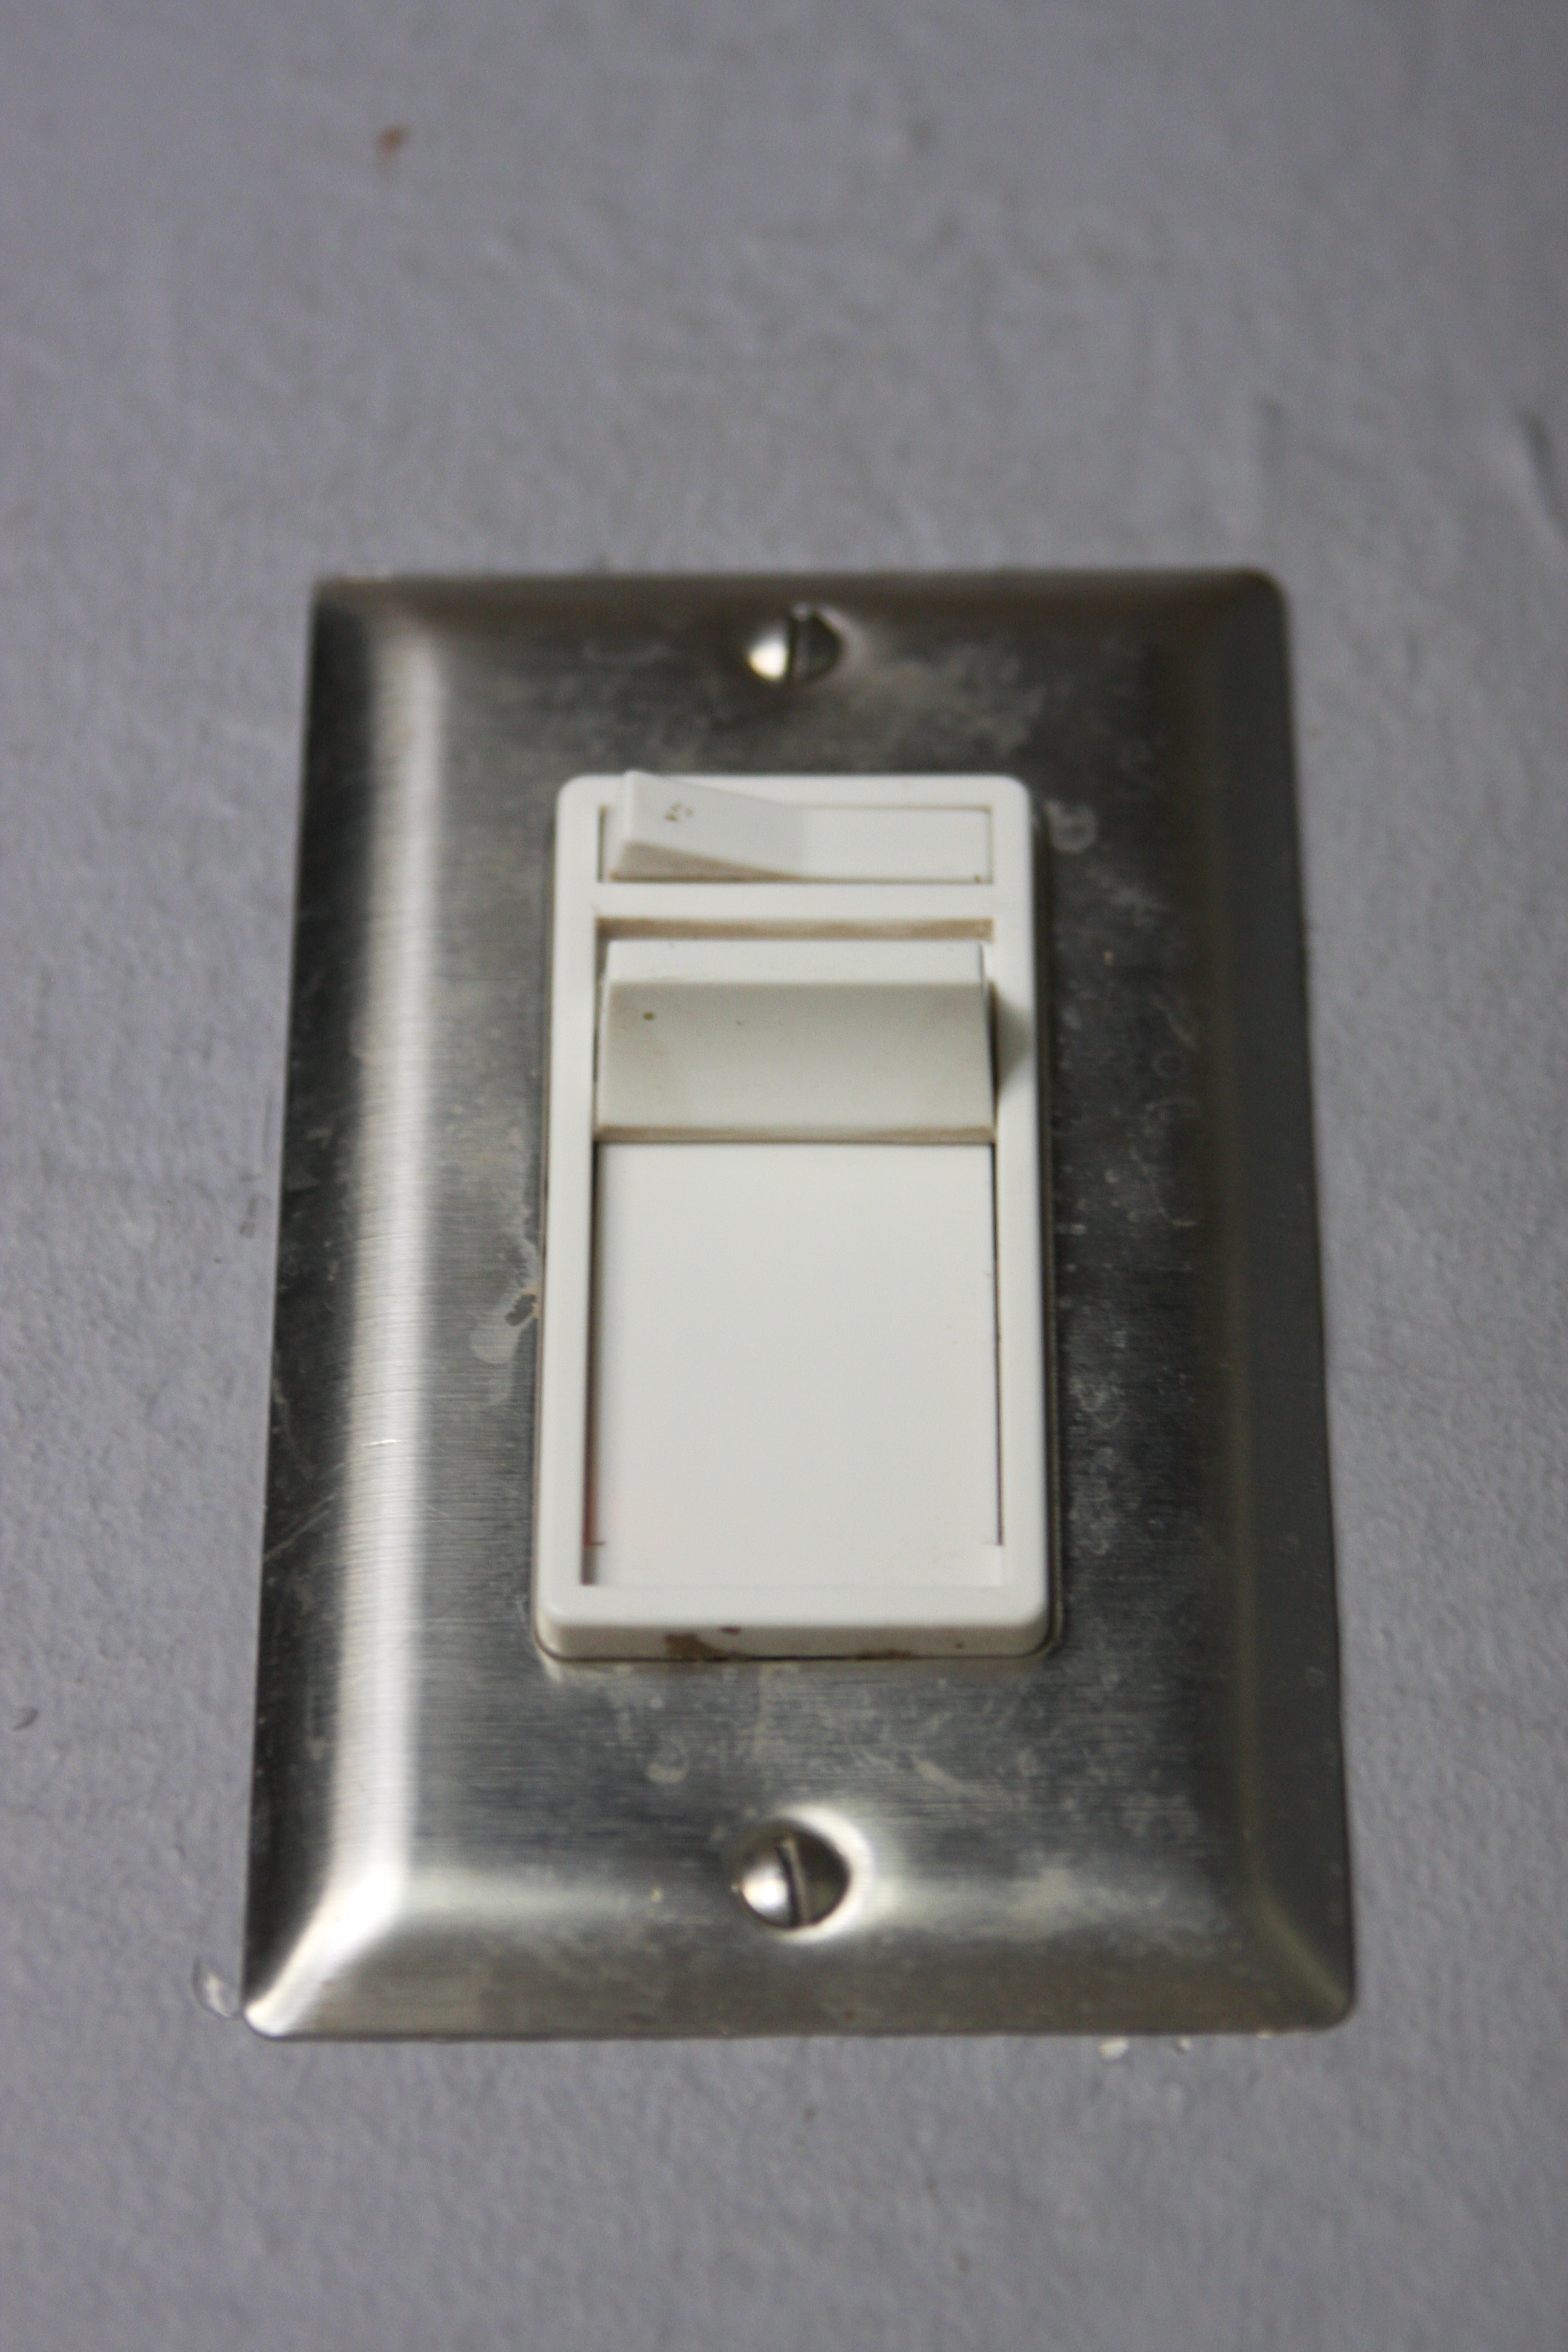
Residential Dimmers
Lighting System
Watch the lighting system you use in your studio. Lights that are attached to some type of dimming system can add unwanted interference into the air and then into our audio chain. If you are using a dimmer system, make sure you get one that is made for the usage that it is designed for. Stay away from residential dimmers and look to other units that can handle larger capacities. With dimmers, it is always best to oversize.
Noise Sources
Noise sources outside your room must be addressed. If you are working in a small apartment, there are many things you can do to lower the noise levels from outside sources so that they fall below the “ears” of your microphones. Limp mass barriers materials can be applied to your interior walls to add additional layers of isolation materials to the wall. One can also build a portable wall that can be mounted into position and then removed as the need dictates.
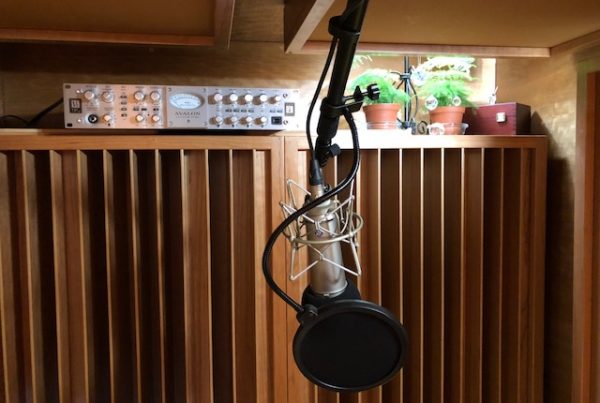
Microphone Position
Our mix position is a critical issue that we must address. Make sure you do not have any peaks or valleys in the room’s response curve and make absolutely sure that you are not positioned your monitoring chair in a room mode. Room modes at the microphone position can exaggerate some frequencies and completely smother others. We do not need this acoustic nightmare showing up when our goal of critical listening at the mixing position is paramount.
Monitor Position
Monitor position is many times not ideal. If you have your monitors on speaker stands, make sure they are positioned close enough to the monitoring chair to be in near field listening mode. Having the correct separation between your monitors and the correct distance from speaker to listening position can make all the difference in the world to your sound quality and presentation.
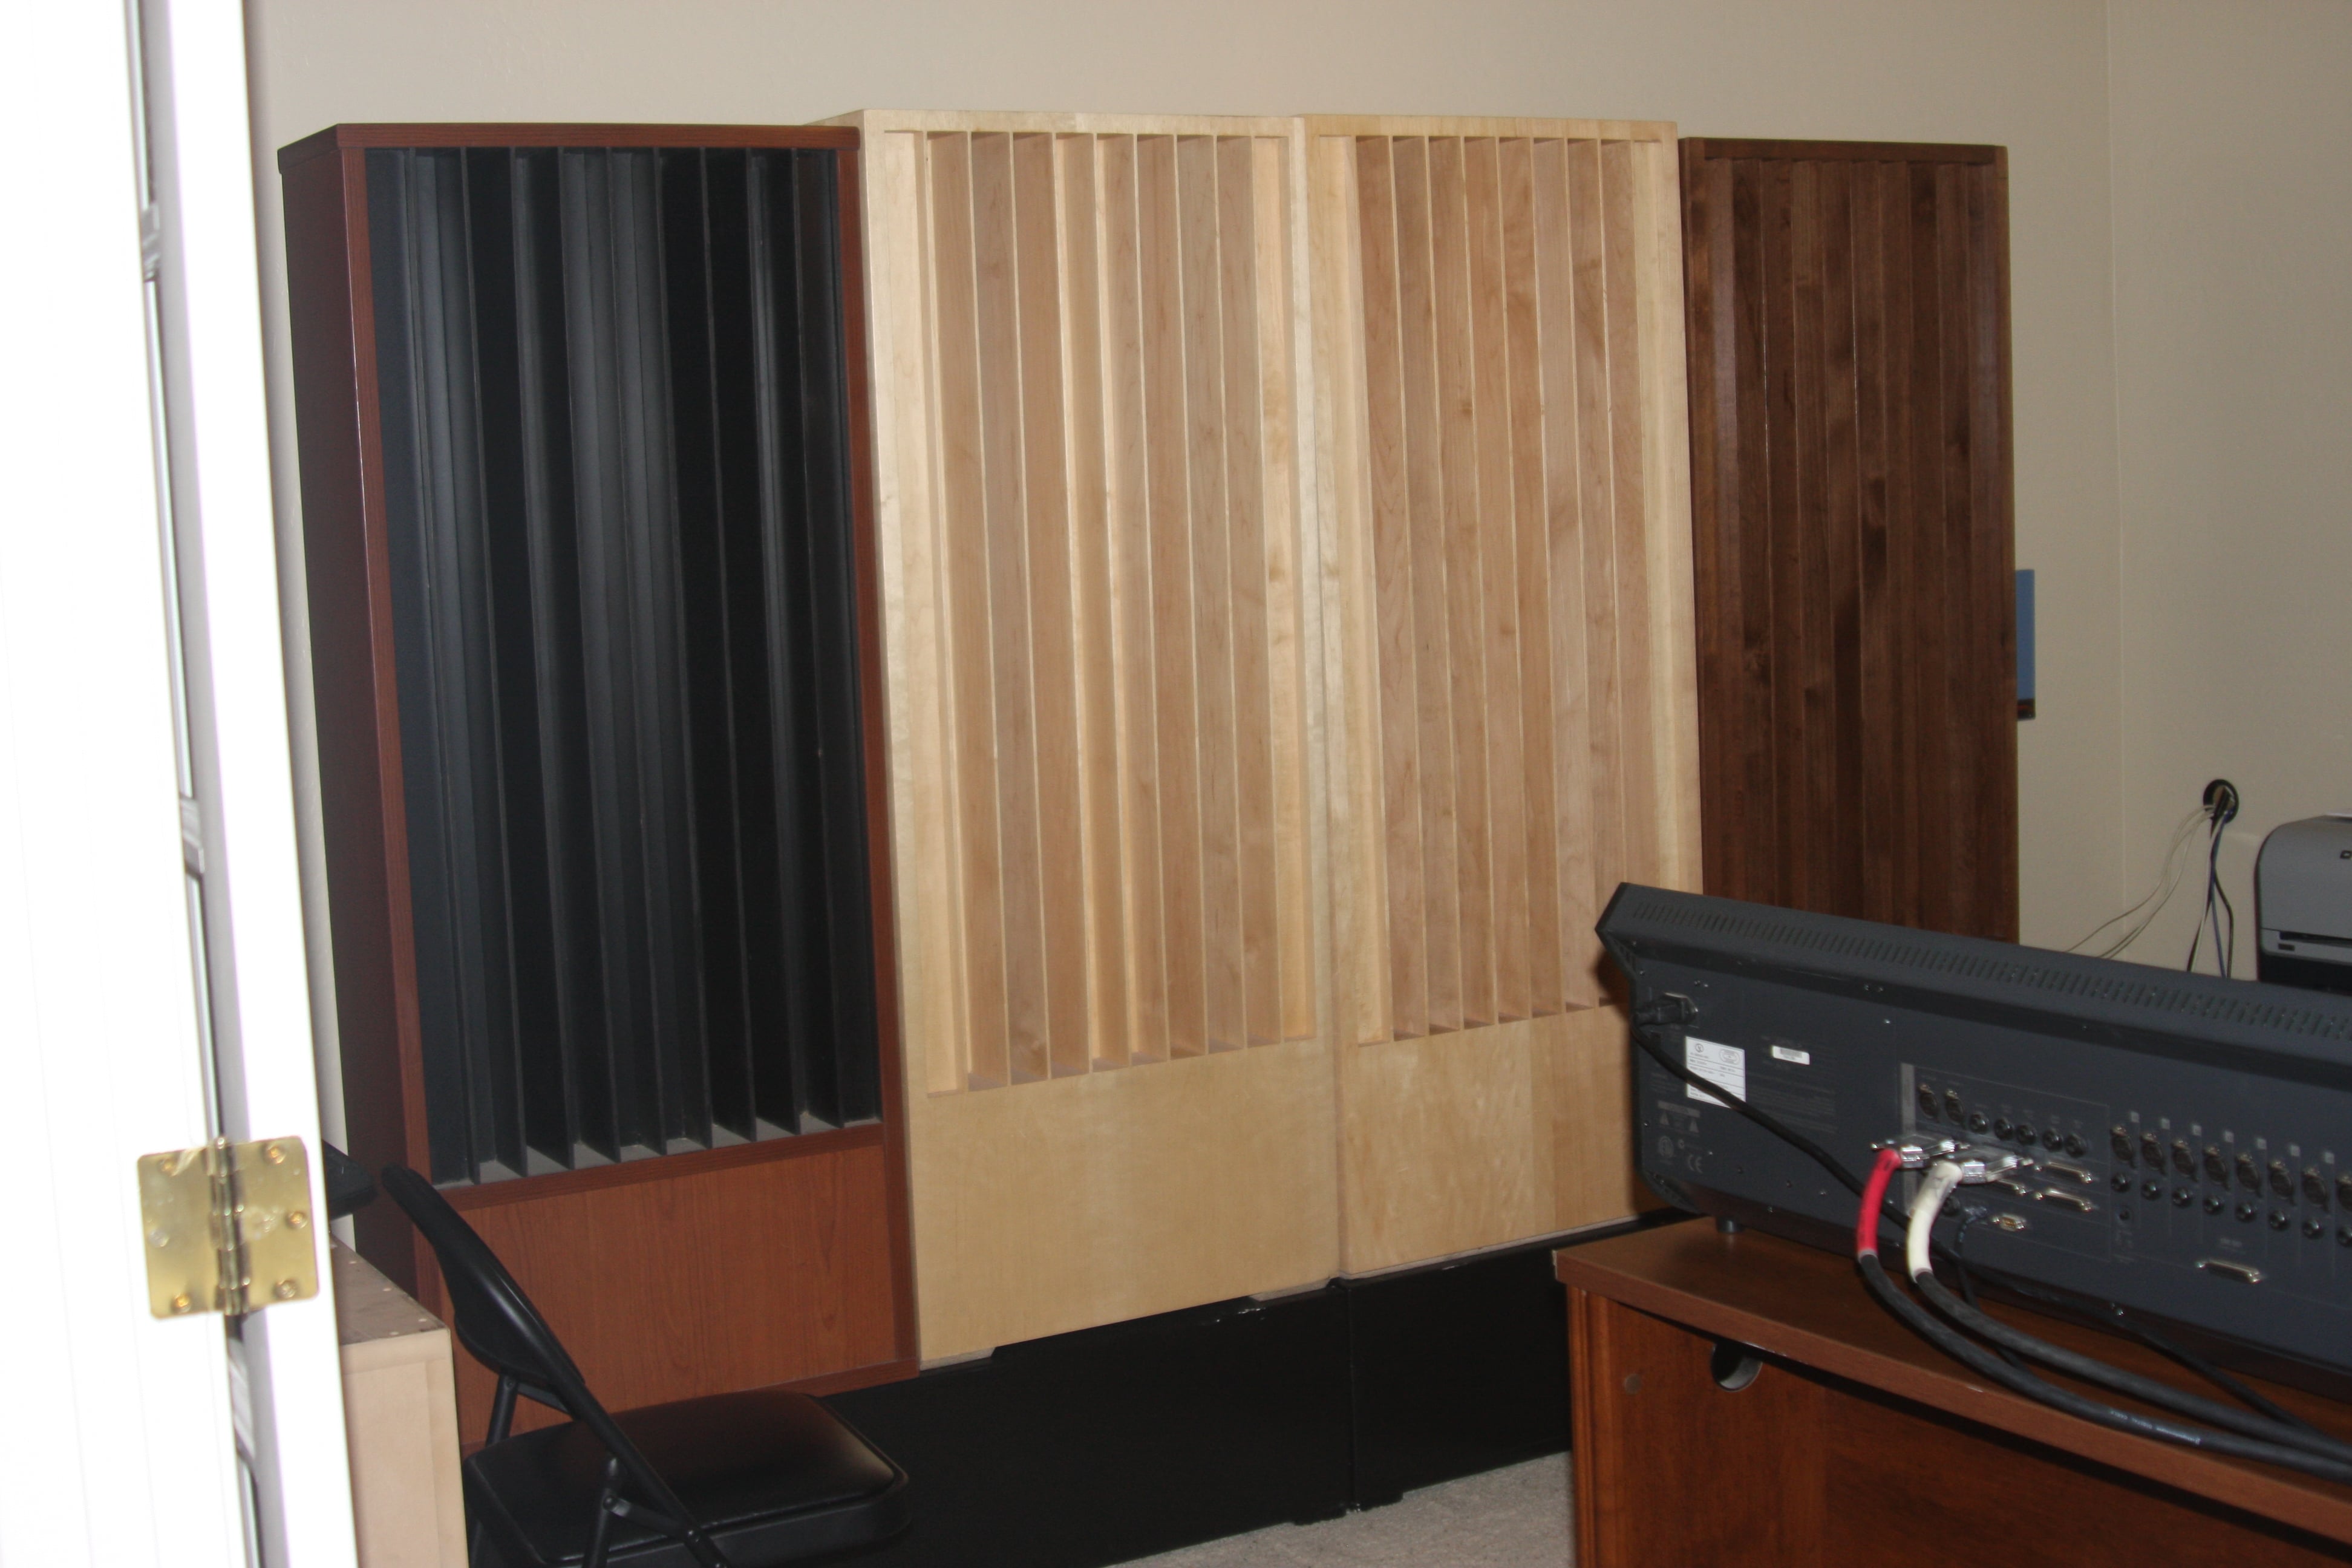
Rear Wall Diffusion
Rear Wall
The rear wall behind our monitoring position must be acoustically treated. The slap back from the rear wall at the monitoring position is a signal and sound that is time delayed. This is the last thing we need to hear at the monitoring position. Proper application of sound diffusion technology will go along way to reduce that reflection issue.
Side Wall Reflections
Side wall reflections also must be addressed. Near field monitoring is called near field because it takes the room sound out of the equation by flooding the monitoring position with only the direct energy from our speakers. To insure that this is all we are hearing, proper application of sound absorbing materials on the side walls will insure that the side wall reflections are slowed down enough to reach our ears after the wanted direct sound from our monitors.
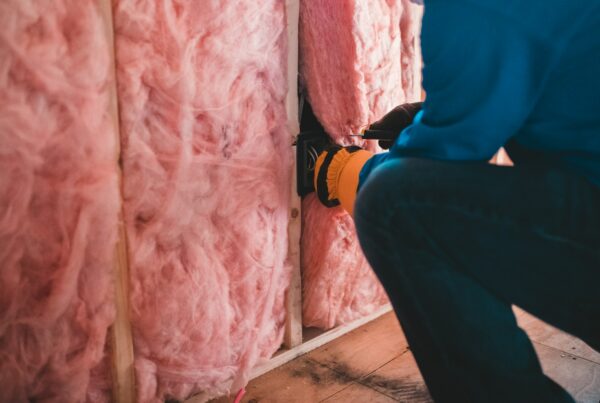
Low Frequency Issues
Low frequency issues are always a concern and with today’s smaller rooms, the best we can hope for is managing not eliminating low frequency issues. Foam or boxes filled with building insulation material will not adequately handle the low frequency issues in your small room that lie below 100 cycles. Only diaphragmatic absorption can pound for pound provide enough absorbing horsepower to deal with the low frequency bumps inherent in all small rooms. Most rooms will require a broadband absorber and another that is more frequency specific.
Gear And Room
Our gear and our room are the two most important variables that we must consider when setting up our smaller project studio rooms. Our electronics must be positioned correctly to allow them to do their job without excessive heat and noise problems. Our monitor and listening positions must be adjusted to find the best near field balance and our room side and rear wall reflections along with any “bass boom” must be managed.