We have a free service that we provide on our web site. It is called the room analysis: https://www.acousticfields.com/free-room-analysis/. In this link, you tell us about your audio room. You fill in the dimensions of the room along with other variables on how you use the room. You also attach pictures to the form so we can see the room construction materials and your current room set up. With this photo attach feature, we are able to see what you are doing within the room, your current rig set up and what space is available for treatment of your room issues. We have taken some of your photos and included them in this blog for discussion on what not to do and sometimes what is a good idea to do. We are a high end acoustic product manufacturer that takes room acoustic treatment seriously. We hold 6 patents on our carbon and foam technology. Our foam technology took 8 years and 2 M to create. Read about our technology at: https://www.acousticfields.com/about/
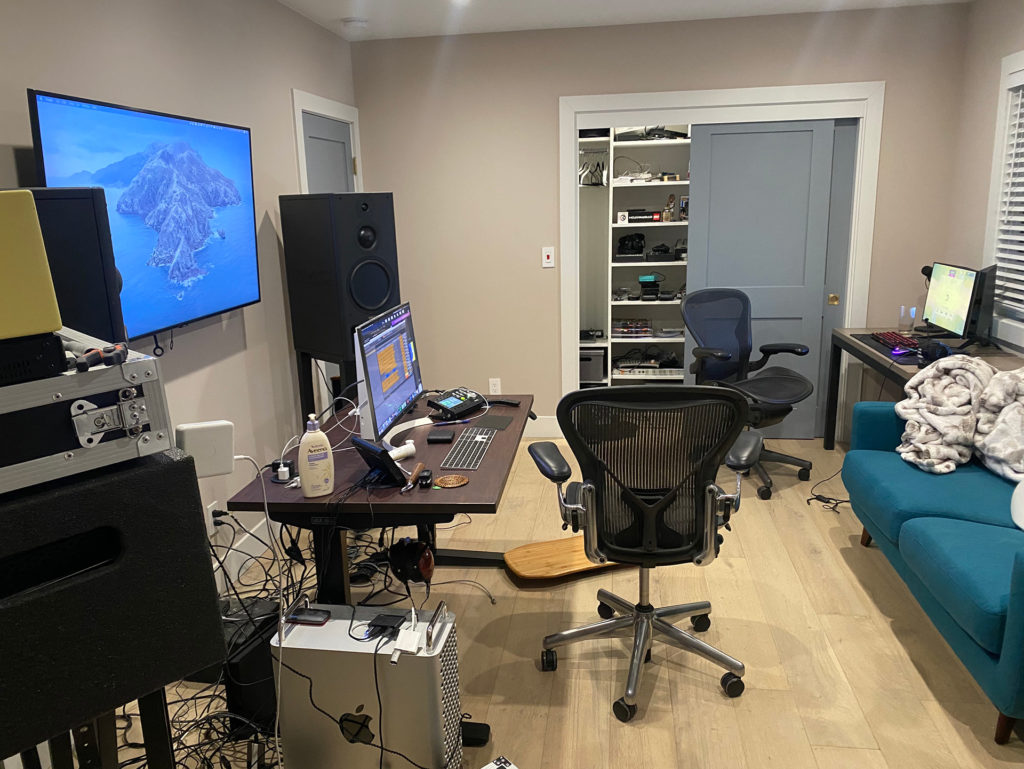
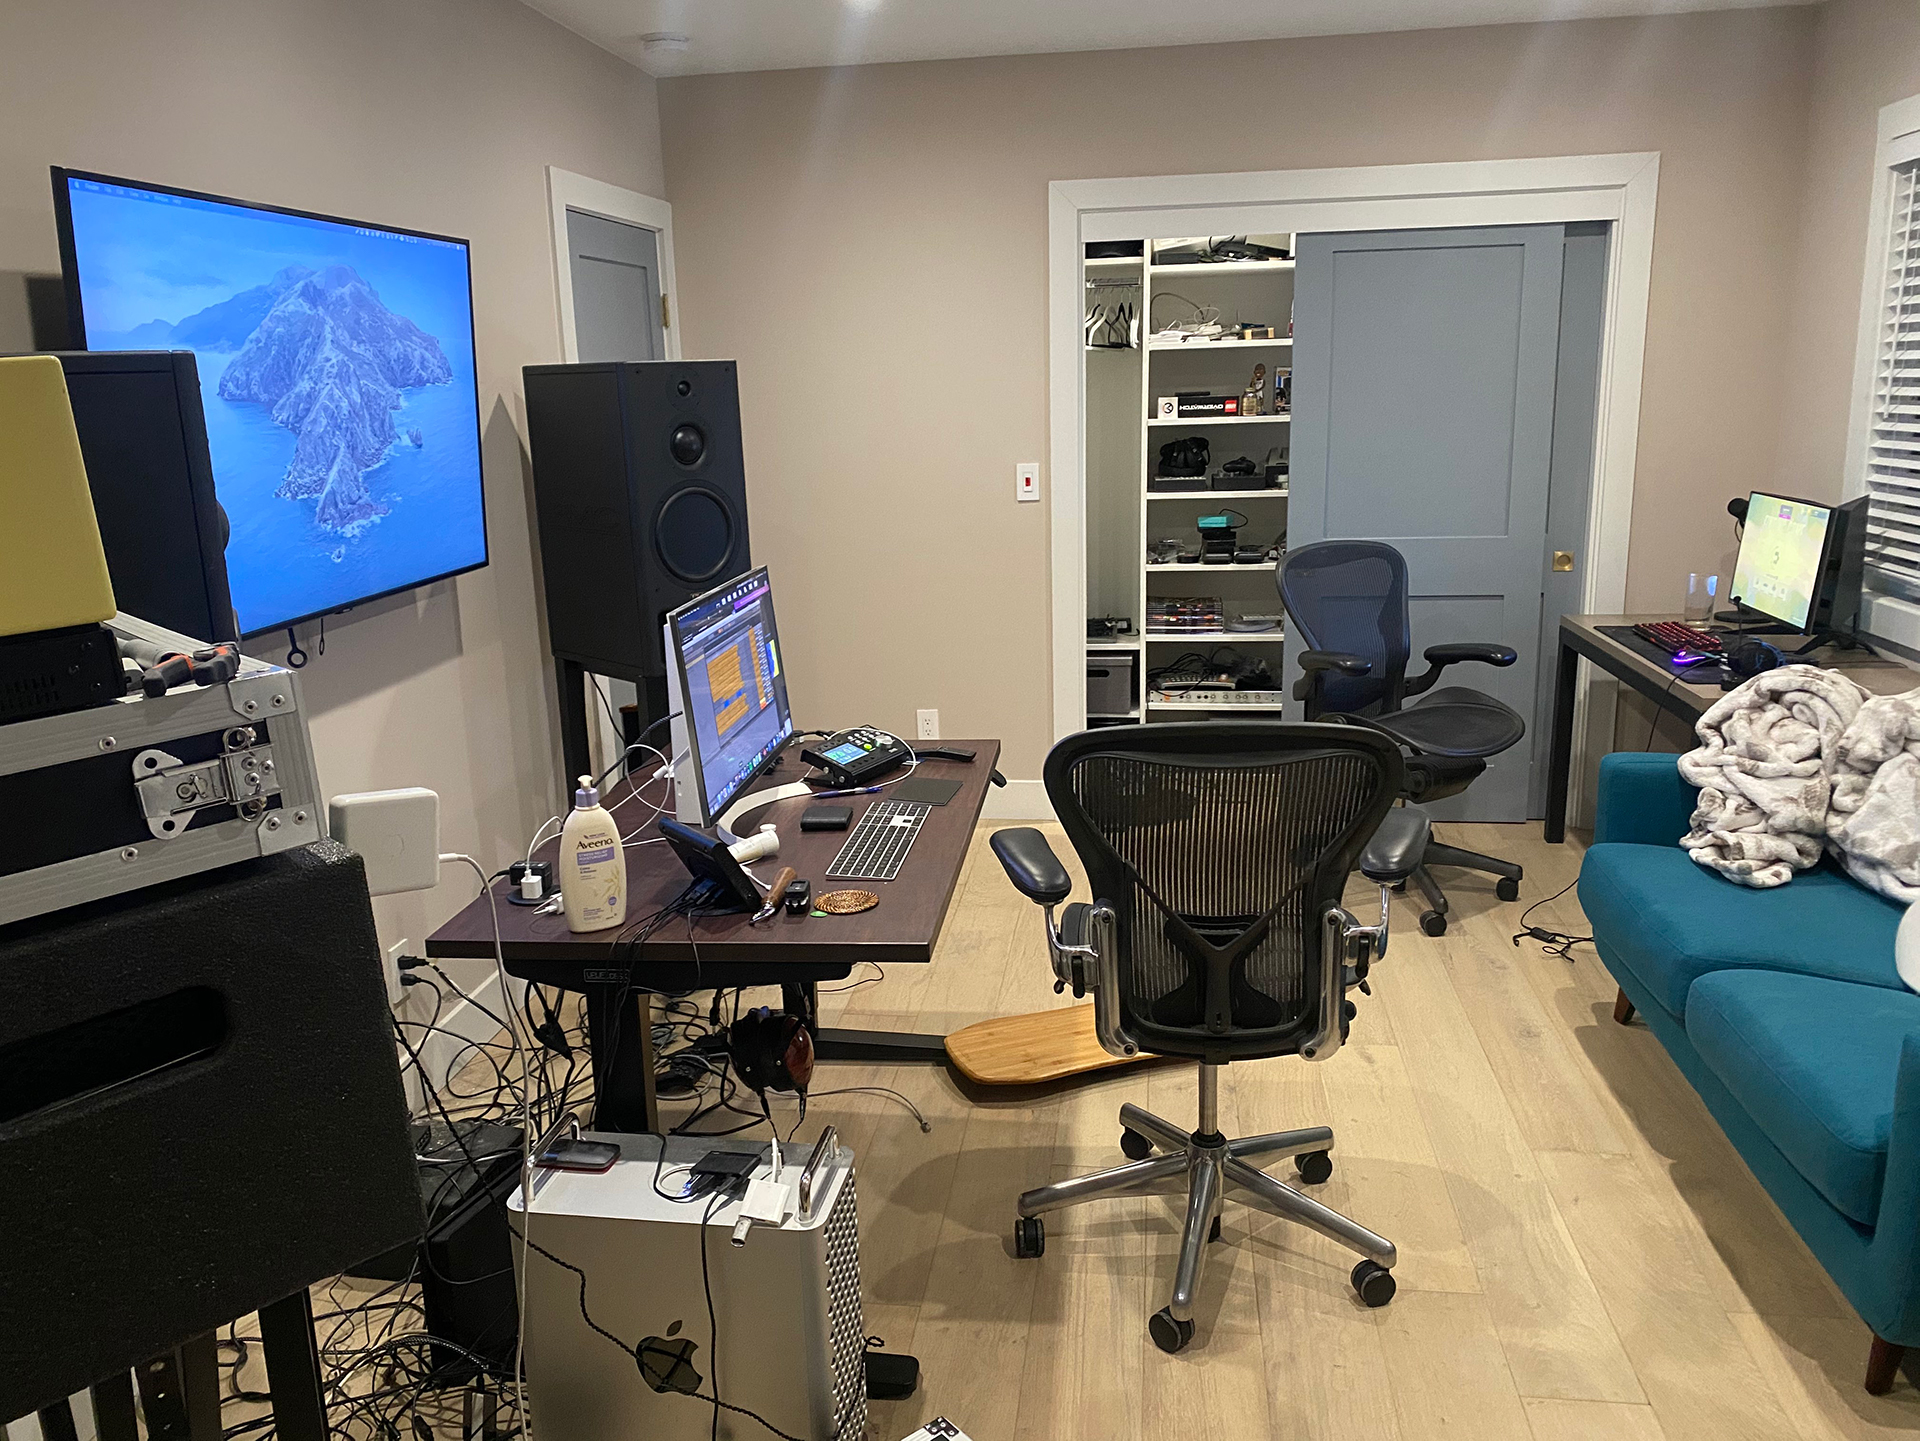
In the above pic, we have a professional rig set up in a very small room. You can see how the monitors are placed directly against the wall. This process produces distortion that is audible. The technical term is S.B. I. E. or speaker boundary interference effect. https://www.youtube.com/watch?v=P6N3uXxdYFs The speaker placed against a room boundary surface creates interference or distortion that is audible. The engineer will have difficulty in determining what sound is actually heard. Are you hearing SBIE or are you hearing the music or voice in the mix. The second issue we have is the wall behind the mix position is very close to the mix position. The reflections from this wall surface washes over the mix position. At the mix position, we need to hear the direct or straight line sound from the speakers to the mix engineer’s ears. The direct or straight line sound from monitors to engineer’s ears is the most pure sound. This is why engineer’s sit close to the speakers. This is the very definition of near field monitoring. The benefit of near field listening is that there is less room sound from room reflections. https://www.dictionary.com/browse/reverberation. With rear wall reflections slapping back from the close proximity of the rear wall to the mix position, we introduce more room sound into the near field set up.
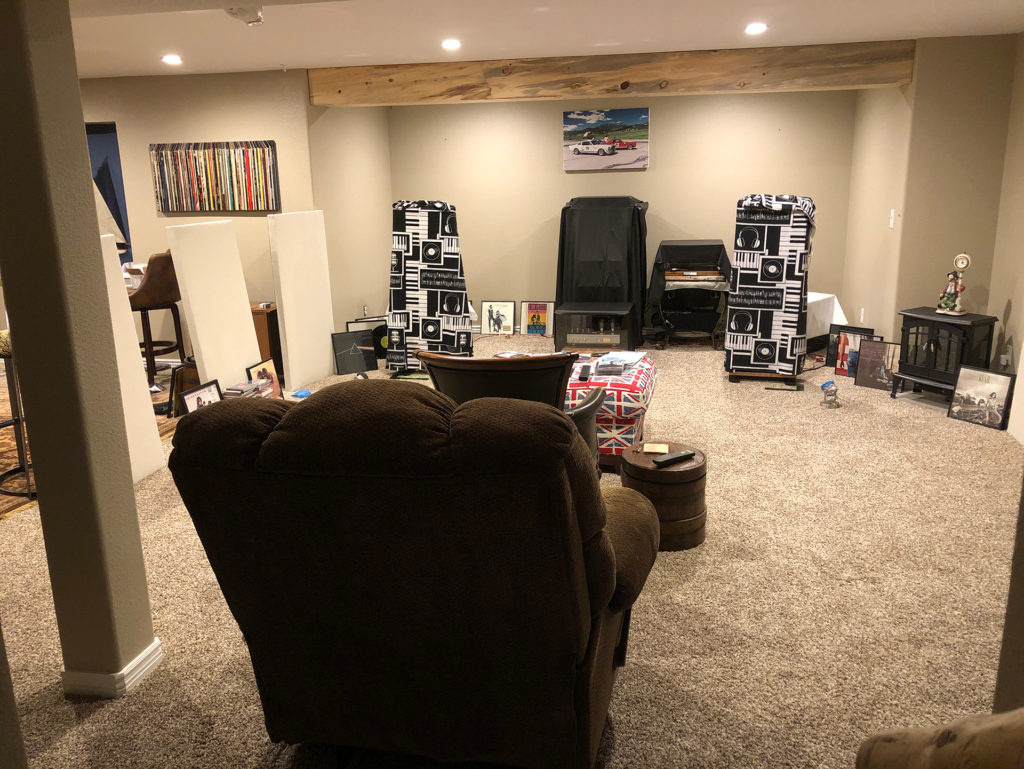
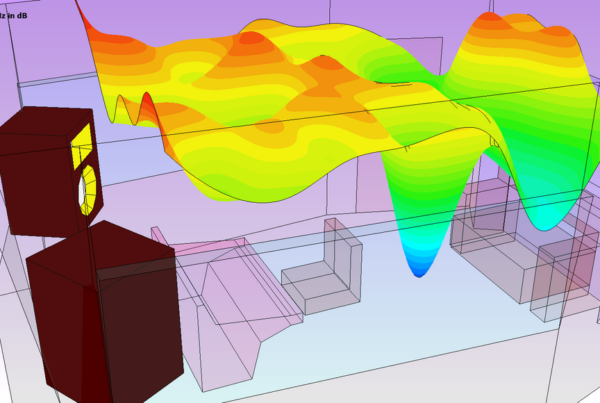
In the picture above, we can see a system set up issue. Notice the equipment is set up in an alcove or recessed area within the room. This is wrong on many levels. This alcove is actually a speaker. Based upon its dimensions of width, height, and length it is a small room, a very small room. It is a small room within another small room. No good can become of this. The alcove will resonant at a resonant frequency based upon its dimensions. It will be a lower frequency somewhere around 90 Hz. Nobody wants the equipment “room” to be resonating noise at 90 Hz. We do not want the alcove or equipment rooms producing any noise especially around 90 Hz. This is not acceptable. You can not place your equipment in an alcove. This alcove will need to be filled with low frequency broadband absorption https://www.acousticfields.com/product/carbon-panel/ and the equipment placed 4′ from that surface area to start. The final set up positioning will be determined after all lower frequency acoustical issues have been resolved using the proper rates and levels of absorption for music and voice. Now, let’s look at a set up that is just the opposite. In this example, we have the listening position, not the speakers set up in an alcove.
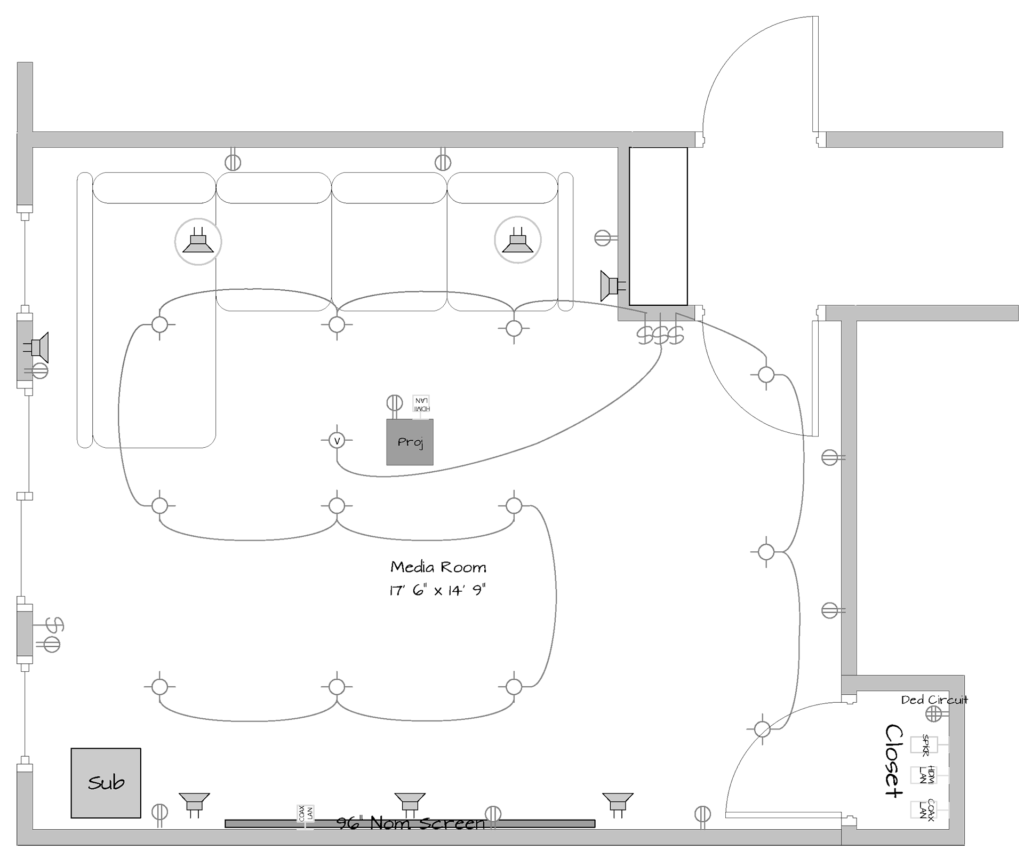
In this picture, we see a small room home theater setup. It is a multiple channel system with a video screen. If you examine the top of the graphic, you see that the listening position (couch) is set up in an alcove similar to the one we just discussed. With small theaters you have energy sources (speakers) firing at you from all directions. You must be able to hear from all directions. The area around your head must be open to receive this information in the time domain. In this set up, we have the couch set up so the alcove walls block out and sound from the side channels and any sound from the rear channels. There must be free space all around the listener’s head in order to give that channel speaker energy the proper distance to produce the effect the engineer placed into that sound energy. It is time and distance. There must be enough distance so the proper time signature arrives from sources. If you place a barrier between you and the side channel energy and also the total reflection map of the room, you will never hear the sound effects as the engineer intended especially with the new Atmos programs https://www.dolby.com/technologies/dolby-atmos/ that are object oriented, so they place the sounds in that speaker at that room location.
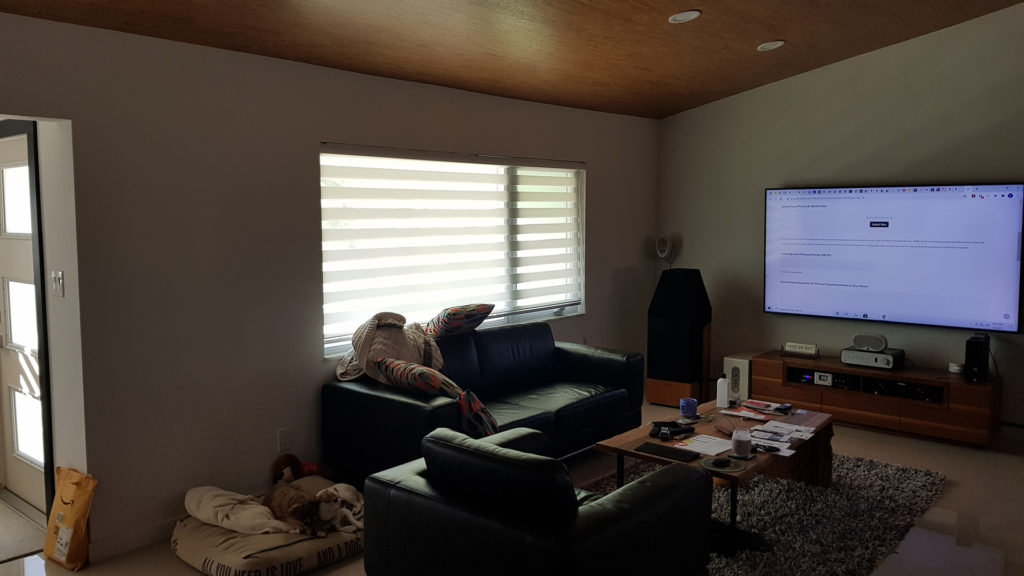
This picture shows us many things not to do. First, we notice that the left channel speaker is located in the corner of the room. Never place a speaker in the corner of your room. Room modes end in the corners of rooms and you do not want to excite that energy range which is full of unwanted pressure distortion. Next, we notice that the left channel speaker has a glass sidewall. The soundstage that we try to create with a proper two channel set up is composed of both direct and reflected energy. The direct energy comes from the speakers and the reflected energy comes from the sidewalls. It is the balance of these two energies that creates a center image with definition and separation of sounds. Glass is the worst surface you can have in any critical listening room. Glass has a negative impact on frequencies from 800 – 2,000 Hz. It can not be in your room at all. It can never be on a sidewall with the importance that surface area plays in stereophonic sound playback. Not only must the distance from speaker to sidewall be the same but the rate and level of absorption on both sidewall surface areas must be the same. Not any rate and level or material type will work for voice and music. Music and voice are different from noise.
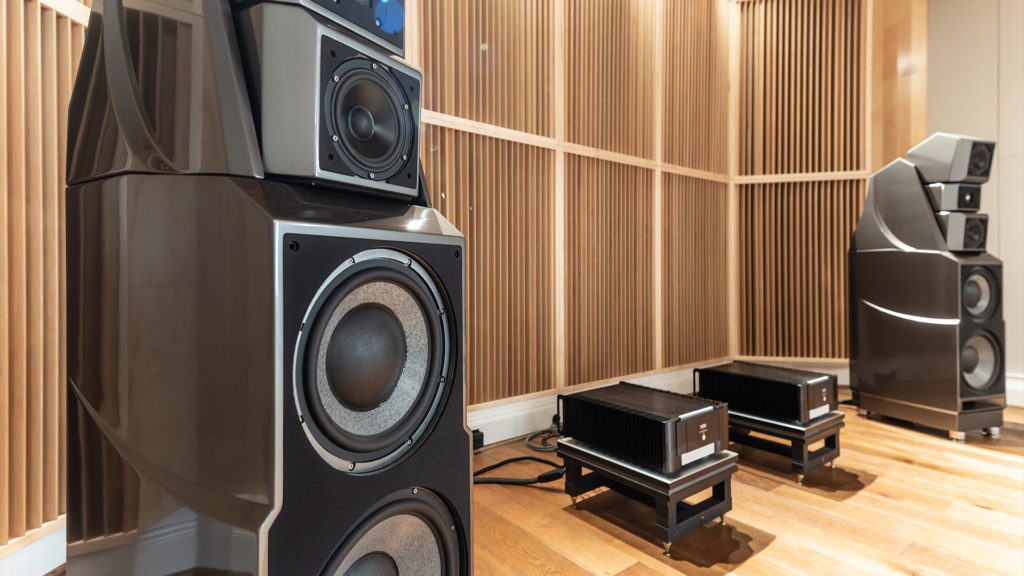
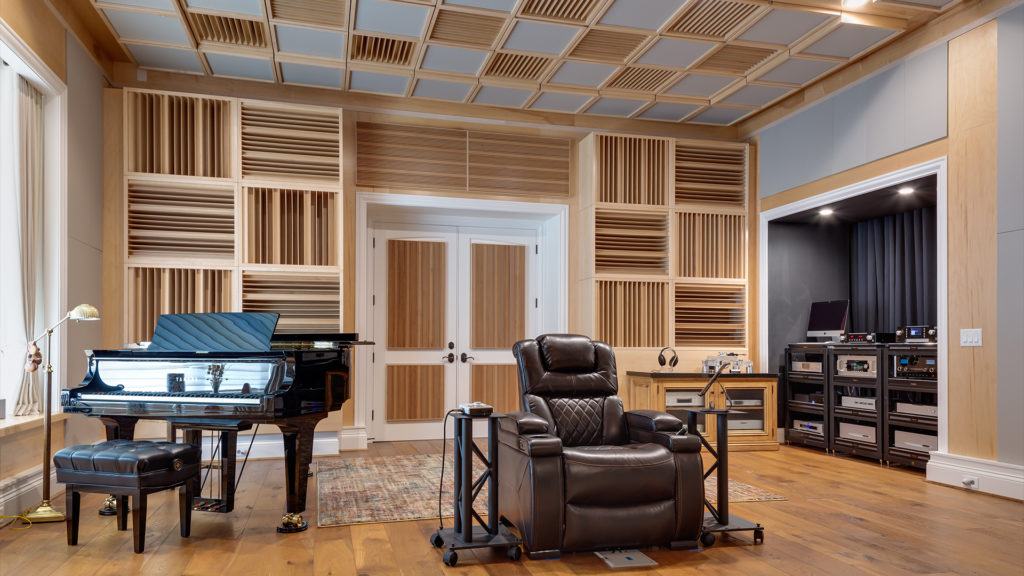
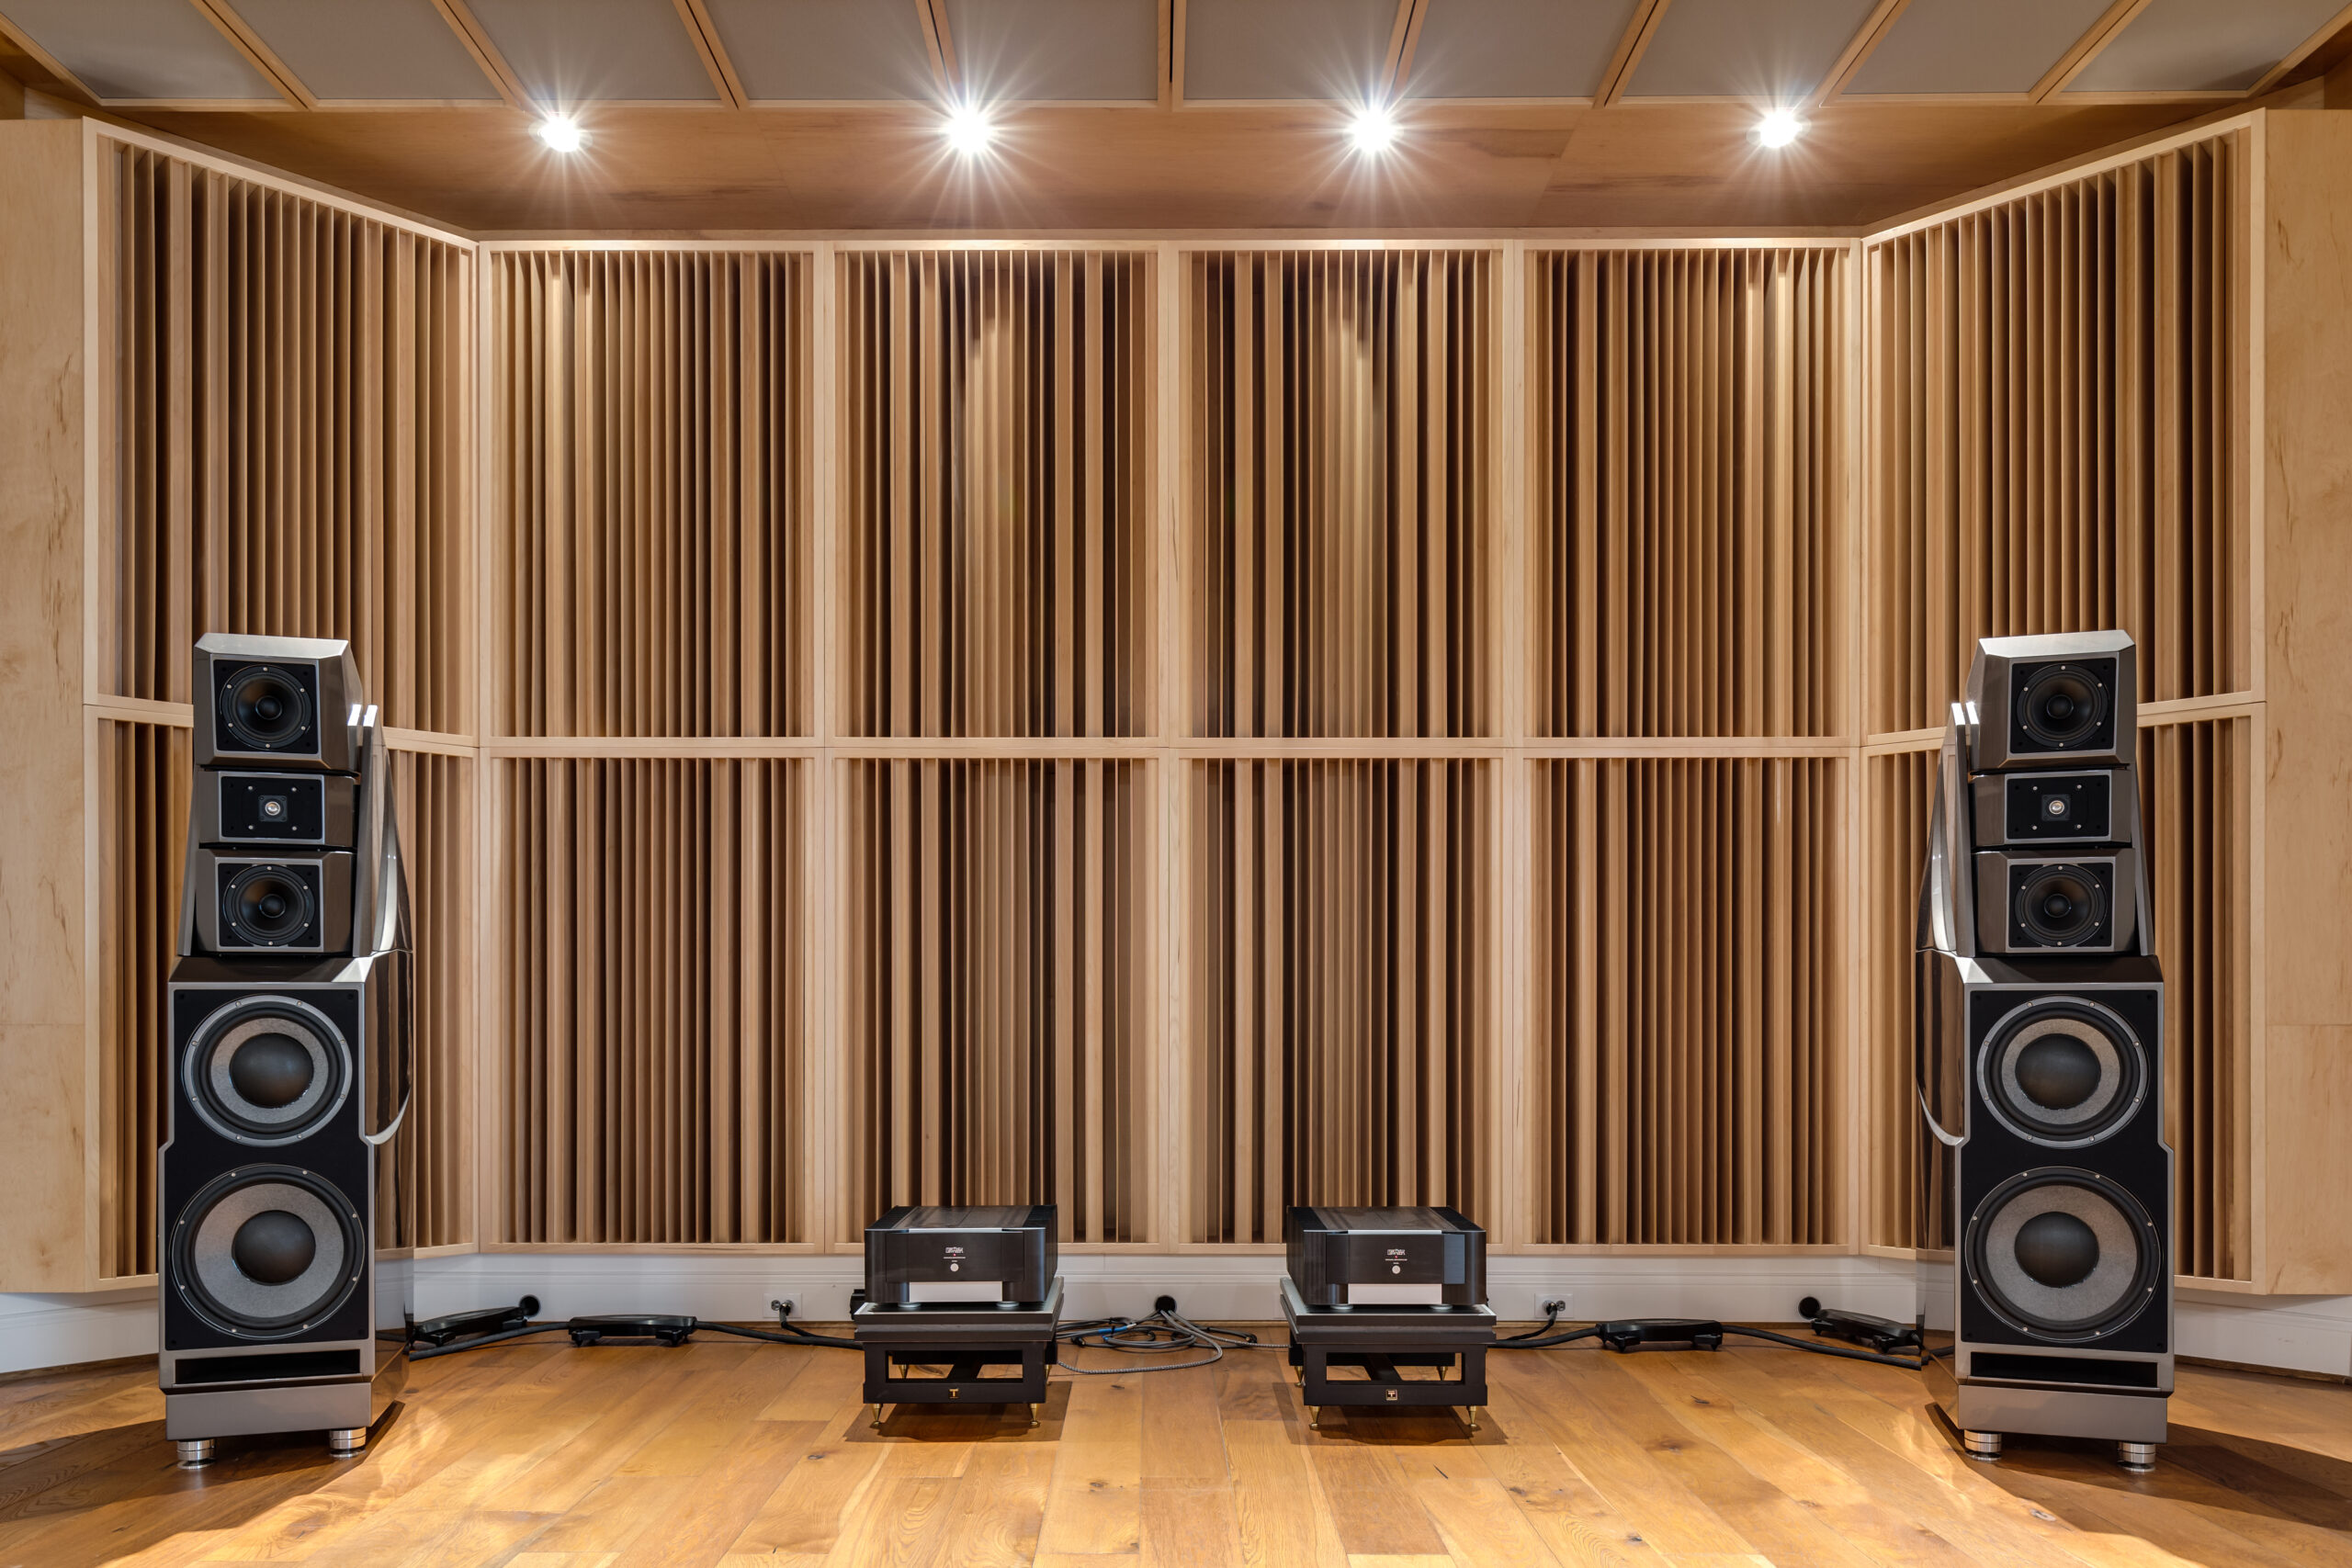
These pictures above and below show us a room with two usages. We have a “live” room where a piano sits and then on the other end of the room, we have a two channel set up. The room has two usages each with its own set of acoustical requirements. The goal in these dual usage rooms, is to give each usage the maximum sound quality possible without compromising the other. In this room, low-frequency absorption was built into the complete room using our CAW Carbon Absorbing Wall technology https://www.acousticfields.com/carbon-absorber-wall/. Both live room usage and the listening room usage will benefit from that treatment type throughout the complete room. A piano and a two channel listening set up are both full range “instruments” plutting full range energy from 20 Hz. – 20,000 Hz. The piano room’s design goal was detail and resolution with lots of “air” in the presentation. The two channel listening room also wanted all of those but was also interested in a focused sound stage that sat in front of the listening position and had lots of definition and separation. Both goals were achieved with the use of one and two dimensional quadratic diffusion. https://www.acousticfields.com/product/sounddiffuser-acousticdiffuser-qd17/
