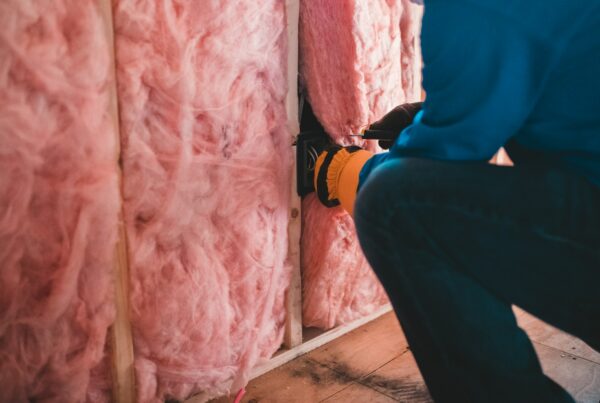
How to soundproof a recording studio can be broken down into two main parts. First, we have the recording environment. Is it for recording vocals, drums, choir, a band? What will the sound-producing sources be that will be recorded? The second part is the monitoring or playback environment. Is it the mixing, control, or editing room for a film? What are we monitoring? Both of these areas have different soundproofing requirements. We have updated this blog on 11/27/19 to reflect new discoveries in how to soundproof a recording studio.
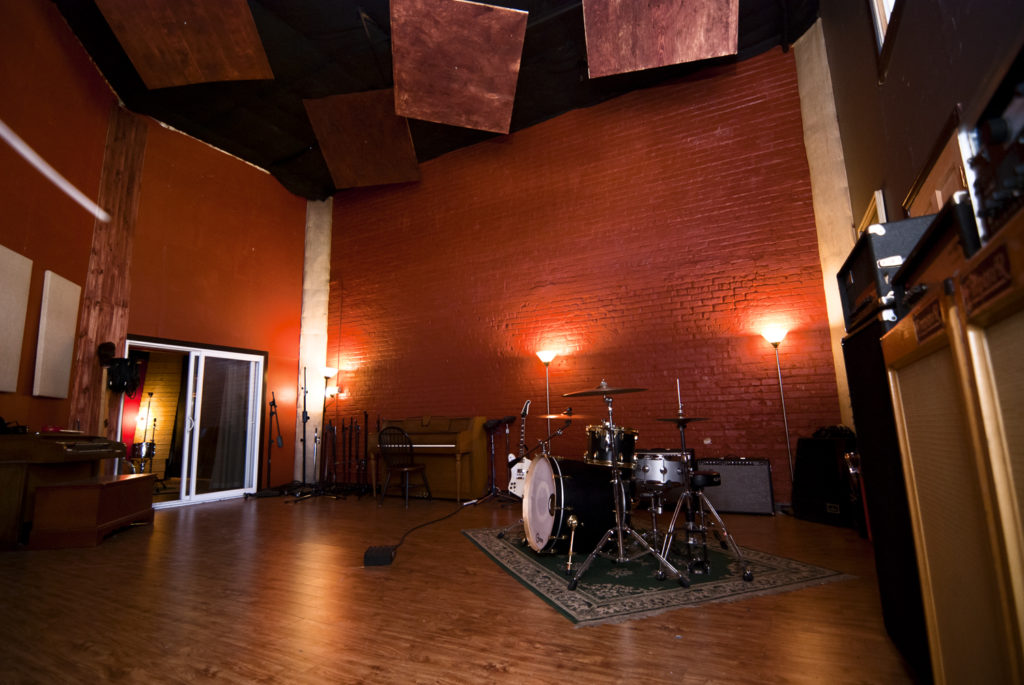
Live Room for Drums
Live Room
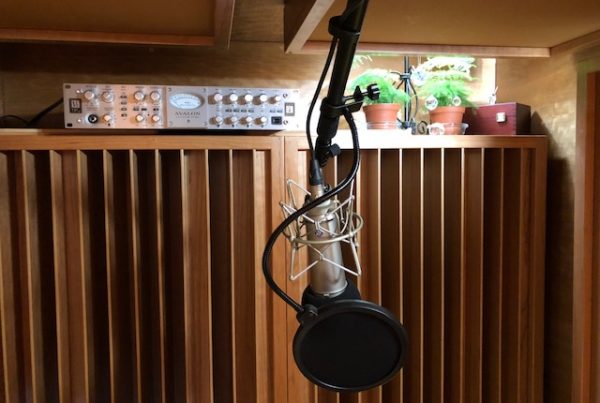
The “live” room or room in which instruments will be recorded in needs to be able to perform two very different acoustical functions. First, it must minimize the sound transmission from the live space to the rest of the facility. It must also employ sound absorbing and sound diffusion technologies to manage all of that “live” energy.
Barrier Technology
In order to keep the sound energy within our room and to also keep sound energy out of our room, we need to construct a barrier between us and or our microphones and the outside room noise. This barrier does two things. It must reflect sound energy that occurs outside of our rooms, back towards the outside source and it must also reflect sound energy created within the room, back into the room itself. Yes, a barrier keeps sound out but also reflects sound back into it. The barrier works both ways and we must be aware and plan for this.
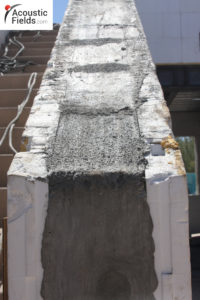
Concrete Mold
Poured Concrete
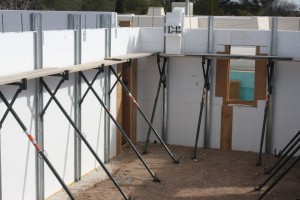
A good barrier is poured concrete. One can use molds and build a wall by pouring concrete in the molds and letting it dry solid. The outside foam of the mold also helps a little with some sound isolation. A solid concrete room also has vibrational reducing qualities over a room built of wood. A wood-framed room is another option. One should use two 2′ x 4′ walls that are at least 6″ apart. Both walls must be mechanically decoupled from each other and the existing room ceiling and floor.
Cinder Block
Another good barrier technology is block. One can add different materials to the block center to lower the sound transmission rating even more. Block is economical and can even be purchased with a quadratic diffusor built into the actual block itself. Sand can be added to the block center to minimize sound transmission through the cinder block sides. Barriers are necessary for our “live” rooms and our monitoring or control rooms.
Low Frequency Management
Inside our “live” rooms, we need to manage both low, middle, and high frequencies. Our goal acoustically is to make the room as balanced as possible with a smooth frequency response curve. We must address any room modal resonances with powerful low-frequency absorption. Only a tuned absorbing technology will work for low frequencies at the SPL levels generated within a “live” room. Foam and boxes filled with building insulation will not work.
Acoustical Panels: https://www.acousticfields.com/product/acoustic-panels/
Middle And High Frequencies
We must always manage middle and high frequencies throughout the room. This management of middle and high frequencies can be accomplished through the use of absorption and diffusion technologies. In our live rooms, we use absorption to lower reverberation times by minimizing the strength of reflections from the room’s surfaces. We do not want to overload our microphones with too many reflections. We need to know what the room sound is at our microphone positions and manage it accordingly. I like live rooms that have variable acoustic technologies. They can move a panel in with middle and high-frequency absorption and produce a whole new room sound.
Low Frequency Absorbers
In a live room, portable low-frequency absorbers can be placed in the room where resonances will be lurking. One can also keep the low-frequency absorption next to the source of the energy such as a bass drum or tom and absorb excess energy closest to the source that is producing it. Absorb the low-frequency waveform as soon as it leaves the source so that it is reduced in strength immediately. Control how fast the low-frequency energy “grows” in the room. This process takes a special absorption technology termed diaphragmatic absorption.
Diaphragmatic Absorbers: https://www.acousticfields.com/product-category/sound-absorption/acda-series/
Diaphragmatic Absorption
Diaphragmatic absorption consists of a diaphragm that low-frequency energy moves through. The diaphragm actually moves in response to the low-frequency waveform. Two front walls moving in sympathy are even better. Once the waveform is slowed by the two moving diaphragms, it then enters the cabinet. Inside is a powerful sound-absorbing material. Mineral wool is a possible cabinet fill material because of its higher density when compared with normal building insulation. Activated carbon or charcoal exceeds both of these materials by a factor of 10.
Monitor Room Barriers
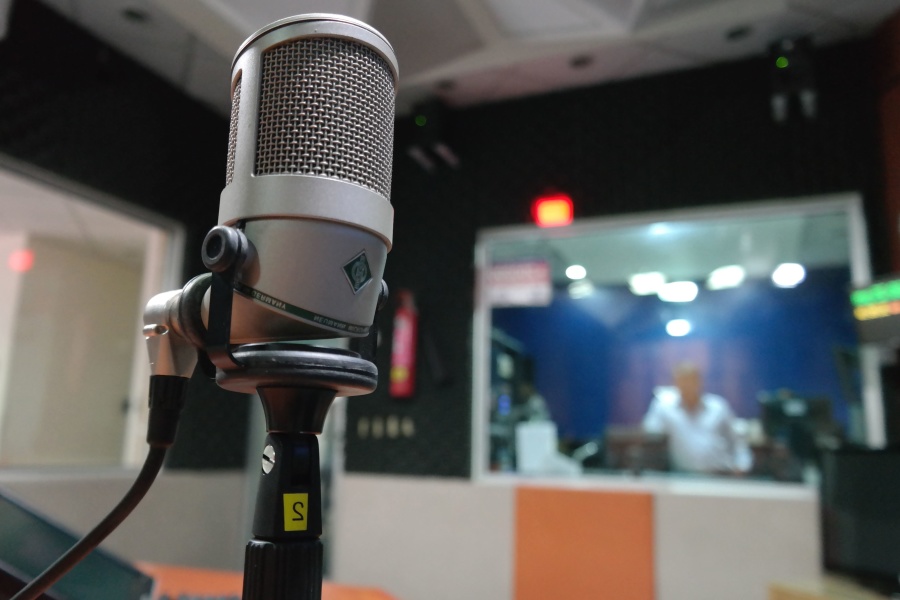
The monitor room of our studio needs the same barrier technology as just described for the “live” room with the addition of a sound lock. A sound lock is two doors separated by a small hallway. This provides a triple barrier approach; the two doors one to the outside world and one to the control room and the air space between them in the form of a hallway, which is also acoustically treated.
Windows Are Barriers
Windows also come into play in the control room. They are another barrier technology that must be addressed in anyhow to soundproof a recording studio tutorial. They must be seen through but must stop sound. make sure the wall in which the window is installed is equal in acoustic strength to the window. If you are using two 1/2″ glass plates separated by air, then you have a very powerful barrier. Make sure the window’s wall that is supporting it is equal in sound transmission loss strength.
Rear Wall Diffusion
The rear wall of our monitoring room or control room should always be diffusion. The type of diffusion can be debated, but not the need for diffusion. The time-delayed bounce off the rear wall at the monitoring position can not be. It is difficult enough to get a balanced mix with the control room sound added in. We definitely do not want a large reflection that is severely time delayed interfering with the direct sound from our monitors.
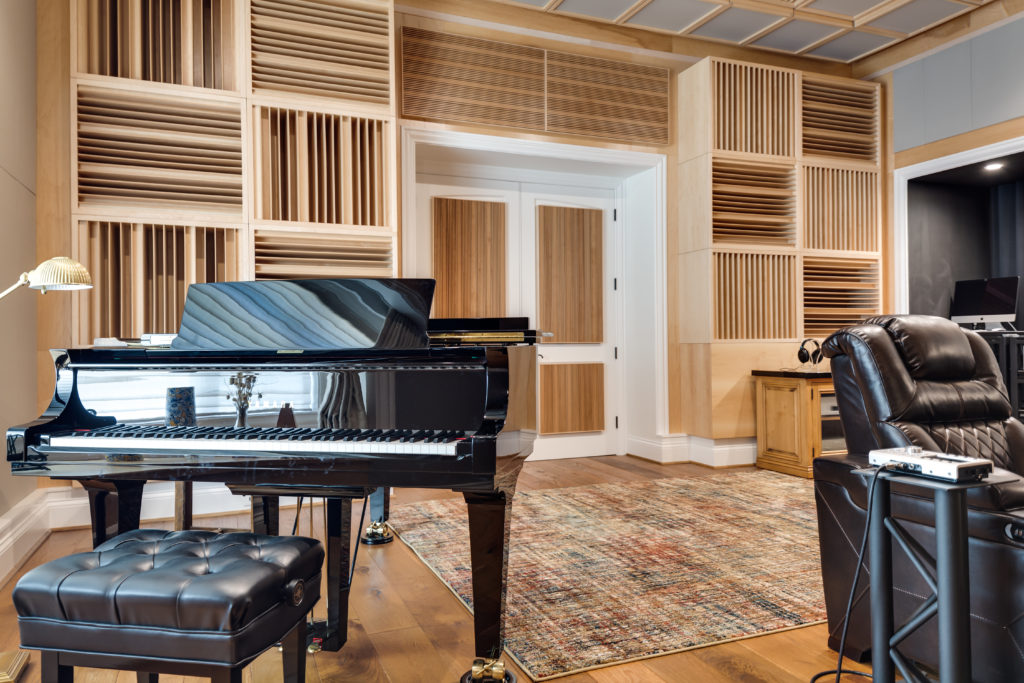
Quadratic Diffusion on Rear Wall
Common Needs
Live rooms and control rooms require the same barrier technology. We want to keep energy out and energy in. Low, middle, and high-frequency absorption technologies must be used in both. Diffusion can be optional in a live room of adequate size. It is mandatory in our control room. Quadratic diffusion can provide two dimensions of sound diffusion for our control room rear wall.
In Summary
I hope today’s discussion helps solve how to soundproof a recording studio. Please message me at info@acousticfields.com if you have any questions as I am always happy to help. If you want more to learn more about room acoustics please sign up for our free acoustic video training series and ebook. Upon sign up you will instantly have access to a series of videos and training to help improve the sound in your studio, listening room or home theatre.


