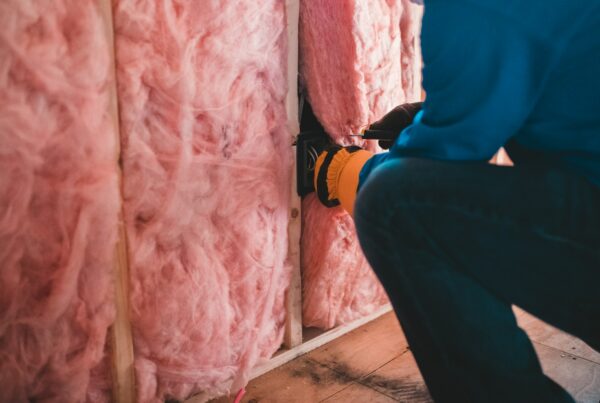
Home studio acoustic treatment can be a blessing and a curse. You can build your own sound absorbing panels, but how many do you need? Are you absorbing the correct amount of the troublesome frequencies you need to absorb. Do you know what your problematic frequencies are?
Are you absorbing at the correct rate and level and in the proper room position for your chosen room usage. Have you chosen a room dimension that will support low frequencies and all the modal issues they cause. If not, then you will need to pay special attention to what acoustic treatment you do use and where you place it.
What are the best treatment options?
All of these questions must be addressed in the decision making process of selecting the treatment that is right for your home theater. Lets start with the low frequency of any small room because that is where all of the major absorption issues begin.
If you are forced into a room that does not have the necessary room dimensions to support a wide modal distribution and you can not make the room larger, our only choice is to make it smaller. However, it must be made smaller using the appropriate sound absorbing technology. This decreasing of size will assist us in a better distribution of room modes, but we must also add the sound absorption technology to compliment this physical size and room volume reduction.
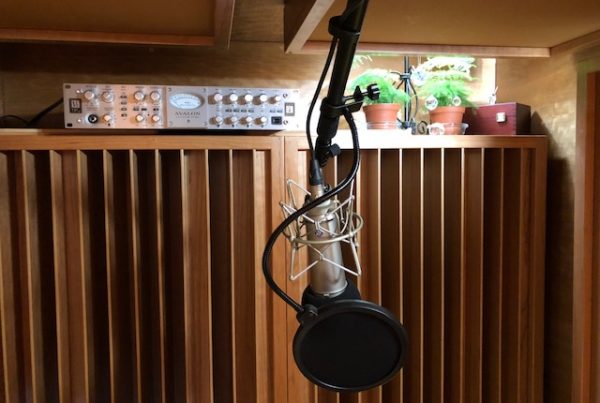
Listening Room Treatment
Low, Middle, And High Frequency Absorption
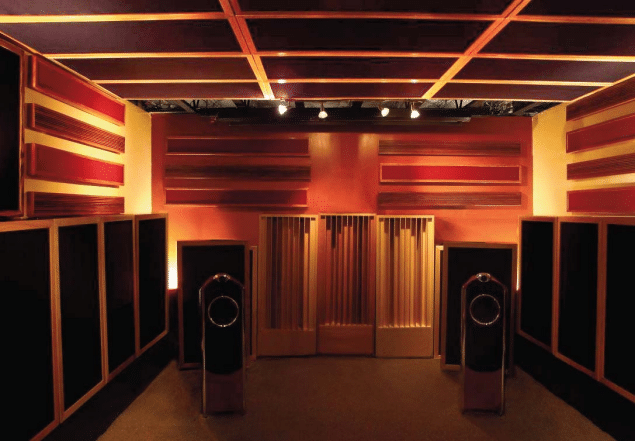
You will need two main sound absorbing technologies within your treatment pallet. You will need sound absorbing technologies that absorb below 100 Hz. and you will need sound absorbing technologies that absorb above 100 Hz. The absorption rates and levels of the low frequency technology must be greater than that of the rates above 100 Hz.
You will need a balance of both and placement is critical especially for the lower frequency absorption. You can start in the corners of your room and along each wall behind the speakers and behind the listening position. This will be a good start point, whether you build the technology into the space to make the room smaller or use freestanding technology.
Sound Triangle
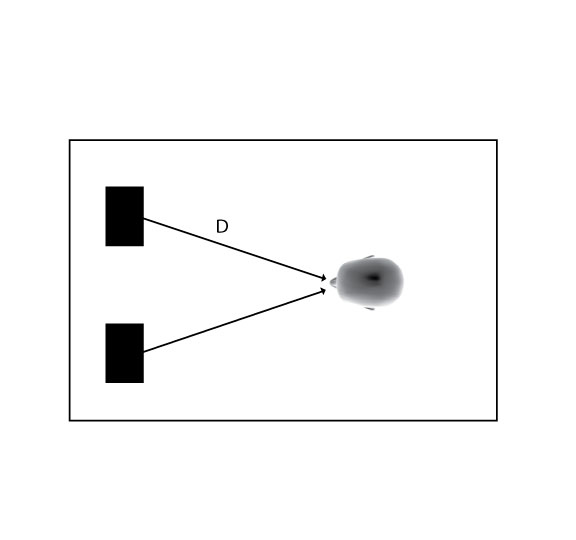
Middle and high frequency absorption must first focus on the “sound triangle”. The sound triangle is the triangle that is formed by the two speakers and listening position in your room. Each forms the indexes of the usually equilateral triangle. Sitting in the listening position and looking both left and right, we need to start with sound absorbing material on each side wall beginning 12″ behind each speaker and running 12″ past the listening position and perform this equally on both side walls.
Sound Triangle
Ceiling Treatment
The ceiling also falls within our “sound triangle” but instead of a triangle, we need a square. Lets use the speakers as two corners of the square and then the seated position as the other side of our “sound square”. Follow the straight line from the left and right channel speaker locations and extend those lines 12″ past the listening position. That area we have just outlined is our sound ceiling square, if you will, and we can treat that with sound absorbing materials. Next, we need to look at the rear wall and focus on sound diffusion.
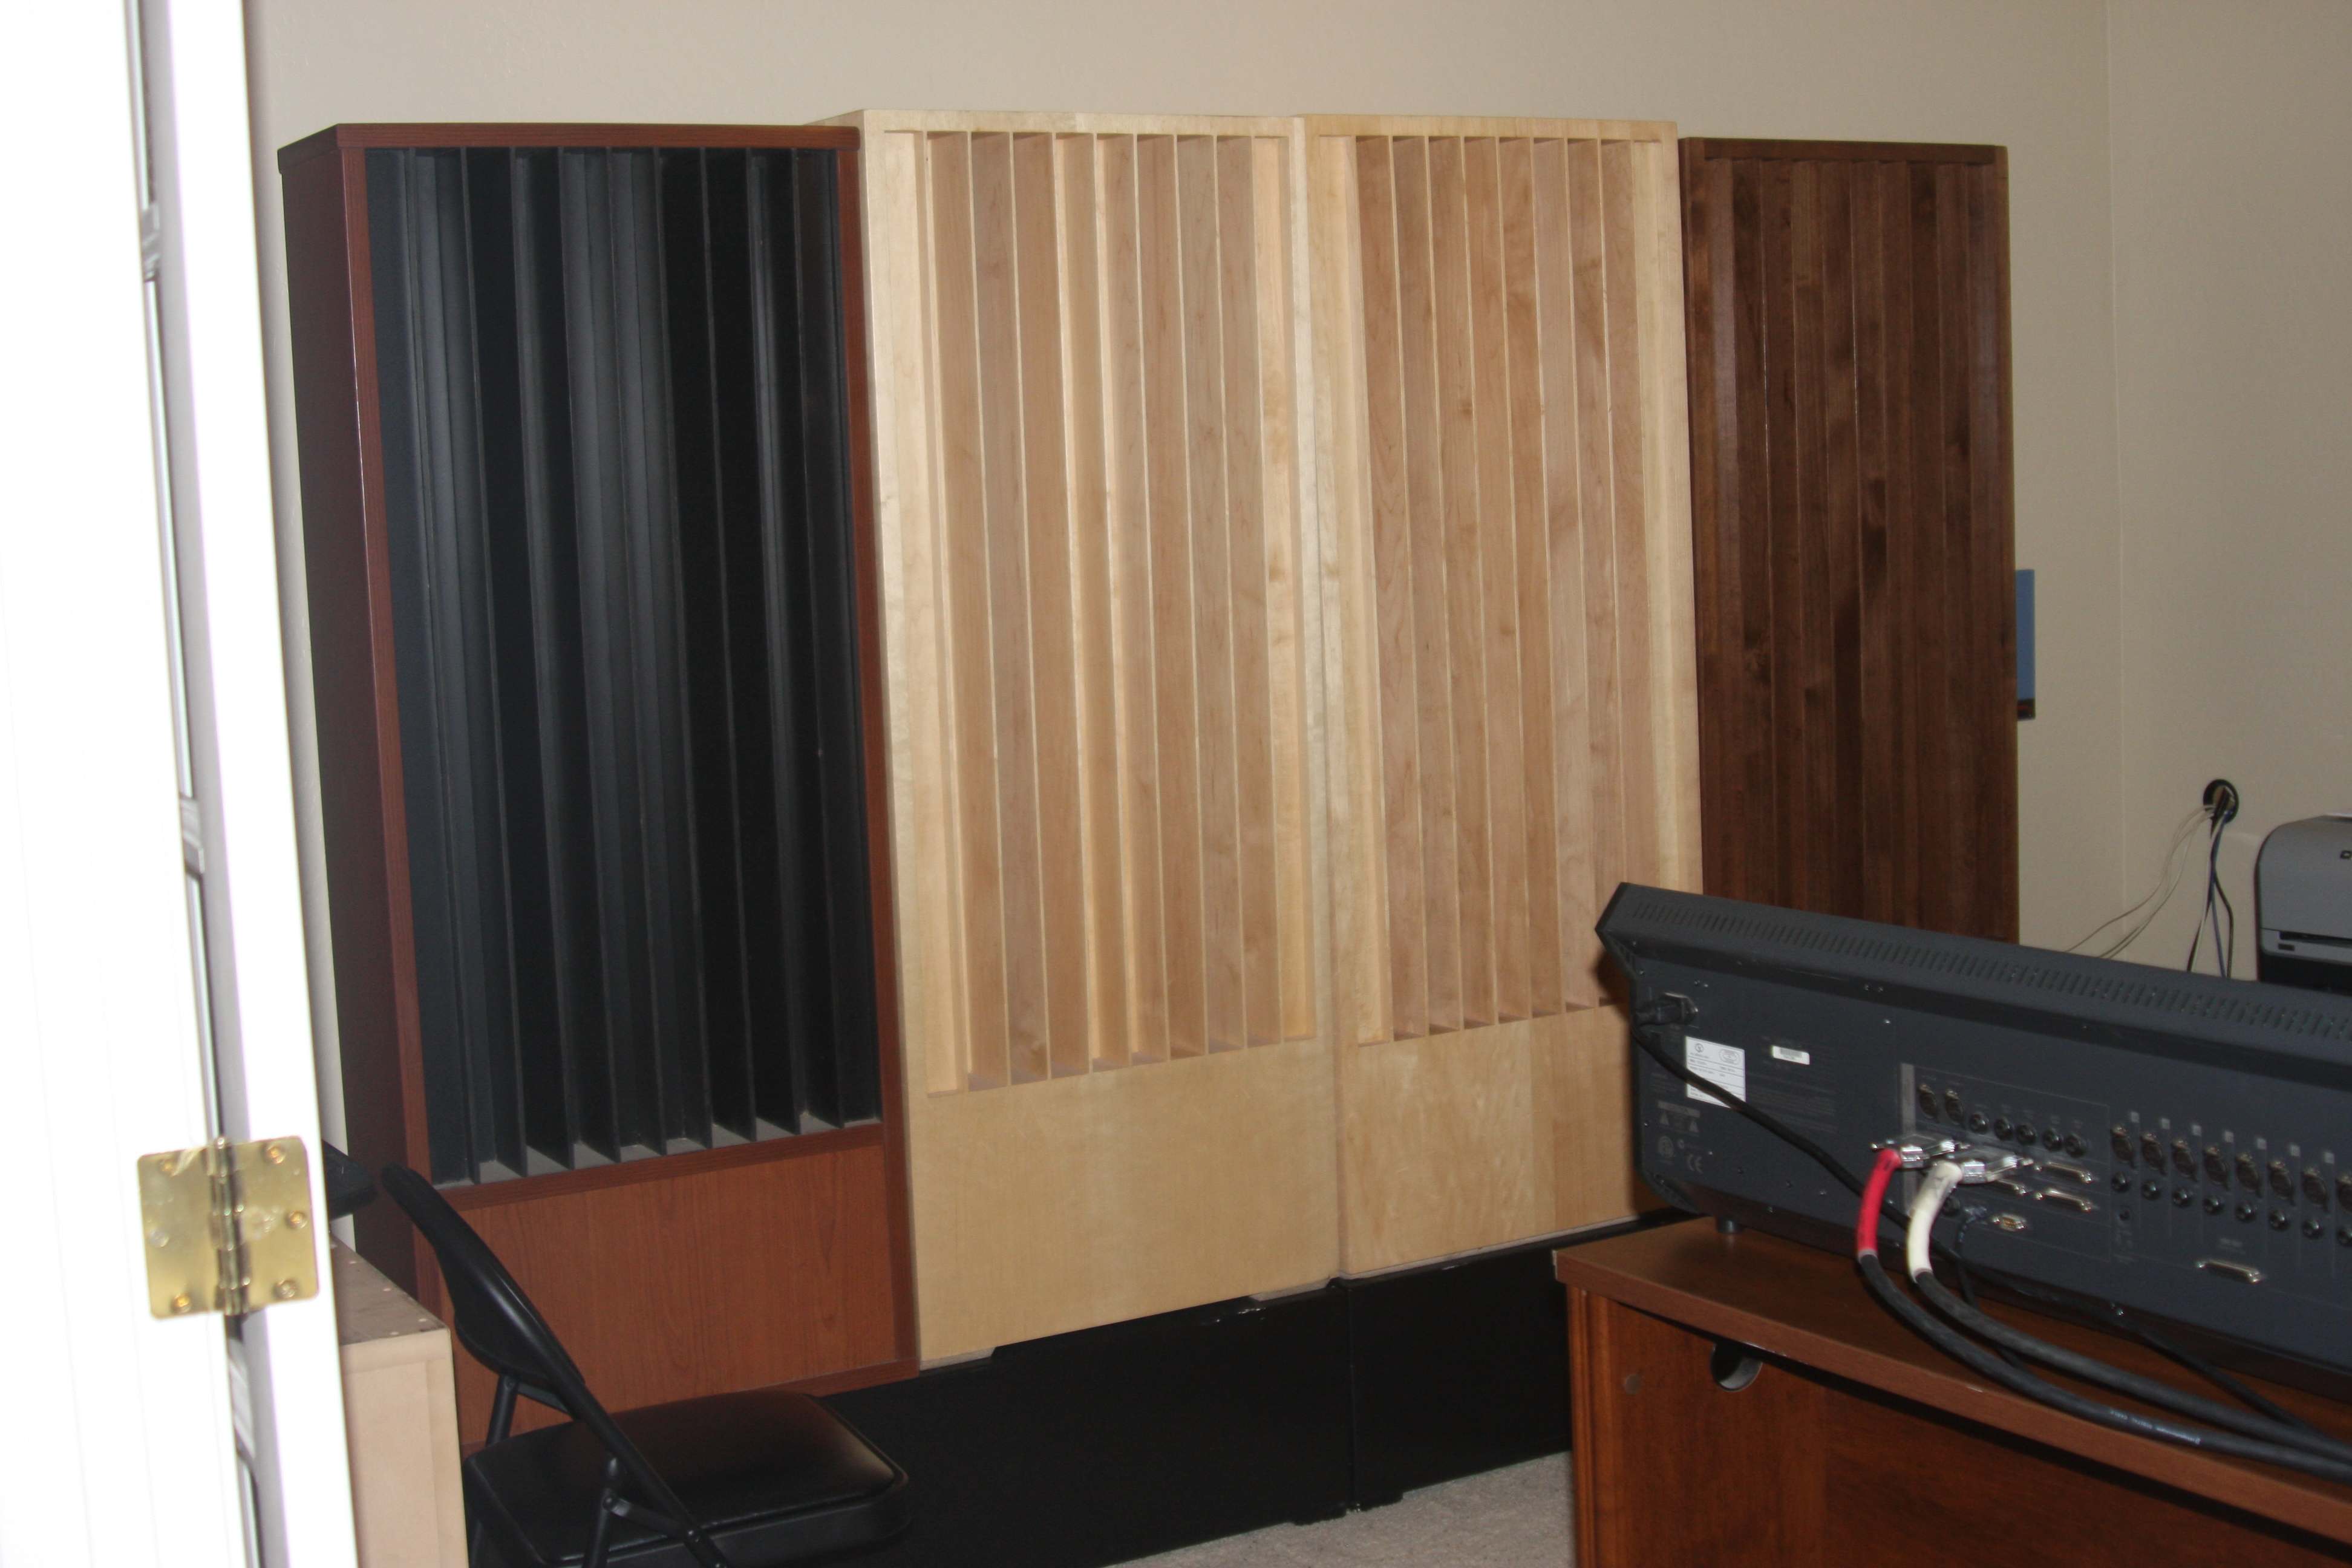
Quadratic Diffusors
Rear Wall Diffusion
You treat the rear wall with diffusion to reduce the energy slap back off of the rear wall at the listening or monitoring position. Direct energy from your speakers strikes the rear wall and can then reflect back into the listening position creating a time delayed signal that is now audible and interfering with the wanted direct energy from your loud speakers. This is not the sound you want in your mixes and it will creep in unless you treat that rear wall with either absorption or diffusion technology. Diffusion on the rear wall of our control rooms is the best approach because it will not add absorption to your room to tip the acoustical scale to a “dead room”.
In Summary
I trust this post has been helpful. You can gain access to more exclusive in depth video training and tutorials on room acoustics by signing up to our mailing list here.
Thanks
Dennis