Noise
The first issue we need to address when building a recording studio from scratch is the location. This is the most critical of all the decisions you will make. The location is critical because it determines the amount of noise we will have to deal with. There will be noise generated within the studio and there will be noise from outside the studio. Noise treatment is expensive and can cost 4-5 times the treatment costs which are the absorption and diffusion inside each of our studio rooms. If we locate our studio in a location that has less noise from the outside that can enter our studio rooms, we have to spend less on noise management barrier technology. The noise we generate inside the studio may bother people that surround our recording studio. Noise transmission from our studio into other structures that join our studio has to be planned and designed for when building a recording studio from scratch. How do we determine the noise when building a recording studio from scratch?
Noise: https://en.wikipedia.org/wiki/Noise
Measure, Measure, Measure
Our first task when building our recording studio from scratch is to measure both the ambient noise levels outside that will impact our studio inside and then to measure the noise we will be generating inside our studio that will leak outside or to surrounding structures. We must measure the noise from the outside in using a seven-day program. The reason for this when building a recording studio from scratch is for usage. It is important we can use our studio whenever we need to. We do not want the usage of our studio to be limited because of the invasion of outside noise into our studio. Measuring the noise each day for a week is crucial so we get an accurate picture of what noise issues we will have at what time of the day the noise occurs. Noise levels outside vary drastically during the time of each day. The noise levels outside at 3 am in the morning are drastically different than the noise levels at 11 am in the morning. Most engineers we know work into the early morning hours when the rest of us are sleeping. If we generate noise from drums at 3 am in the morning it will have a larger chance of disturbing neighbors that if we record drums during the daytime hours when the noise outside is at its highest levels.

Octave Bands
7 – Day Noise Time Study
We have created a process where you can do the noise measurements yourself with your phone. You can download apps that will assist you in the measuring process. We use the microphone in our phones to take the noise measurements. 2-3 measurements are required per day. We need the quietest time of each day and we need the loudest time of each day. These minimums and maximums provide the basis for the barrier that we must build to reduce noise transmission. A barrier is a term for what we must build to minimize noise transmissions. If you want to minimize noise from a source to a receiver, you build a barrier between the two. The barrier is designed and built based upon the frequency and amplitude of the noise measurements we take during our 7-day noise time study. We need to measure the frequency and amplitude (strength) of noise because each material we use in our barrier and the way we build that material into the barrier structure is completely dependent on the frequency and amplitude of the noise we must reduce with our barrier. With barrier technology, we do not want to spend any more time and materials than we have to in order to reduce noise transmission. We need to save our money for the absorption and diffusion treatment inside our studio.

Treatment Types
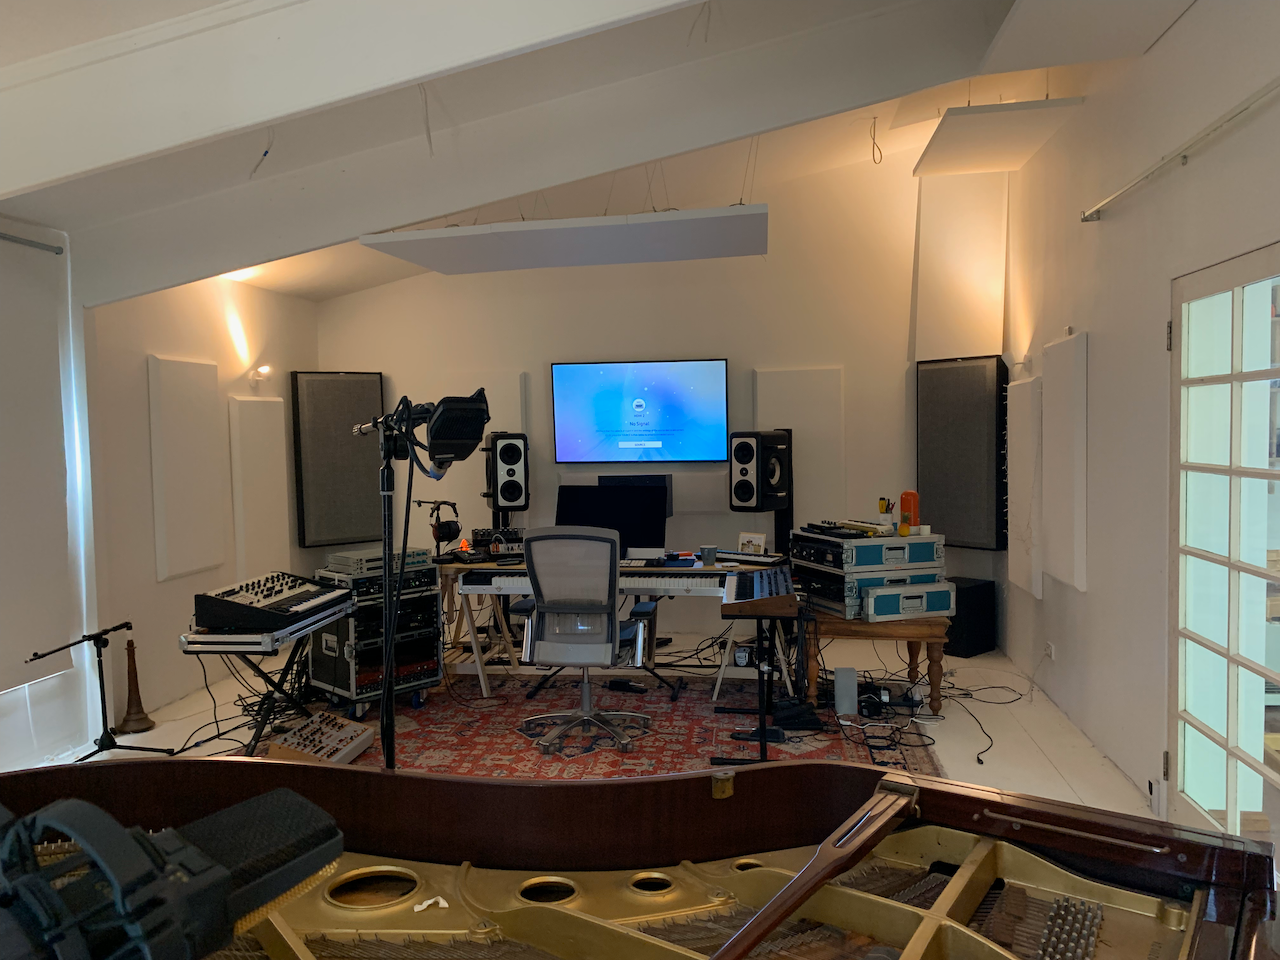
When building a recording studio from scratch, we have two parts to our structure. We have the shell which is the structure we use for noise reduction. Inside the studio, we must then treat the energy inside our studio rooms. Each room of our studio has different absorption and diffusion requirements depending upon the usage of each room. A control room’s absorption and diffusion requirements will be different than the live room where we record instruments. The absorption and diffusion requirements in a vocal room will be different than either the control or live rooms. We only have two treatment types that we can use inside our studio rooms. We have absorption and diffusion. Absorption reduces the strength or amplitude of the energy within our rooms. Diffusion reduces the impact of reflections on our walls and ceilings. It can also make our smaller rooms sound larger. What type of absorption or diffusion we use depends strictly on the usage of the room. The usage determines what rate and level of absorption we use and what type of diffusion is required.

Room Ratios
Next to resolving our noise issues, we must choose the correct room size and volume to accomplish many objectives. Our first and foremost objective is low-frequency management. Low-frequency energy will produce the largest problems in any of our rooms no matter what the chosen usage. Low-frequency or “bass” energy issues can ruin the most well thought out designs. To begin on the correct path, we must first decide what we are going to do in the room and then match the size and volume of that room to that specific room usage. If we choose the dimensions of the room to minimize the impact of unwanted low-frequency pressure issues, we have started down the correct path. Our next consideration in this process of the selection of the proper room size and volume is to also select a room size and volume that allows for enough space to treat the low, middle, and high-frequency issues that all rooms produce regardless of what we are trying to do in them. We must use both the correct ratios of width, height, and length to minimize all frequency issues but we must also choose a size that allows enough space to treat the energy issues.
Low-Frequency Absorption: https://www.acousticfields.com/product-category/sound-absorption/acda-series/
Low-Frequencies
The largest elephant in the room when building a recording studio from scratch is unwanted low-frequency energy. Low-frequency energy below 100 Hz. creates many issues. The first and foremost is modal pressure. Low-frequency energy is long waves of energy that won’t fit into our rooms. It is like putting a size 15 shoe in a size 8 shoe box. It simply won’t fit. Neither will energy that is below 100 Hz. A 60 Hz. wave is 19′ long. A 40 Hz. wave is 28′ long. The 60 Hz. wave will not fit between most floors and ceilings. The 60 Hz. wave will not fit into most widths and room lengths. When this energy will not fit into our room dimensions it excites the air that lives in that space. Once the air is excited it produces room modes. Room modes are room distortion. It is the creases in our size 15 shoe we are folding over to fit into our size 8 shoebox. Creases that never go away no matter what you do. If we choose room dimensions that low-frequency energy will fit into, we are on the correct track to minimizing treatment requirements, especially for low-frequency energy. Room modal pressure is so great that it will exaggerate some sounds and completely eliminate others. Neither one of these is suitable in a mixing room where everything must be heard.

Frequency Vs. Wavelength 125Hz – 16K Hz
Middle and High Frequencies
Middle and high frequencies present their own set of issues. They are shorter wavelengths that fit more easily into our rooms then do lower frequencies. These are not a pressure waves but they are rays of energy like sunshine. low-frequency energy is a pressure wave like the ocean. They oscillate throughout our room with peaks and dips just like an ocean wave. Middle and high-frequency energy enter our rooms and bounces off the wall surfaces. When you add all of these reflections from the surface areas you get what is termed reverberation. Reverberation is room distortion. It interferes with music and voice by covering them with a blanket of distortion. Middle and high-frequency energy are where our vocals exist. We must make sure that no distortion exists in the frequency ranges where vocals live. Voice is where most music connects emotionally with the listener. Whether it is spoken or sung, there must be no distortion in the area from 100 Hz. – 2,000 Hz.
Middle and High-Frequency Absorption: https://www.acousticfields.com/product/acoustic-foam/
Middle and High-Frequency Diffusion: https://www.acousticfields.com/product-category/sound-diffusion/qd-series/
Step By Step
When building a recording studio from scratch address all noise issues first. One way to minimize noise is to choose a quiet location away from noise sources that can enter your room. This concept also works for the noise you generate within your studio that can bother neighbors. Choose the correct room sizes considering the width, height, and length to match your room usage requirements. make sure you allow for low-frequency management technology. Most people don’t plan to fail when building a recording studio from scratch, they fail to plan ahead. If you don’t plan and just guess at what you think will work, you will fail.
About Us At Acoustic Fields: https://www.acousticfields.com/about/


Did not know that so many aspects have to be looked after in order to build a recording studio from scratch, keep up the good work.