Acoustic Design Project
Music Environment
Private High-End Home Theater Project
Listen to Craig’s journey. Listen to how our QDA-17 Carbon Diffuser sounded on the front and rear walls. Listen to the sonic impact Craig heard with our Carbon Panels on the side walls. Listen to the impact on the music environment the QD-11 ceiling diffusion has. Listen to how it made the room sound twice as large. Listen to the weight of the helicopter as it flys overhead. Listen to how happy Craig is with his new room after a 25-year journey to it.
The Advantages of Building from Scratch
Building a critical listening audio environment from the ground up has many advantages over retro treating an existing room. Building from scratch allows you to choose the ratios of width, height, and length to minimize unwanted low-frequency pressure issues. It also allows one to choose the size to match your chosen usage. Treatment types, amounts, and positions can be easily determined before any building occurs. With a new build, the proper barrier technologies can be used to deal with any existing noise issues.
If you have an existing room then we must live with the dimensions we have. We could change usage to better match the room size and volume but most do not do that. Most people keep their existing room usage and then want us to treat the issues within that room footprint. This room was a home theater. A theater with really high-resolution sources. We must treat the issues within the room to align better with the low noise, high-resolution sources. Our electronics are much better than our rooms.


Music Environment: Six Questions Answered
Impact on the Brain’s Localization System
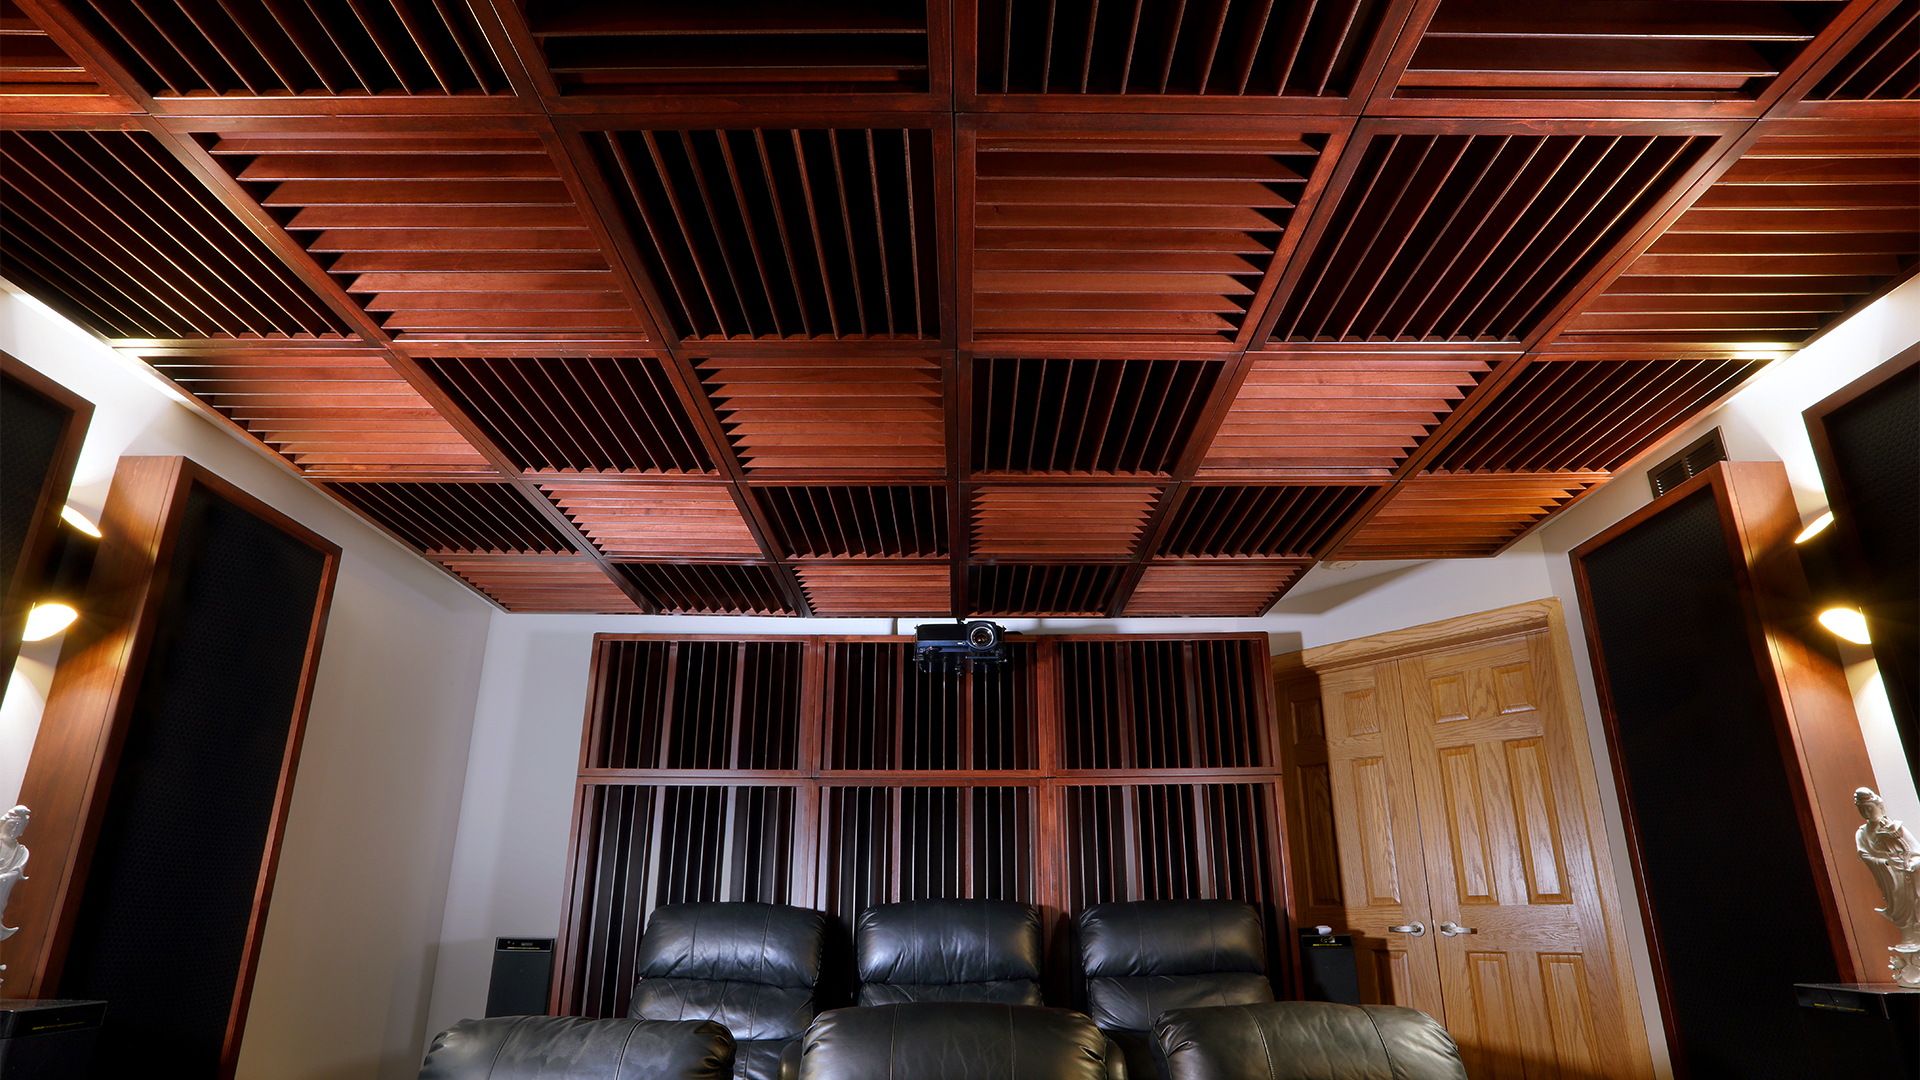
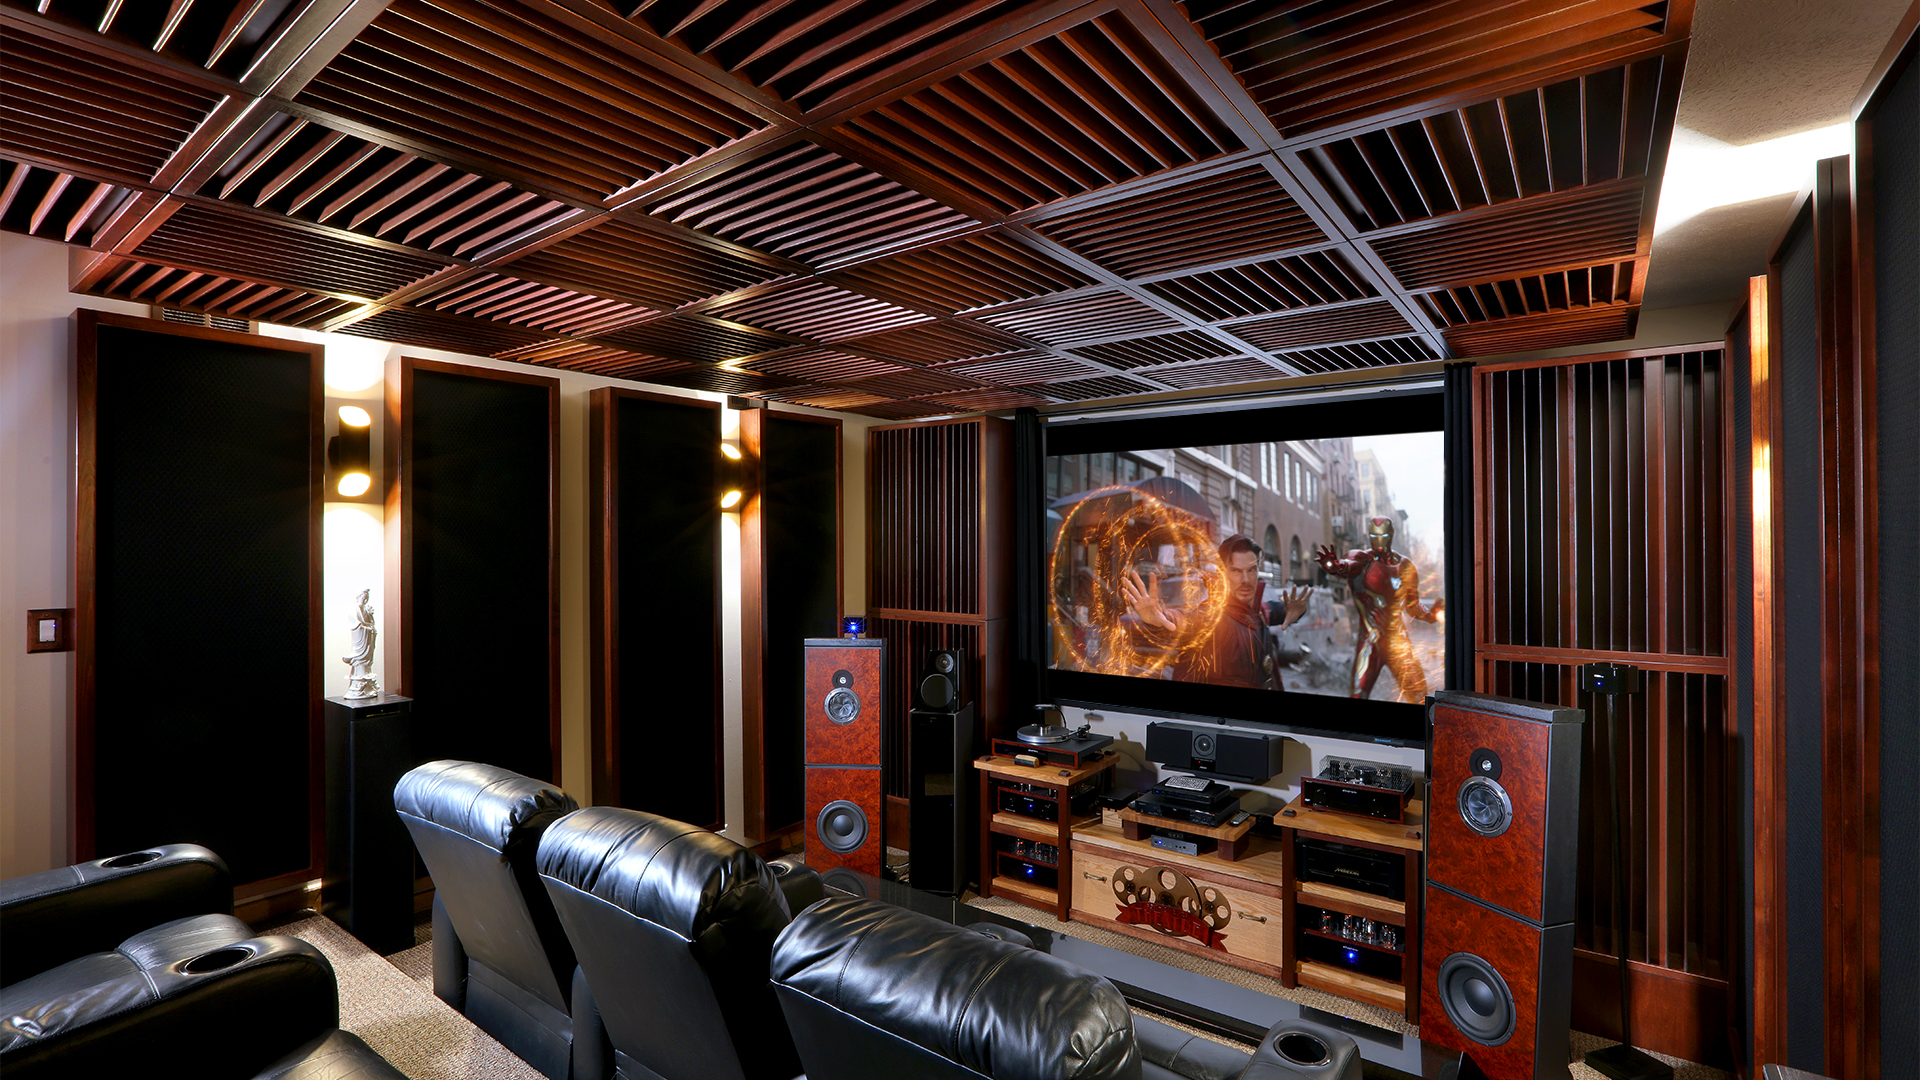
In this project, we had a small home theater room. We had high-resolution sources and also a high-resolution room decor that we must compliment with acoustical treatment types, colors, and finishes. We had limited space to treat with the smaller room width. We did have space for treatment on the front and rear walls along with the ceiling. Our goal with any small room regardless of usage is two-fold. First, to make the room sound go away as best as possible within the available space. Our second acoustical objective is to make the room sound larger. We know diffusion is a technology to make small rooms sound larger.
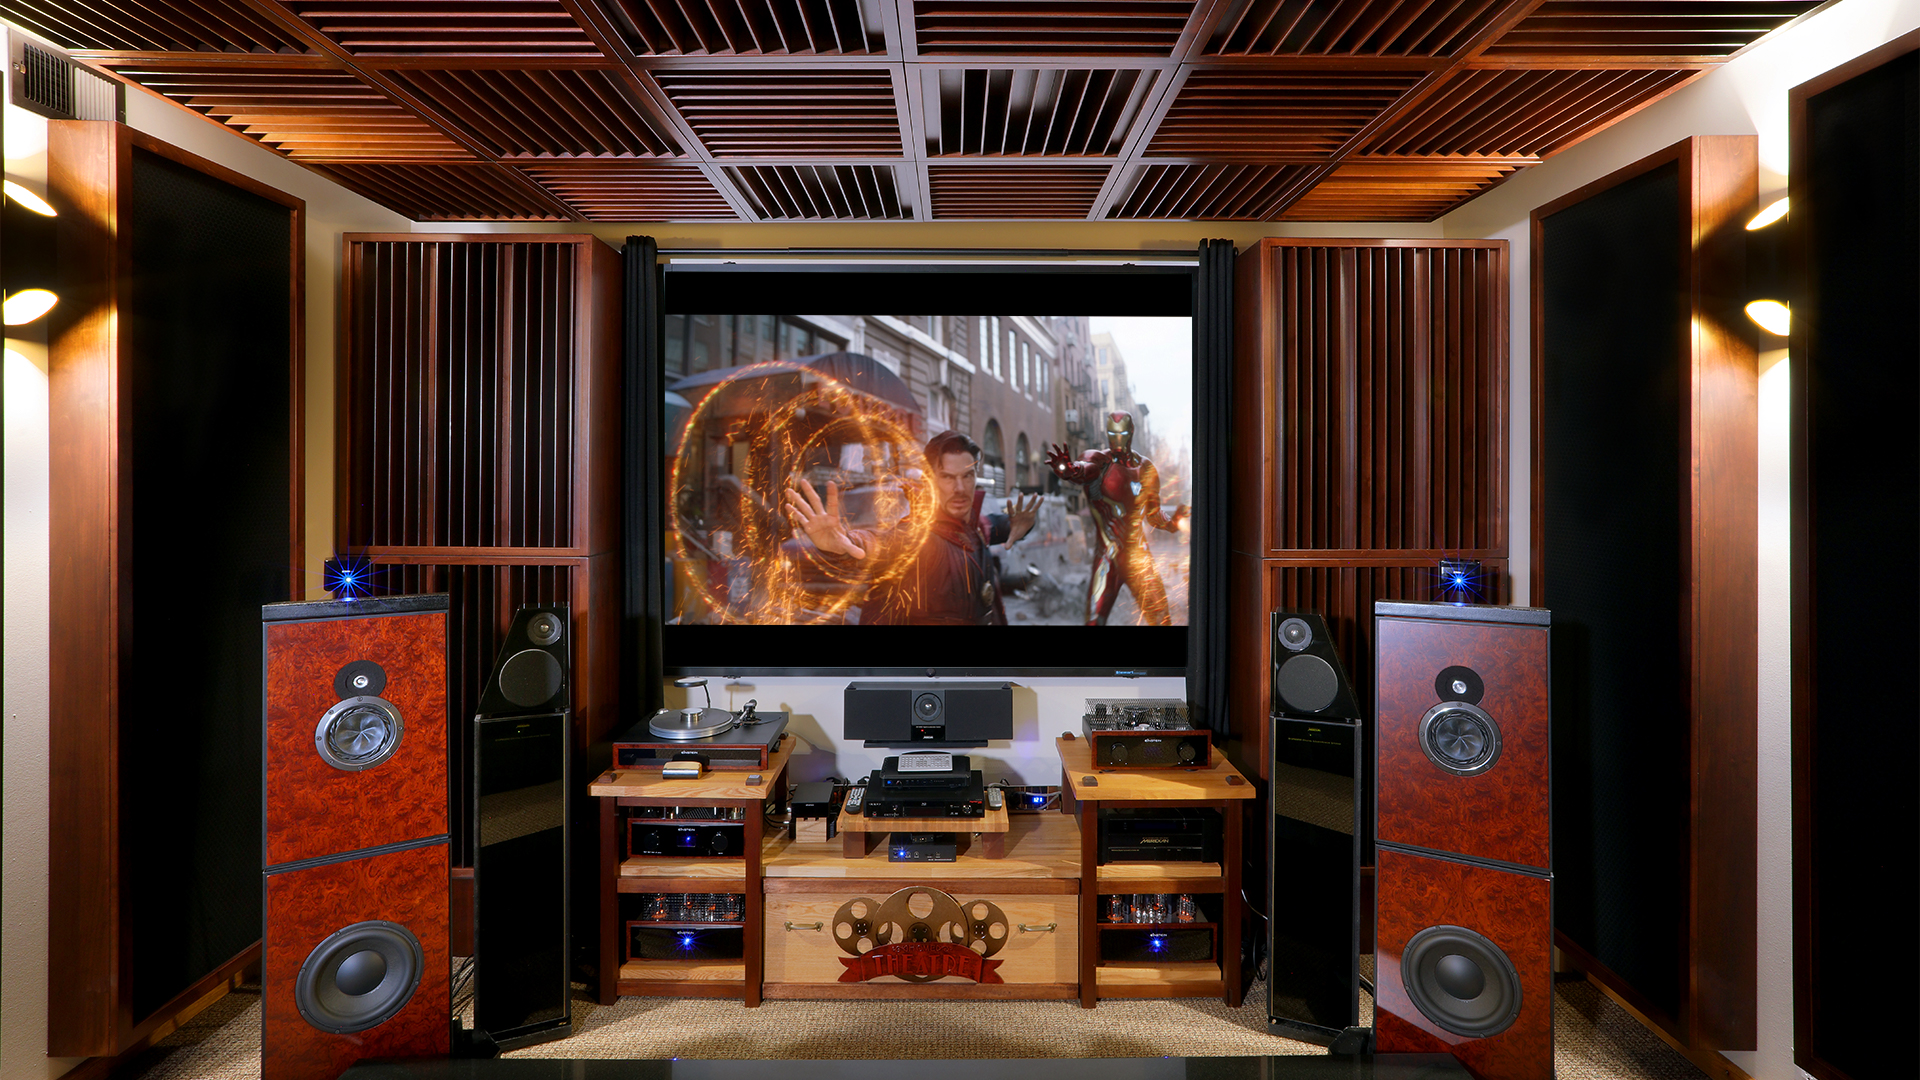
Quadratic diffusion is the only diffuser type that satisfies all 5 requirements for a truly diffused sound field. We chose vertical quadratic diffusion for the front and rear walls. Vertical, one-dimensional, diffusion was chosen over two dimensional because it will create more spaciousness in smaller rooms. Two-dimensional diffusion minimizes wall distance localization in our brains. One dimensional diffusion creates a more spacious sound field. The ceiling height was low. Two-dimensional diffusion was used on the ceiling to minimize reflection impact on our brain’s localization system. An 8′ ceiling height will sound like 11′.

Diffusion & Absorption in One Unit
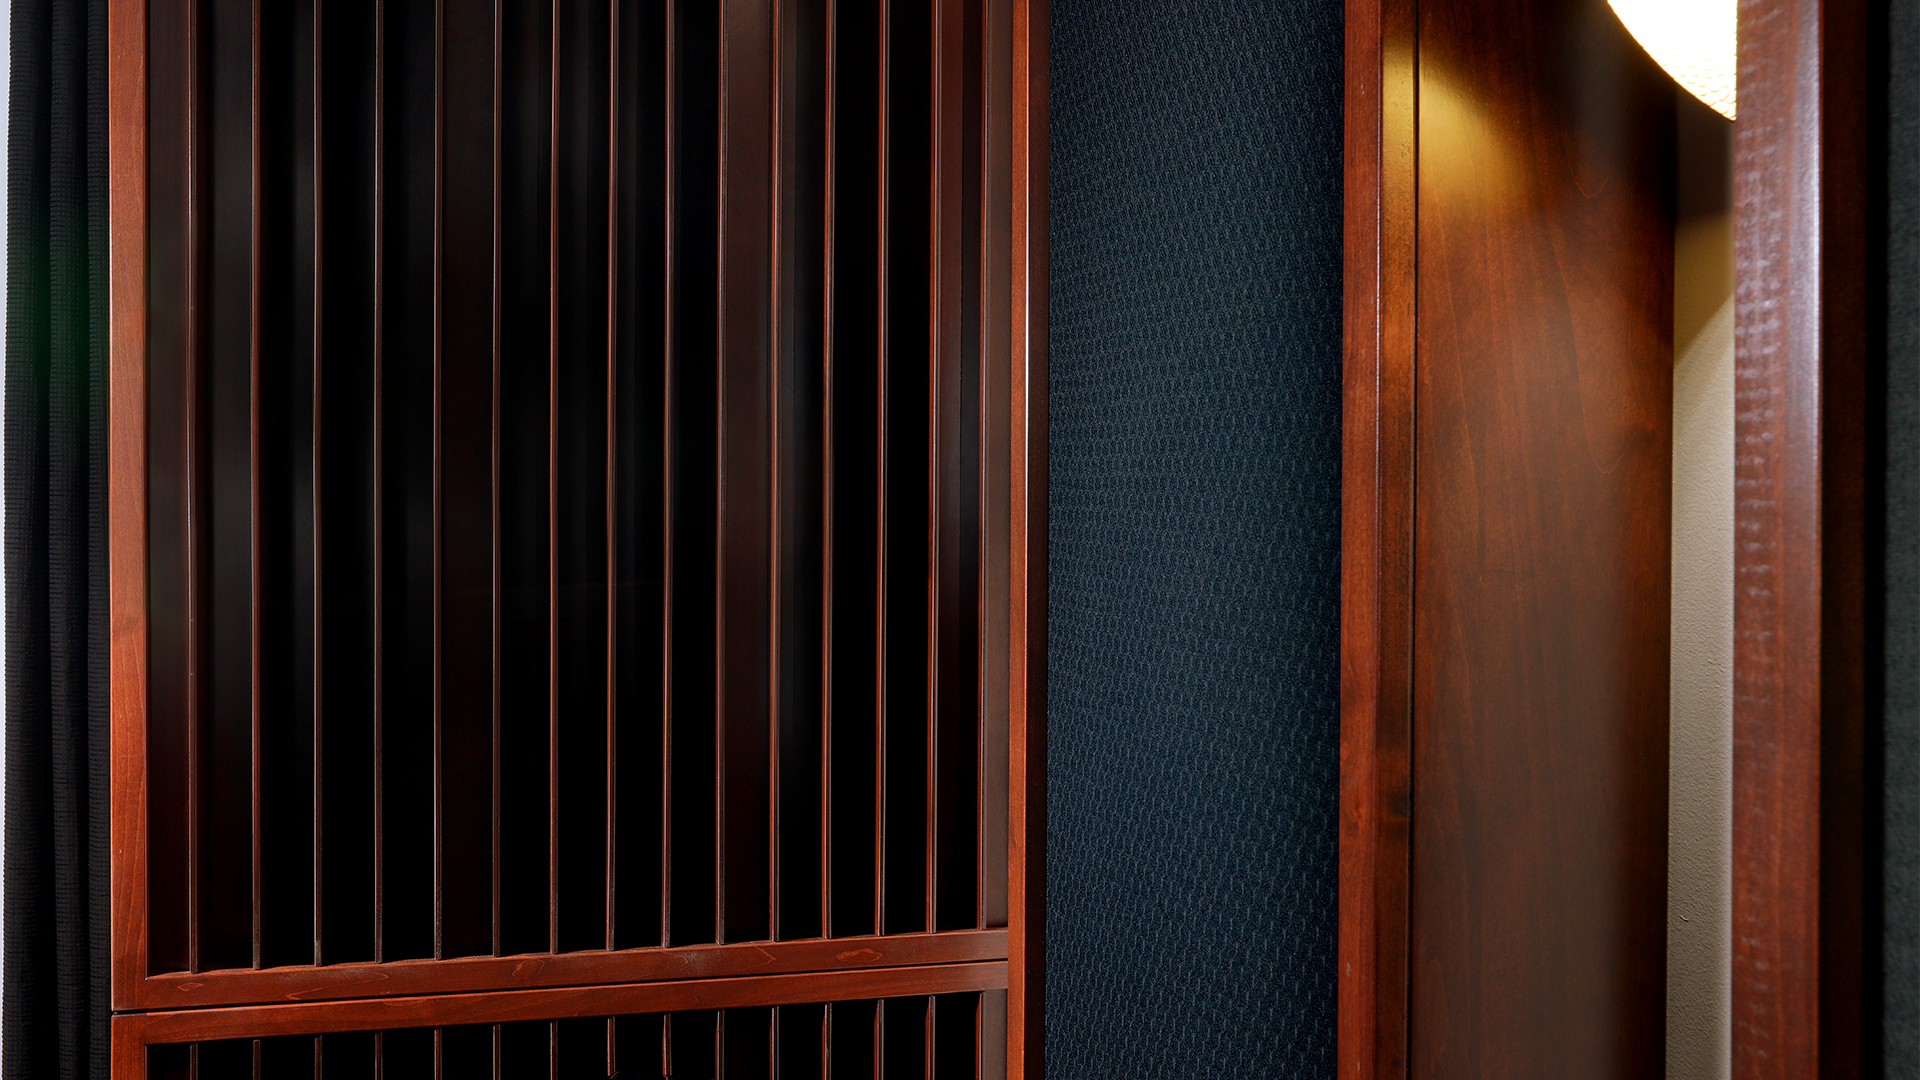
Low-frequency management was required from the floor to ceiling dimension, sidewall to sidewall, and front wall to rear wall. We needed both low-frequency absorption on the front and rear walls but lacked the space for both. To use both diffusion and absorption, we chose our top of the line QDA series. Our QDA series has both our ACDA-10 and ACDA-12 carbon low-frequency technology built into the base and diffusers of the QDA series. It is a product that does everything well and does it in 17″ of space depth on both the front and rear walls.
For the sidewalls, we needed 40 Hz. and above absorption. To treat this frequency and above, we chose our Carbon Panel. Our Carbon Panel was designed to absorb at 40 Hz. and above and do that in 10″ of space requirement. Our ACDA series needs 16″ to get to 30 Hz. We can go down to 40 Hz. using our 10″ Carbon Panel depth. Custom sizes were created to allow for the slanted sidewalls. Room surface areas have different frequency and amplitude issues depending on the distances involved in the room width, height, and length.

Choosing the Proper TAP
If you design a room from the ground up, you address and minimize the low-frequency issues by choosing the proper width, length, and height. Minimizing the low-frequency issues within an existing room requires knowing what your acoustical objectives are and then choosing the proper TAP. Type, amount, and position. You identify the frequency and amplitudes of the issues along with the frequency and amplitude locations then treat them with the amount of treatment.
You must know the treatment to the listener distances for all diffusion types and amounts. once you have made those choices you build finish and install. We always try and phase the installation process in overtime and surface area so the client can hear and experience the impact each surface area has on the sonic presentation. Clients notice immediately the changes to each wall surface and are amazed at how the pieces all fit together. Listen for yourself.
Do you want to solve your room acoustic problems?
There’s no one size fits all when it comes to room acoustics.
Get your FREE personal room acoustics analysis by chief acoustics engineer Dennis Foley.


