This blog has been updated from its original posting to include new information to help prevent you from being an audio fool in your audio room, this update occurred on 12/2/19.
Two Channel Set Up Misunderstandings
I see and hear many things when it comes to the set up of a two-channel stereo that makes me wonder if individuals that own these systems have done any type of study at all on how to set up a system properly. I see speakers set up in corners, next to glass windows, and even furniture in front of speakers. I have even seen the left channel set up in one room and the right channel set up in another. Let’s avoid being an audio fool. Let’s examine some two channel set up requirements that are a must-have if one is to realize true stereo playback fidelity.
Step One: Room Size
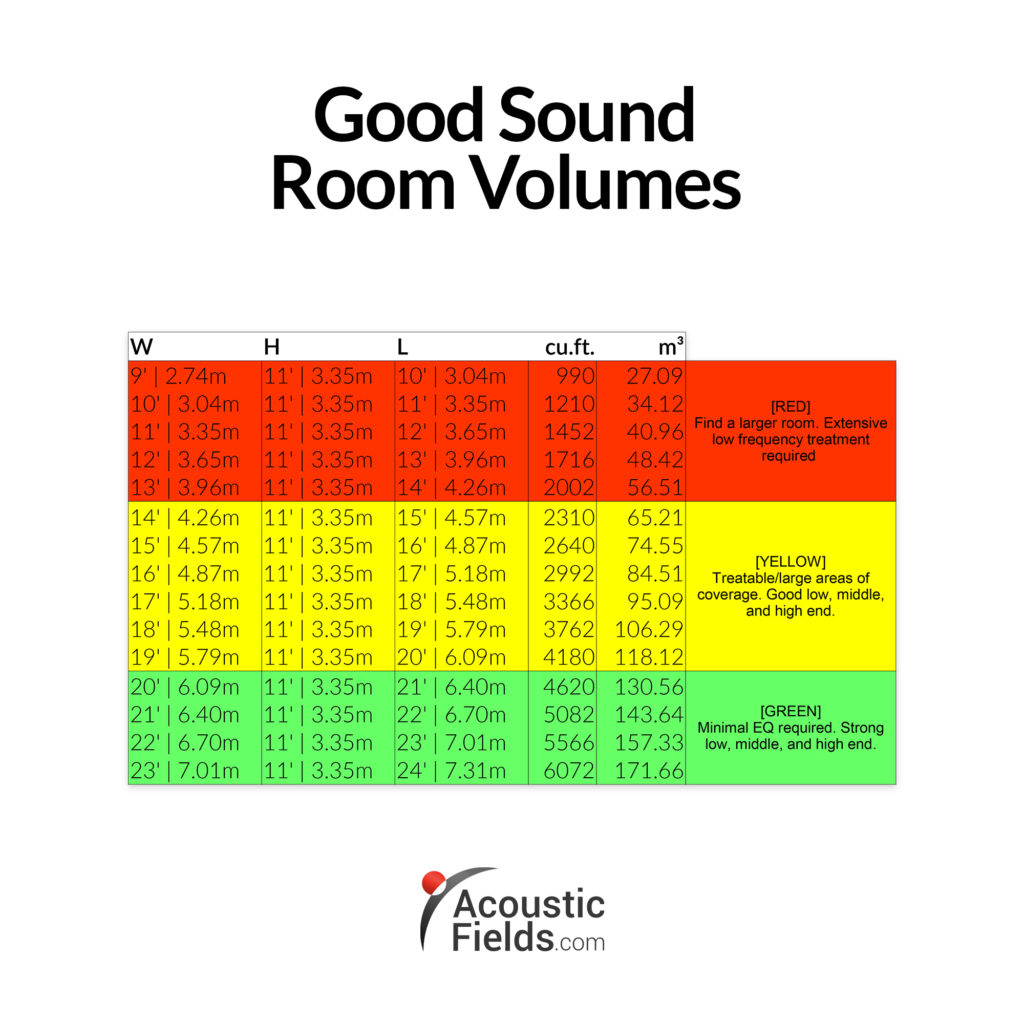
The dimensions and associated volume of a room must be given first consideration. There is a ratio of room width, length, and height that is more favorable to minimizing low-frequency resonances and low-frequency resonances must be dealt with. Room modes can smother and blur the low middle and middle frequencies. This is the emotional connection range where our vocals are. Nothing can be allowed to interfere with the frequency range from 100 Hz. – 500 Hz. and low-frequency room modes can impact this frequency range in a big way. Choose a rectangular room. They are more predictable for our room tuning process when low-frequency room modes are an issue.
Room Size Don’ts
Stay away from rooms with concave and convex surfaces. Parallel walls are fine assuming they are not made of concrete or other hard surfaces. Do not use a room that has the same length, width, or height. This would be considered a cube and the detrimental acoustical issues this room size configuration produces are too numerous to even discuss. Oval rooms are also sound prohibited. Follow the ratios given in the literature for room dimensions. They have been tested and will save you time, energy, and much frustration.
Step Two: Optimum W, H, L Ratios
What is the correct room size? There is no right or wrong answer to this question. There is a series of room ratios that do allow for low frequencies to be present without causing too much trouble. The dimensions of the room allow for the low-frequency room modes to be spaced far enough apart that their presence is more easily managed. One may even elect to move a wall to make a room smaller or larger to fit a better dimensional ratio.
Step Three: Low Frequency Management
Once you have chosen your room dimensions or they have chosen you because you must pick between two possible rooms or maybe even three in your home or studio, it is time to address the low-frequency issues that you have. Take the time and measure your room to find out what the problem frequencies are. Software is readily available to assist you in this area. Most rooms will require some type of broadband and frequency-specific low-frequency absorption. Don’t be an audio fool, do your research and find the companies that build and design products that address your specific concerns.
Low Frequency Management Don’ts
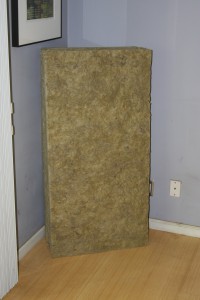
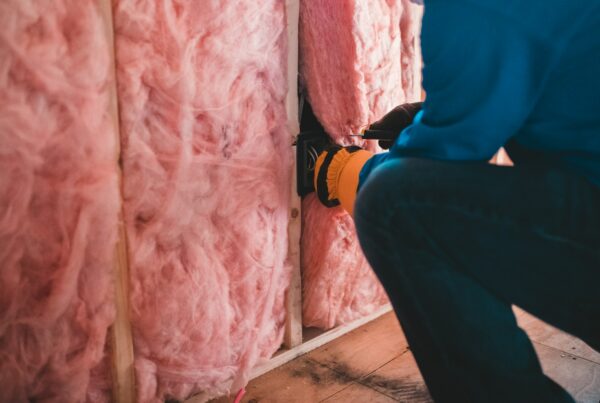
Do not buy into manufacture’s claims that foam and boxes filled with building insulation will absorb low-frequency energy. Low-frequency wavelengths are long and powerful and it takes a specially designed absorber to handle them. Membrane or diaphragmatic absorbers work best for this frequency range. Do not think that one or two units will solve all your issues. It may take 8-10 units correctly positioned to have the acoustical impact your desire. Stacking foam or building insulation in the room corners is nonsense when it comes to low-frequency energy management.
Step Four: Speaker Positioning
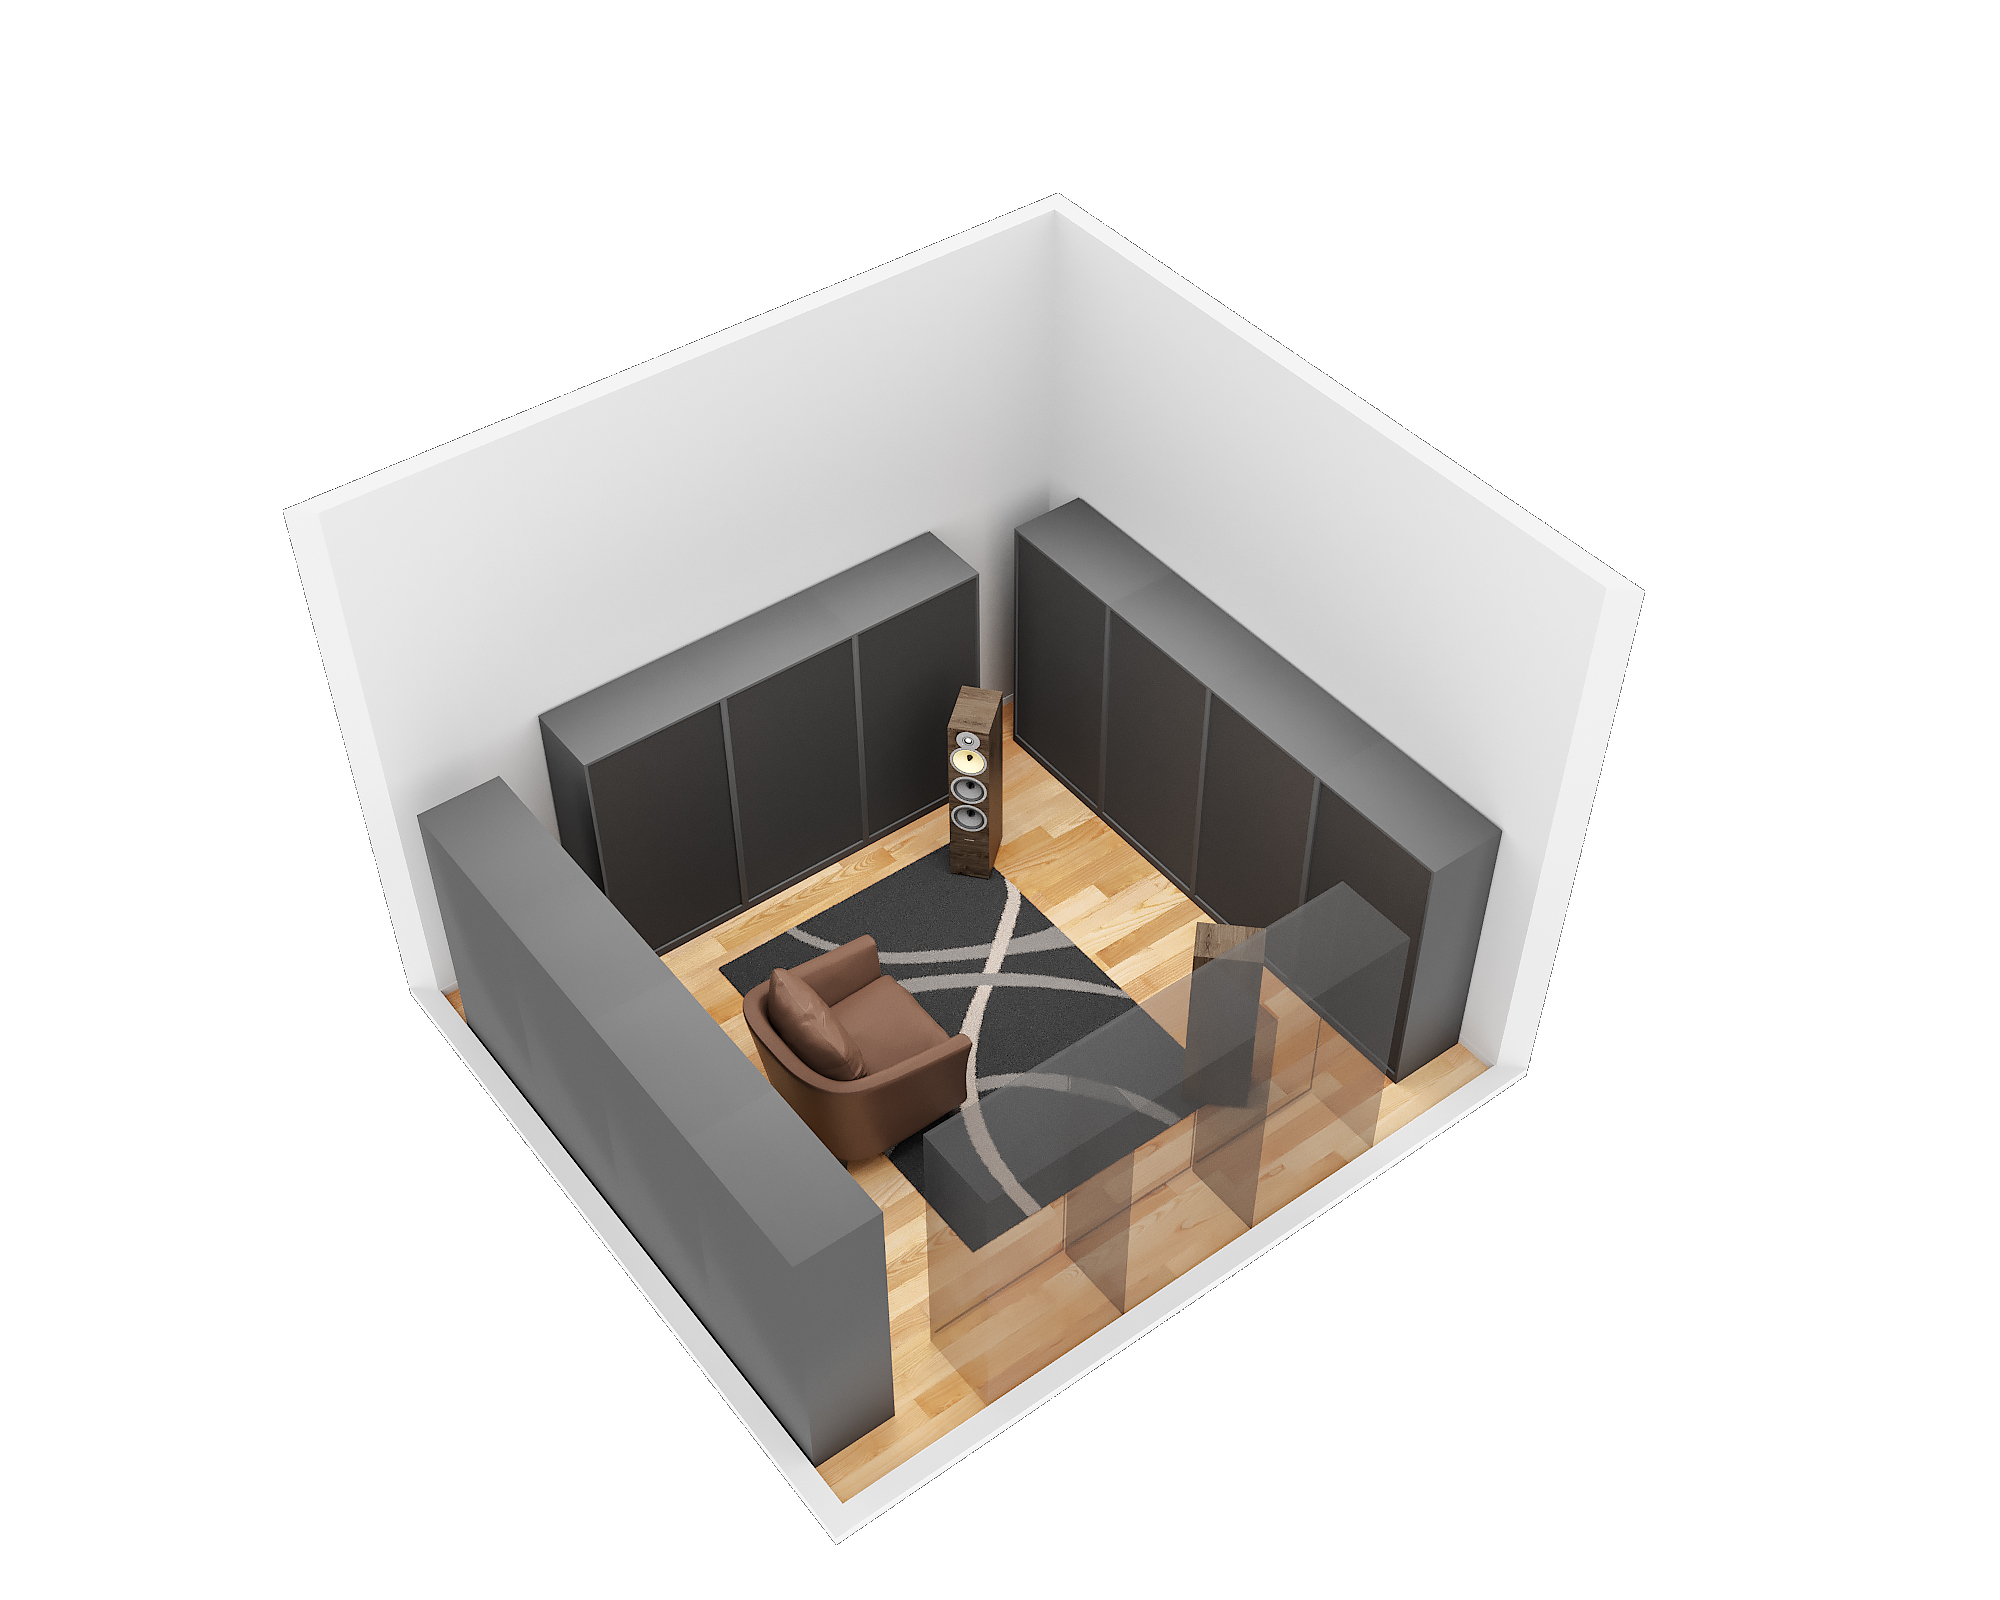
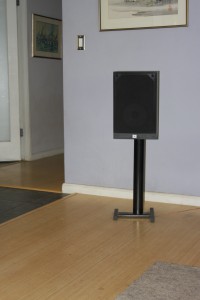
There is a “correct” position for your loudspeakers within any given room. This position produces the smoothest frequency response for the given room size. It takes time and measurements to find, but it is there. Start with the “rule of thirds”. Divide your room long way into thirds and start by positioning your speakers along the first third division line. Measure the frequency response at that position. Start with your speakers at least 4′ from the side walls. Move your speakers forward 6″ and measure again. Move your speakers back 6″ and remeasure. Look at the three measurements for patterns and adjust accordingly. Take your time and perform listening tests at each chosen position. Move the speakers inward towards the center 6″ and measure again. Move them out towards the side walls, remeasure.
Speaker Positioning Don’ts
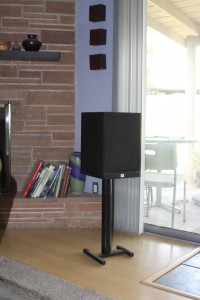
Do not have unequal distances between the sidewalls and your speakers. This is an area where its easy to become an audio fool. Sound energy from your speakers is an electromechanical signal that travels through the air at a constant speed. If the distances from the side walls are unequal, those side wall reflections will arrive at unequal times at the listening position and mix with the direct sound from your speakers producing an image shift from the wanted center position. Make sure the sidewall materials are the same composition. Never, and I repeat never, place your speakers next to a glass window, even though you will see this set up in magazine ads by speaker manufacturers. I guarantee none of the designers of those speakers wanted that position for their creations.
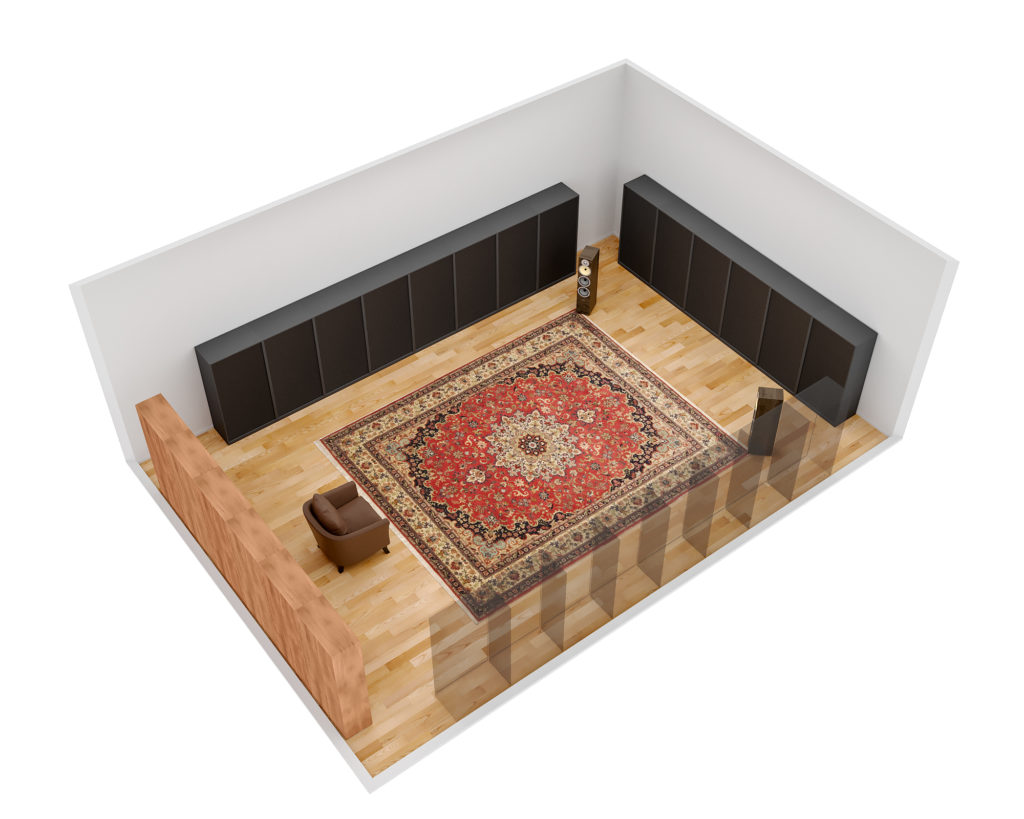
Optimal Speaker Positioning in Audio Room
Step Five: Listening Position
Choose a chair that does not have a high back. Your ears receive information from the front, rear, and sidewalls. With a high back chair, that information will be blocked and not heard. Measure the distance between your speakers and position the chair, so that it is the same distance from each speaker as the distance between your speakers. You are forming an equilateral triangle with your speakers and listening positions as the indices of that triangle. As you listen more to your system, you may want to move your chair back to widen the sound stage. This is personal preference, but using the triangle approach is a good start.
Listening Position Don’ts
The inside of the triangle that is formed with your speakers and listening chair is sacred ground. Do not have anything in this area. If you must place your equipment between your speakers on the floor, make sure it does not rise very high. Keep it as low as possible. Do not have a coffee table in front of the listening chair. Reflections from it and your equipment can be audible. Keep chairs and ottomans away from this area. Keep this area clear and you save yourself from being an audio fool.
Step Six: Active Listening
Since you are setting up a stereo system, you need to play a mono signal through your speakers first, to make sure you have a centered image. We know that a stereo signal in a true stereophonic sound system has two independent audio signal channels, and the signals that are reproduced have a specific level and phase relationship to each other so that when played back through a suitable reproduction system, there will be an apparent image of the original sound source. Stereo will replicate the aural perspective and localization of instruments on a stage or platform.
Use Mono Test Signal
Therefore, to make sure we have the correct balance between listening position and speakers, we need a mono signal to use as our focusing energy to make sure our image between the speakers is centered and focused. Mono or monophonic describes a system where all the audio signals are mixed together and routed through a single audio channel. Mono systems can have multiple loudspeakers, and even multiple widely separated loudspeakers. The key is that the signal contains no level and arrival time/phase information that would replicate or simulate directional cues. A mono signal will better show any speaker set up issues. A mono speaker set up will assist you with finding a strong center image.
Put on the mono recording and sit in the listening chair. Close your eyes and the image you hear should be about the size of a tennis ball centered directly in the middle of your speakers. If it is there, put on your favorite stereo recording. The image should fill the distance between each speaker and hopefully extend farther left and right of your physical speaker positions. It is not, we need to move our speakers and listening position. A mono speaker set up will give us a starting reference point.
Studio Pro Foam: https://acousticfields.com/product/acoustic-foam/
Basics First
Setting up a two-channel system requires many steps to ensure that you realize the full potential of your stereo system. Start by choosing the proper room size to minimize low-frequency issues, select and position the necessary low-frequency absorption technology, and correctly position your loudspeakers and listening position for smooth frequency response. As you spend time with your system, there will be other issues to address, but initially following the above steps is a good start.
Treatments
This is another area where a person can become an audio fool. They buy into crazy half-truths and outright lies and misrepresentations. A good example of this is that foam is a low-frequency absorption technology. This is outright nonsense. Another myth is that of putting low-frequency technology in the corners of the room. Why would you put low-frequency absorption in a small corner of a room when it is the whole wall surface that is producing the problem. Axial modes are caused by two wall surfaces, not the small corners of a room. There are a host of other half-truths and lies perpetuated by the industry. The only three types of low-frequency absorbers are Helmholtz, Membrane, and Diaphragmatic. Diaphragmatic is the most powerful of all three types.
Diaphragmatic Absorption: https://acousticfields.com/product-category/sound-absorption/acda-series/
In Summary
I hope today’s discussion helps to prevent falling into any audio fool pitfalls. Please message me at info@acousticfields.com if you have any questions as I am always happy to help. If you want more to learn more about room acoustics please sign up for our free acoustic video training series and ebook. Upon sign up you will instantly have access to a series of videos and training to help improve the sound in your studio, listening room or home theatre.




I would like to understand i have seen some of your products can manage to absorb low frequencies at 40 to 50 hertz but does it depend on the sound pressure, example the bass frequecy found on a night club its different from the one we hear on recording studios,and does it mean if it can absorb low frequency at 40 can it also be a sound barrier on the same frequecy
Hi Triss, The greater the pressure, the more surface area or number of units required.
If the material can absorb 40 hz at 75 db spl can the same material absorb 40 hz at 100db spl and doest mean this material can be used for sound blocking.
Hi Triss, This is sound absorption technology. If you wish to “block” sound, then you must use barrier technology. Sound absorption and sound barriers are very different technologies.
Is it correct to say that if an object vibrates to a certain frequency, that it is absorbing SOME of that frequency?
R, Possibly. It would depend on the material composition, density, usage.